this post was submitted on 04 Sep 2023
56 points (100.0% liked)
3DPrinting
15633 readers
378 users here now
3DPrinting is a place where makers of all skill levels and walks of life can learn about and discuss 3D printing and development of 3D printed parts and devices.
The r/functionalprint community is now located at:
!functionalprint@kbin.social
or !functionalprint@fedia.io
There are CAD communities available at:
!cad@lemmy.world or !freecad@lemmy.ml
Rules
-
No bigotry - including racism, sexism, ableism, homophobia, transphobia, or xenophobia. Code of Conduct.
-
Be respectful, especially when disagreeing. Everyone should feel welcome here.
-
No porn (NSFW prints are acceptable but must be marked NSFW)
-
No Ads / Spamming / Guerrilla Marketing
-
Do not create links to reddit
-
If you see an issue please flag it
-
No guns
-
No injury gore posts
If you need an easy way to host pictures, https://catbox.moe may be an option. Be ethical about what you post and donate if you are able or use this a lot. It is just an individual hosting content, not a company. The image embedding syntax for Lemmy is 
Moderation policy: Light, mostly invisible
founded 1 year ago
MODERATORS
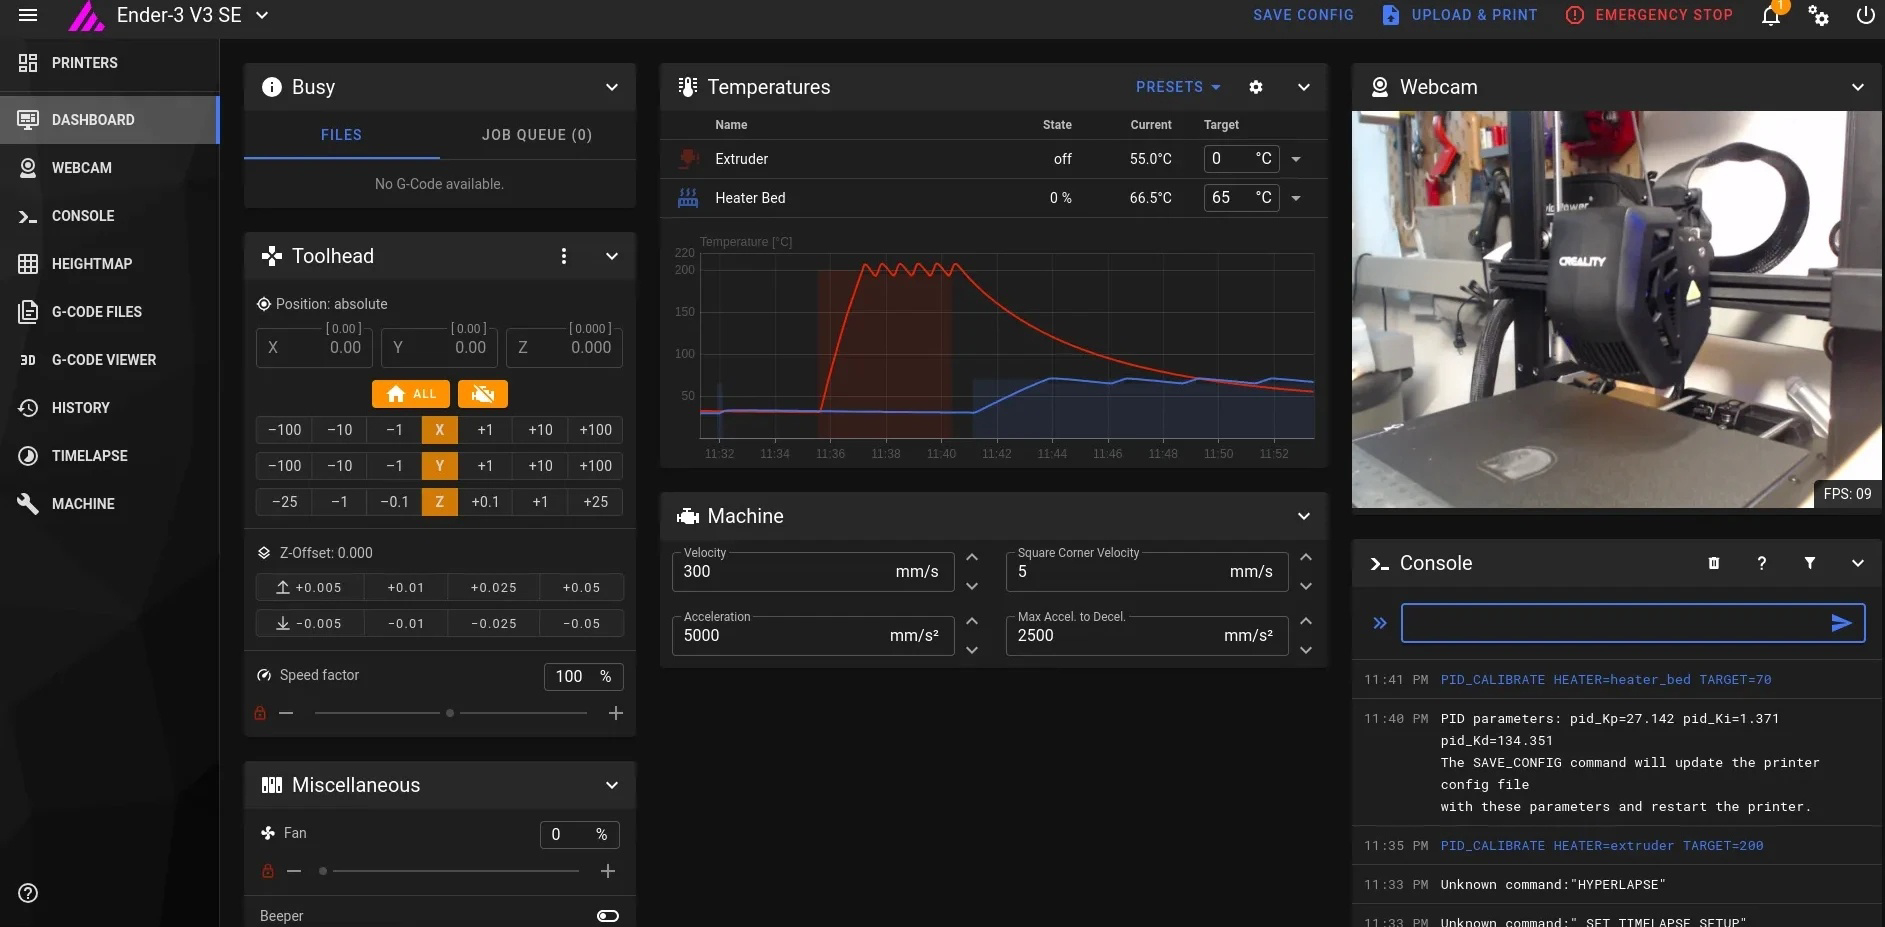
even better, add [screws_tilt_adjust] to take advantage of the crtouch and a little fancy computer math to make leveling super easy.
after configuring the screw locations and thread pitch, execute the command screws_tilt_calculate
https://www.klipper3d.org/Manual_Level.html
ender beds use M4 screws
I'm going to look into adding this in, thanks for the tip!