[-] RedBauble@sh.itjust.works 15 points 2 months ago

yt-dlp inside termux?

[-] RedBauble@sh.itjust.works 14 points 4 months ago* (last edited 4 months ago)

Is that a motorola moto z2 play? I owned that phone and I used to disassemble it just like this!

Edit: saw in another comment that it's a z4. The camera did look strange for a z2 at a second glance

[-] RedBauble@sh.itjust.works 36 points 5 months ago* (last edited 5 months ago)

While I don't remember his name, I remember there was a Darknet Diaries episode about the researcher who first investigated the problem. The episode was very thorough, I liked it a lot. I also don't remember the name of the episode, so I guess this comment is kinda useless

[-] RedBauble@sh.itjust.works 11 points 8 months ago

Ah, good old PlarformIO

[-] RedBauble@sh.itjust.works 10 points 8 months ago

Others are saying to switch to the specific driver for your printer. If you do not want to go proprietary you could try and see if your printer is supported by the splix driver

[-] RedBauble@sh.itjust.works 16 points 9 months ago

What's up with the in-app tracking? Is it just related to likes/dislikes?

IMG_20240130_120437

4

cross-posted from: https://sh.itjust.works/post/13637559

Hello everyone, I need some advice.

I am making custom PCBs for a project of mine. It's basically for a little remotely controlled robot using little DC motors. I chose the Seeed Studio XIAO ESP32C3 as the uC since it has inbuilt wifi/bt, 3.3V regulator that I can use to power the motors (can source up to 700mA) and lipo charging management (the robots will run on battery). As you can see from here, the microcontroller is surface mounted and the pads for the battery are on the bottom layer. Same story goes for the thermal pad of the microcontroller and the thermal pad of the motor driver (datasheet). I have worked with SMD components in the past and can solder them by hand, but I have never worked with SMD components that have thermal pads on the bottom layer. My question is: how to manage (route?) them? My PCB is 2-layer and I was planning on having both layers filled with a ground plane. Do I just connect thermal pads to the ground plane and call it a day? Wouldn't that make the components hard to solder with hot air? Do I make an isolated polygon that only acts as a thermal pad?

Speaking of soldering is even hot air the way to go in this case? My PCB has components on both sides, and I was planning on ordering stencils together with the boards and using solder paste, placing the components and then using hot air to solder the components in place. I thought a hot plate would be better but I don't have access to one and I don't know how that works with components on both sides.

I attached some photos of the PCB in Kicad, and here's the git repo. If it is of any help, I'm planning of having them manifactured by JLCPCB. It is also my first time using KiCad, so go easy on me :)

Thanks!

10
submitted 9 months ago by RedBauble@sh.itjust.works to c/ece@lemmy.world

Hello everyone, I need some advice.

I am making custom PCBs for a project of mine. It's basically for a little remotely controlled robot using little DC motors. I chose the Seeed Studio XIAO ESP32C3 as the uC since it has inbuilt wifi/bt, 3.3V regulator that I can use to power the motors (can source up to 700mA) and lipo charging management (the robots will run on battery). As you can see from here, the microcontroller is surface mounted and the pads for the battery are on the bottom layer. Same story goes for the thermal pad of the microcontroller and the thermal pad of the motor driver (datasheet). I have worked with SMD components in the past and can solder them by hand, but I have never worked with SMD components that have thermal pads on the bottom layer. My question is: how to manage (route?) them? My PCB is 2-layer and I was planning on having both layers filled with a ground plane. Do I just connect thermal pads to the ground plane and call it a day? Wouldn't that make the components hard to solder with hot air? Do I make an isolated polygon that only acts as a thermal pad?

Speaking of soldering is even hot air the way to go in this case? My PCB has components on both sides, and I was planning on ordering stencils together with the boards and using solder paste, placing the components and then using hot air to solder the components in place. I thought a hot plate would be better but I don't have access to one and I don't know how that works with components on both sides.

I attached some photos of the PCB in Kicad, and here's the git repo. If it is of any help, I'm planning of having them manifactured by JLCPCB. It is also my first time using KiCad, so go easy on me :)

Thanks!

39
submitted 10 months ago by RedBauble@sh.itjust.works to c/lego@lemmy.world

cross-posted from: https://sh.itjust.works/post/11620383

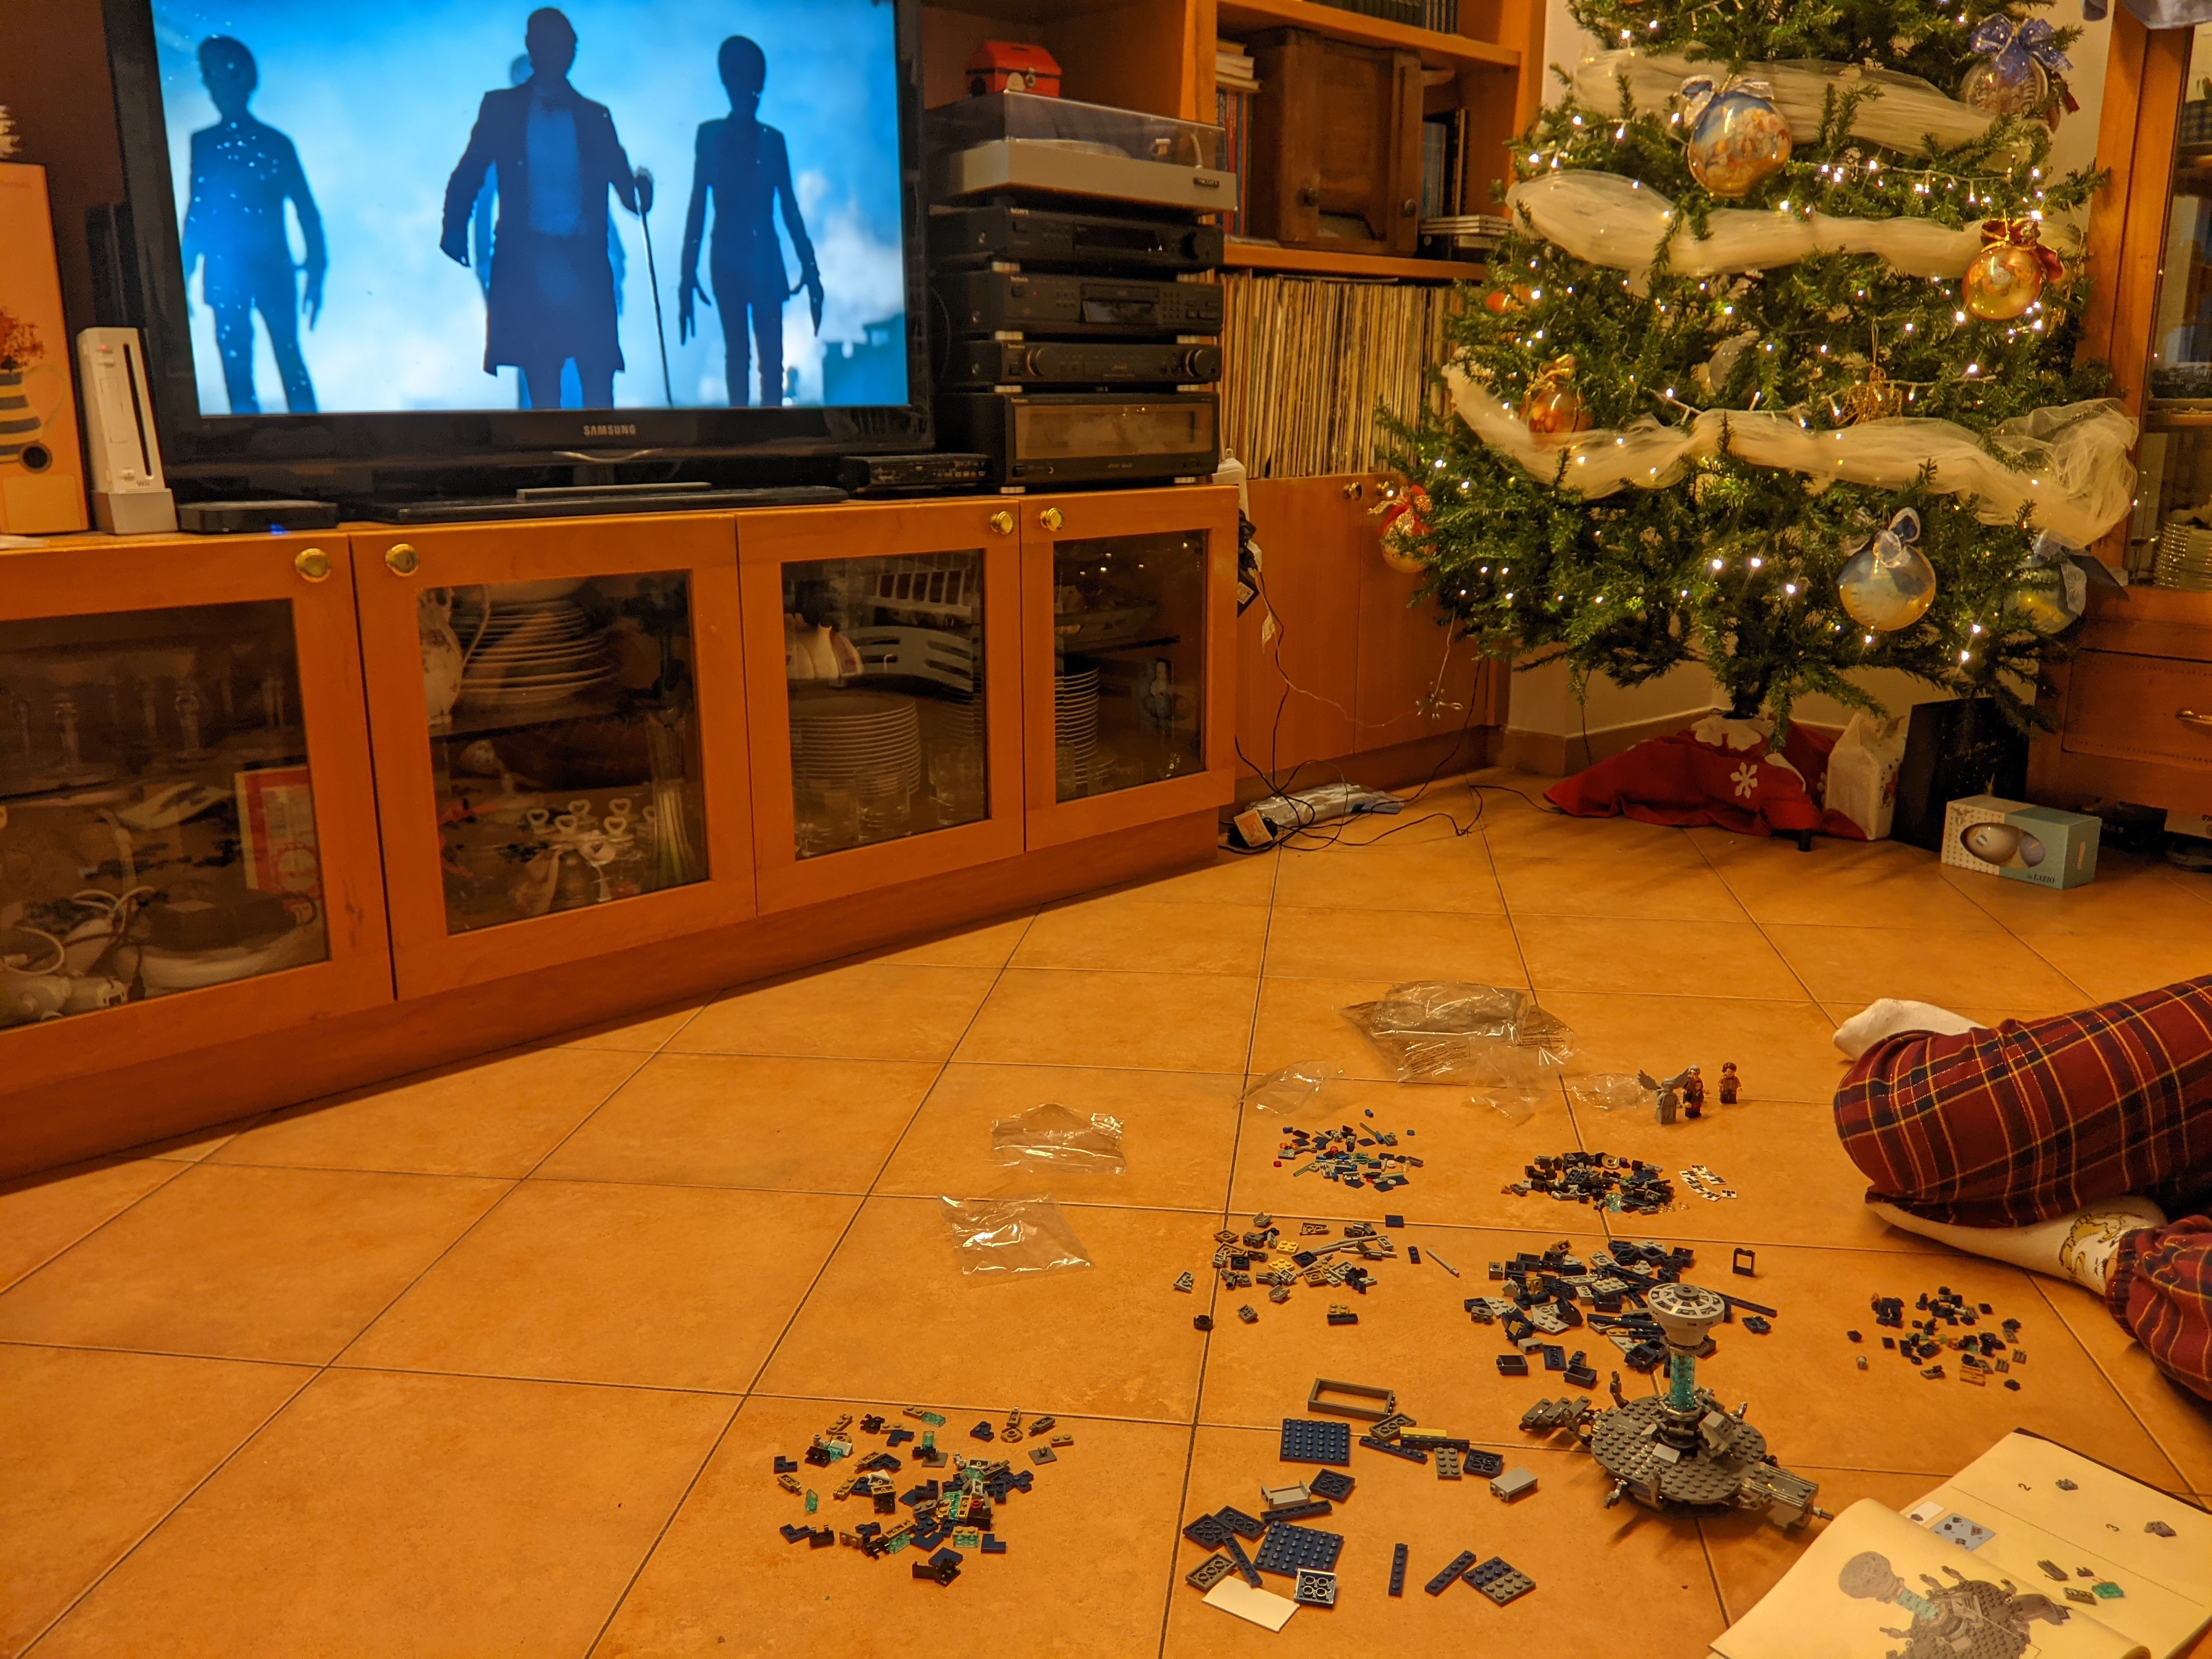
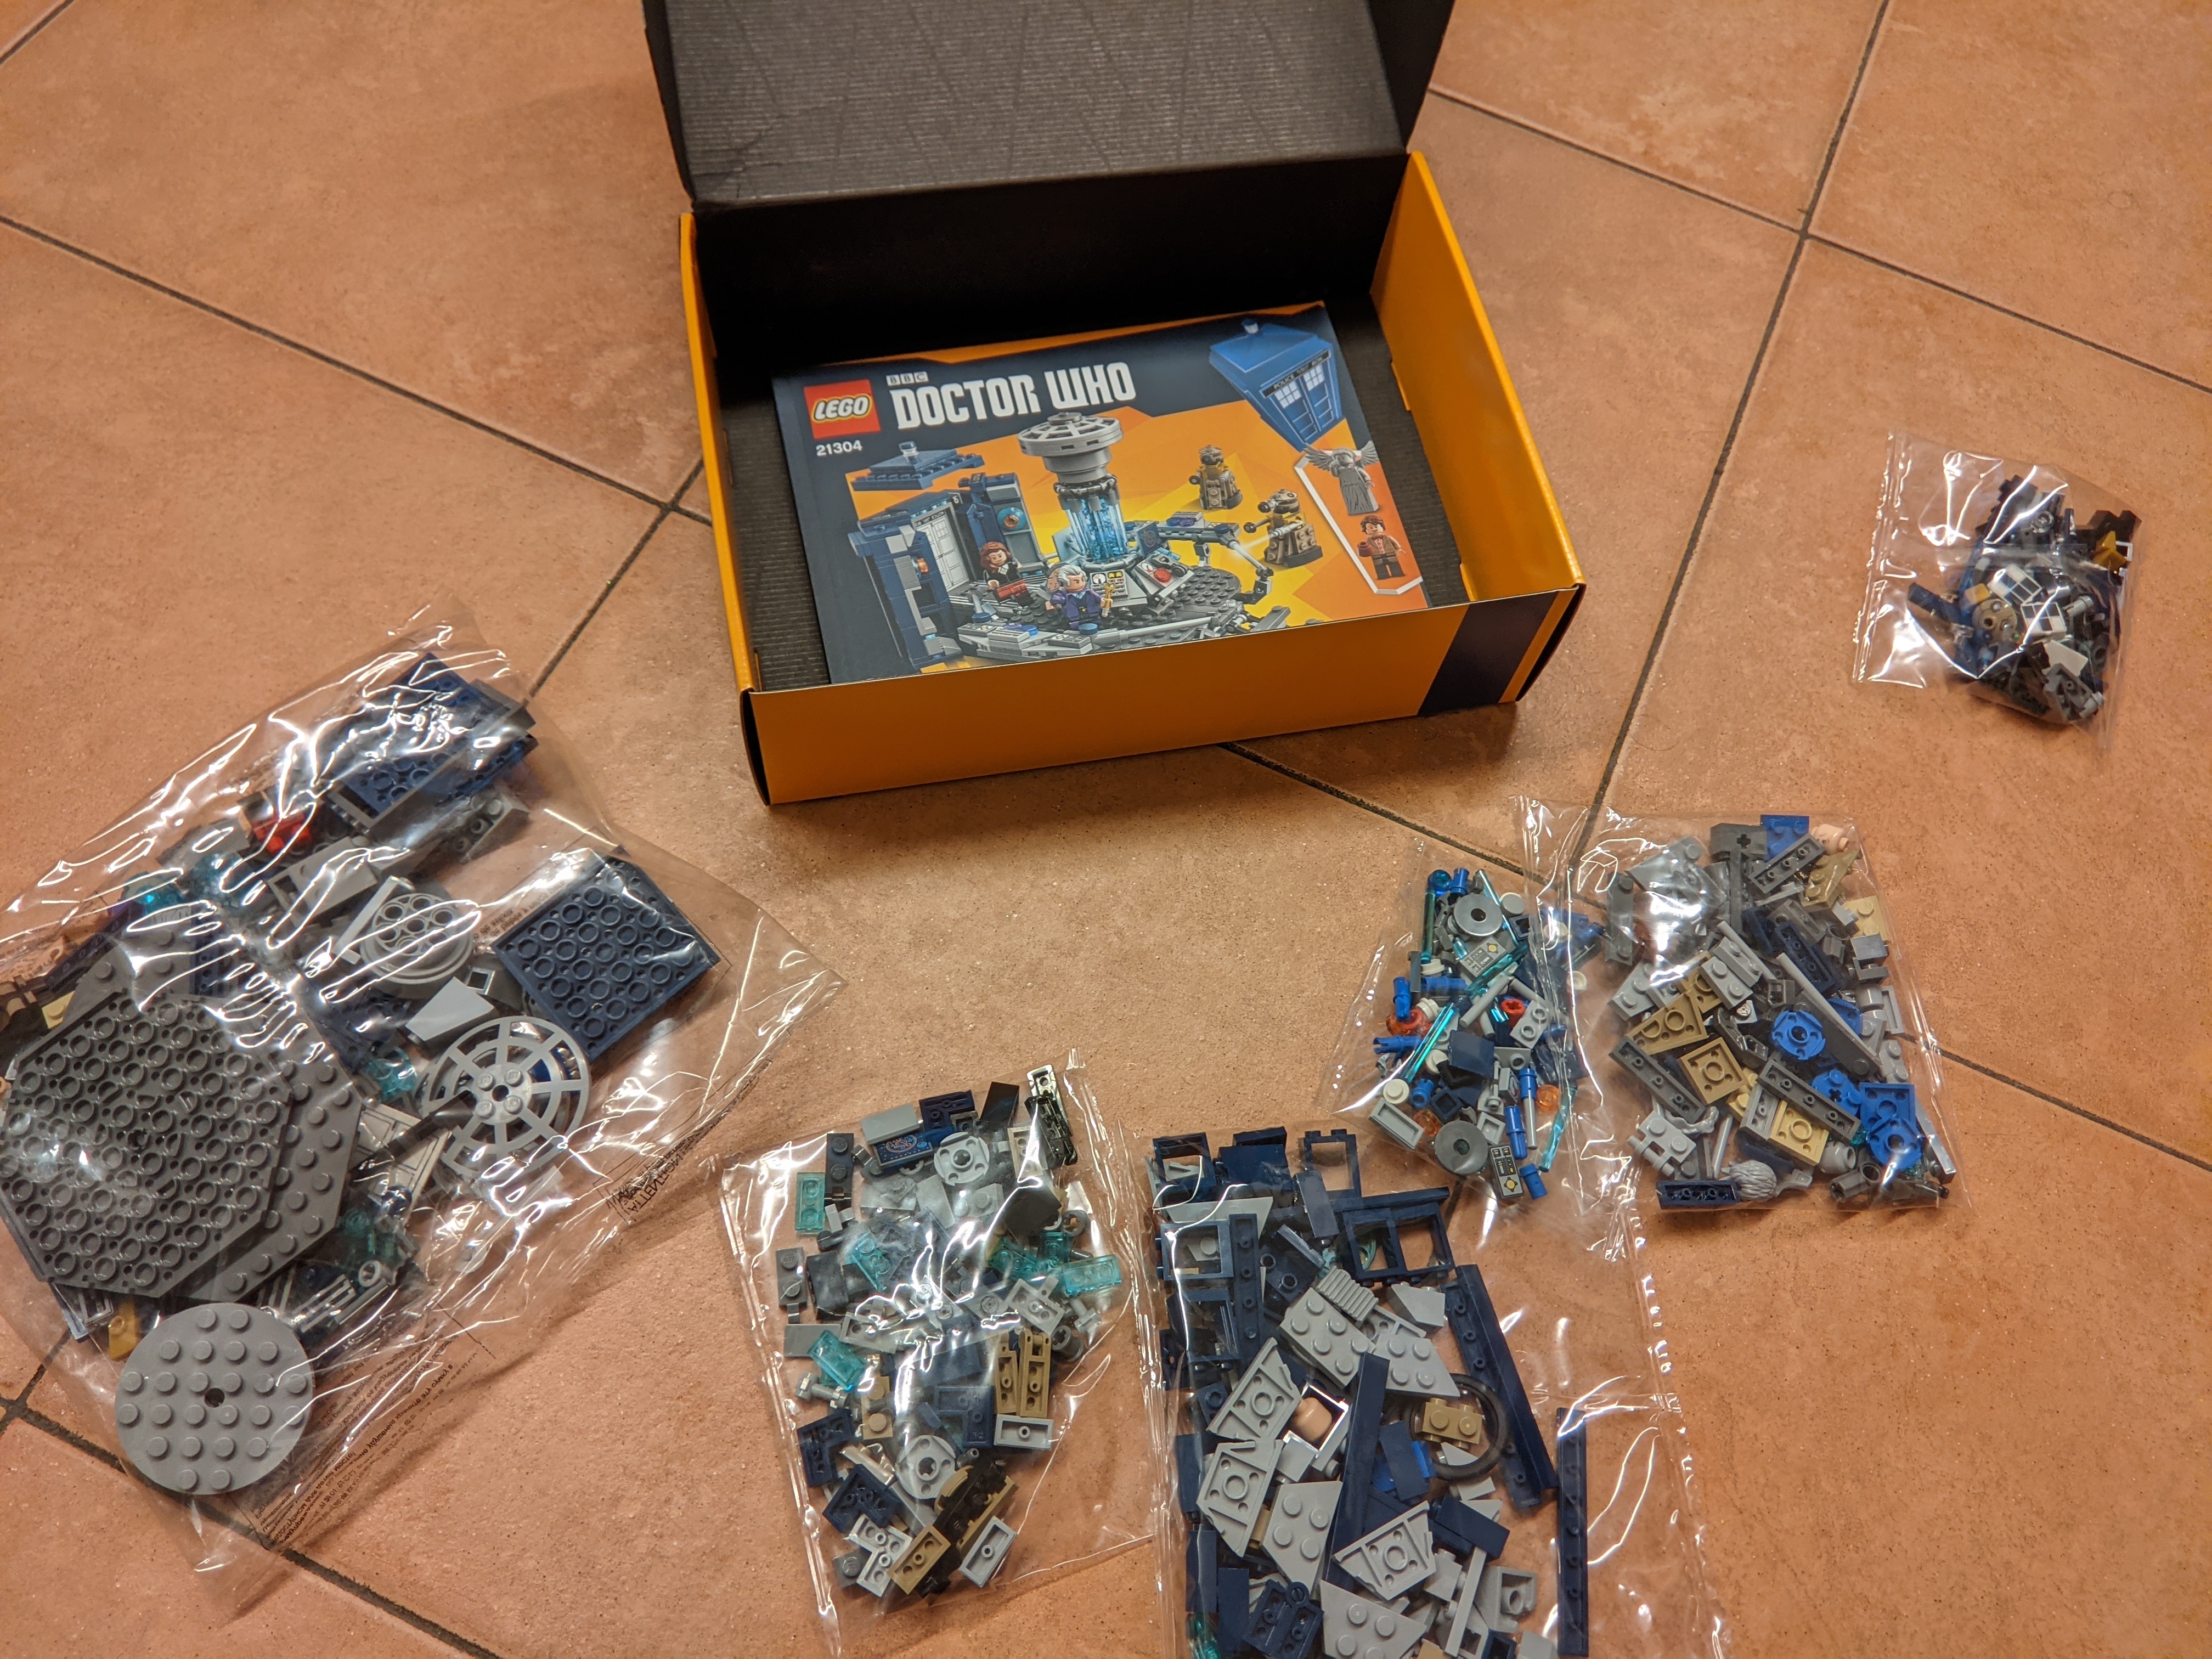
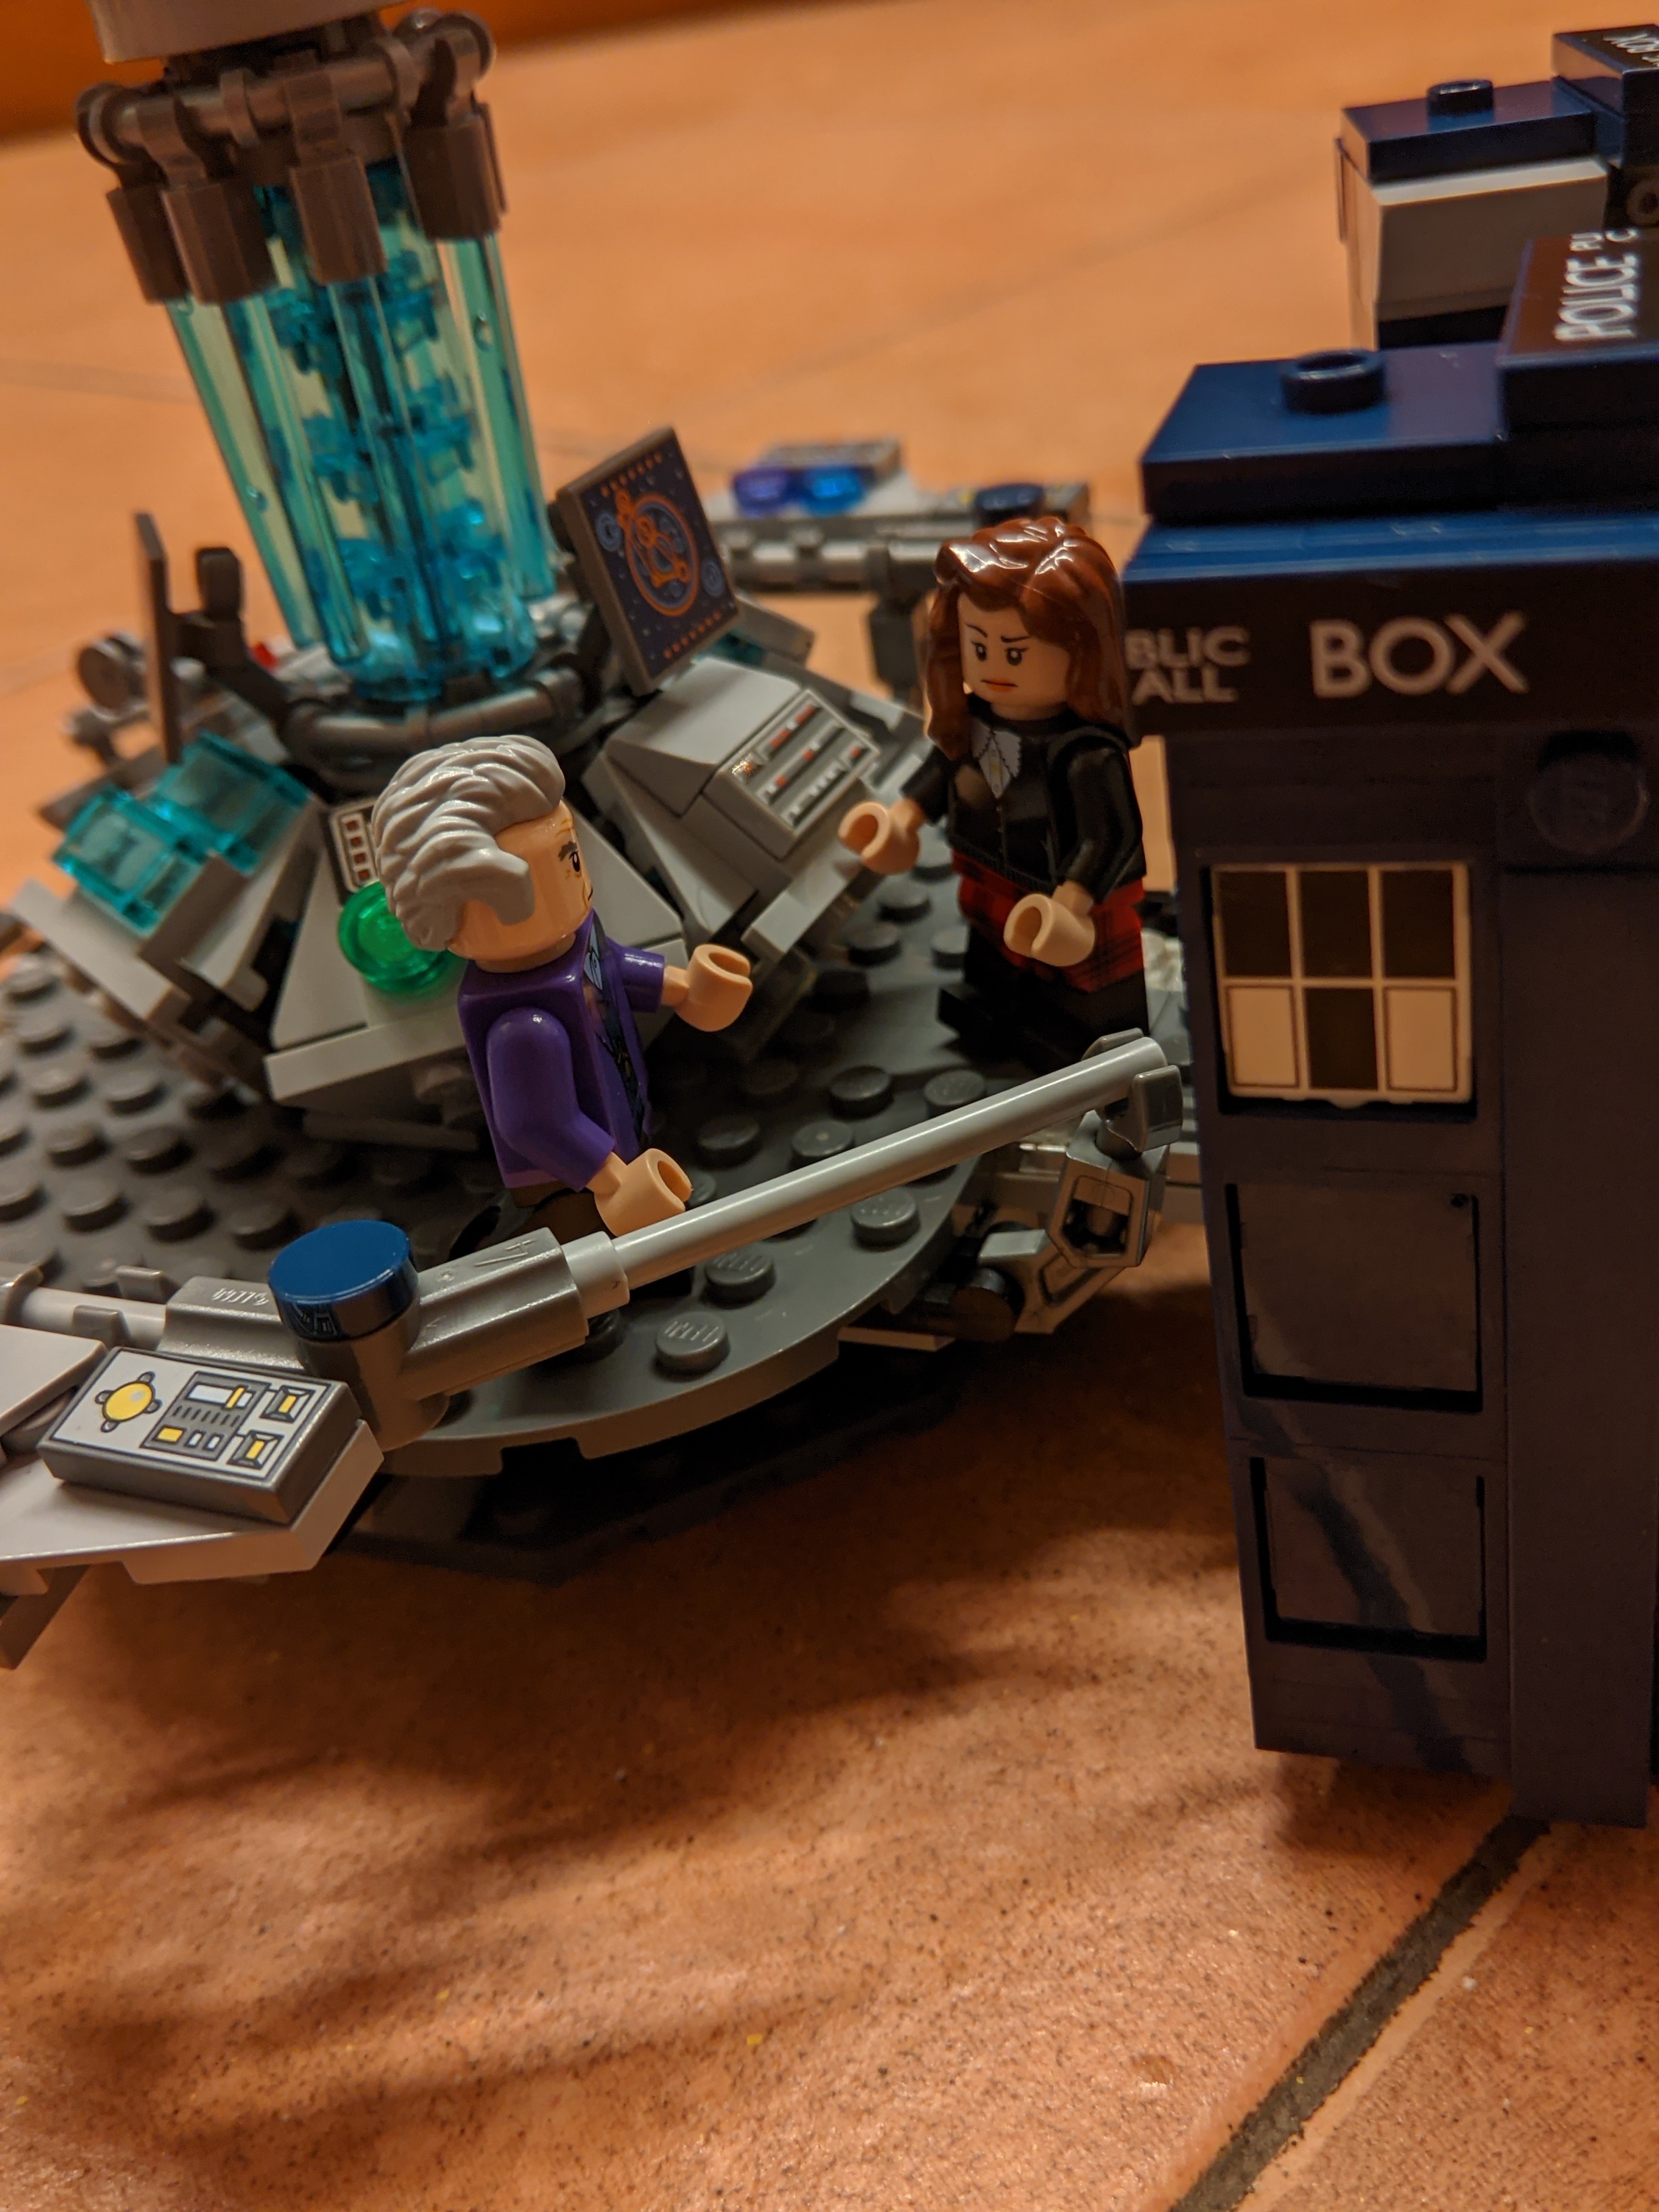
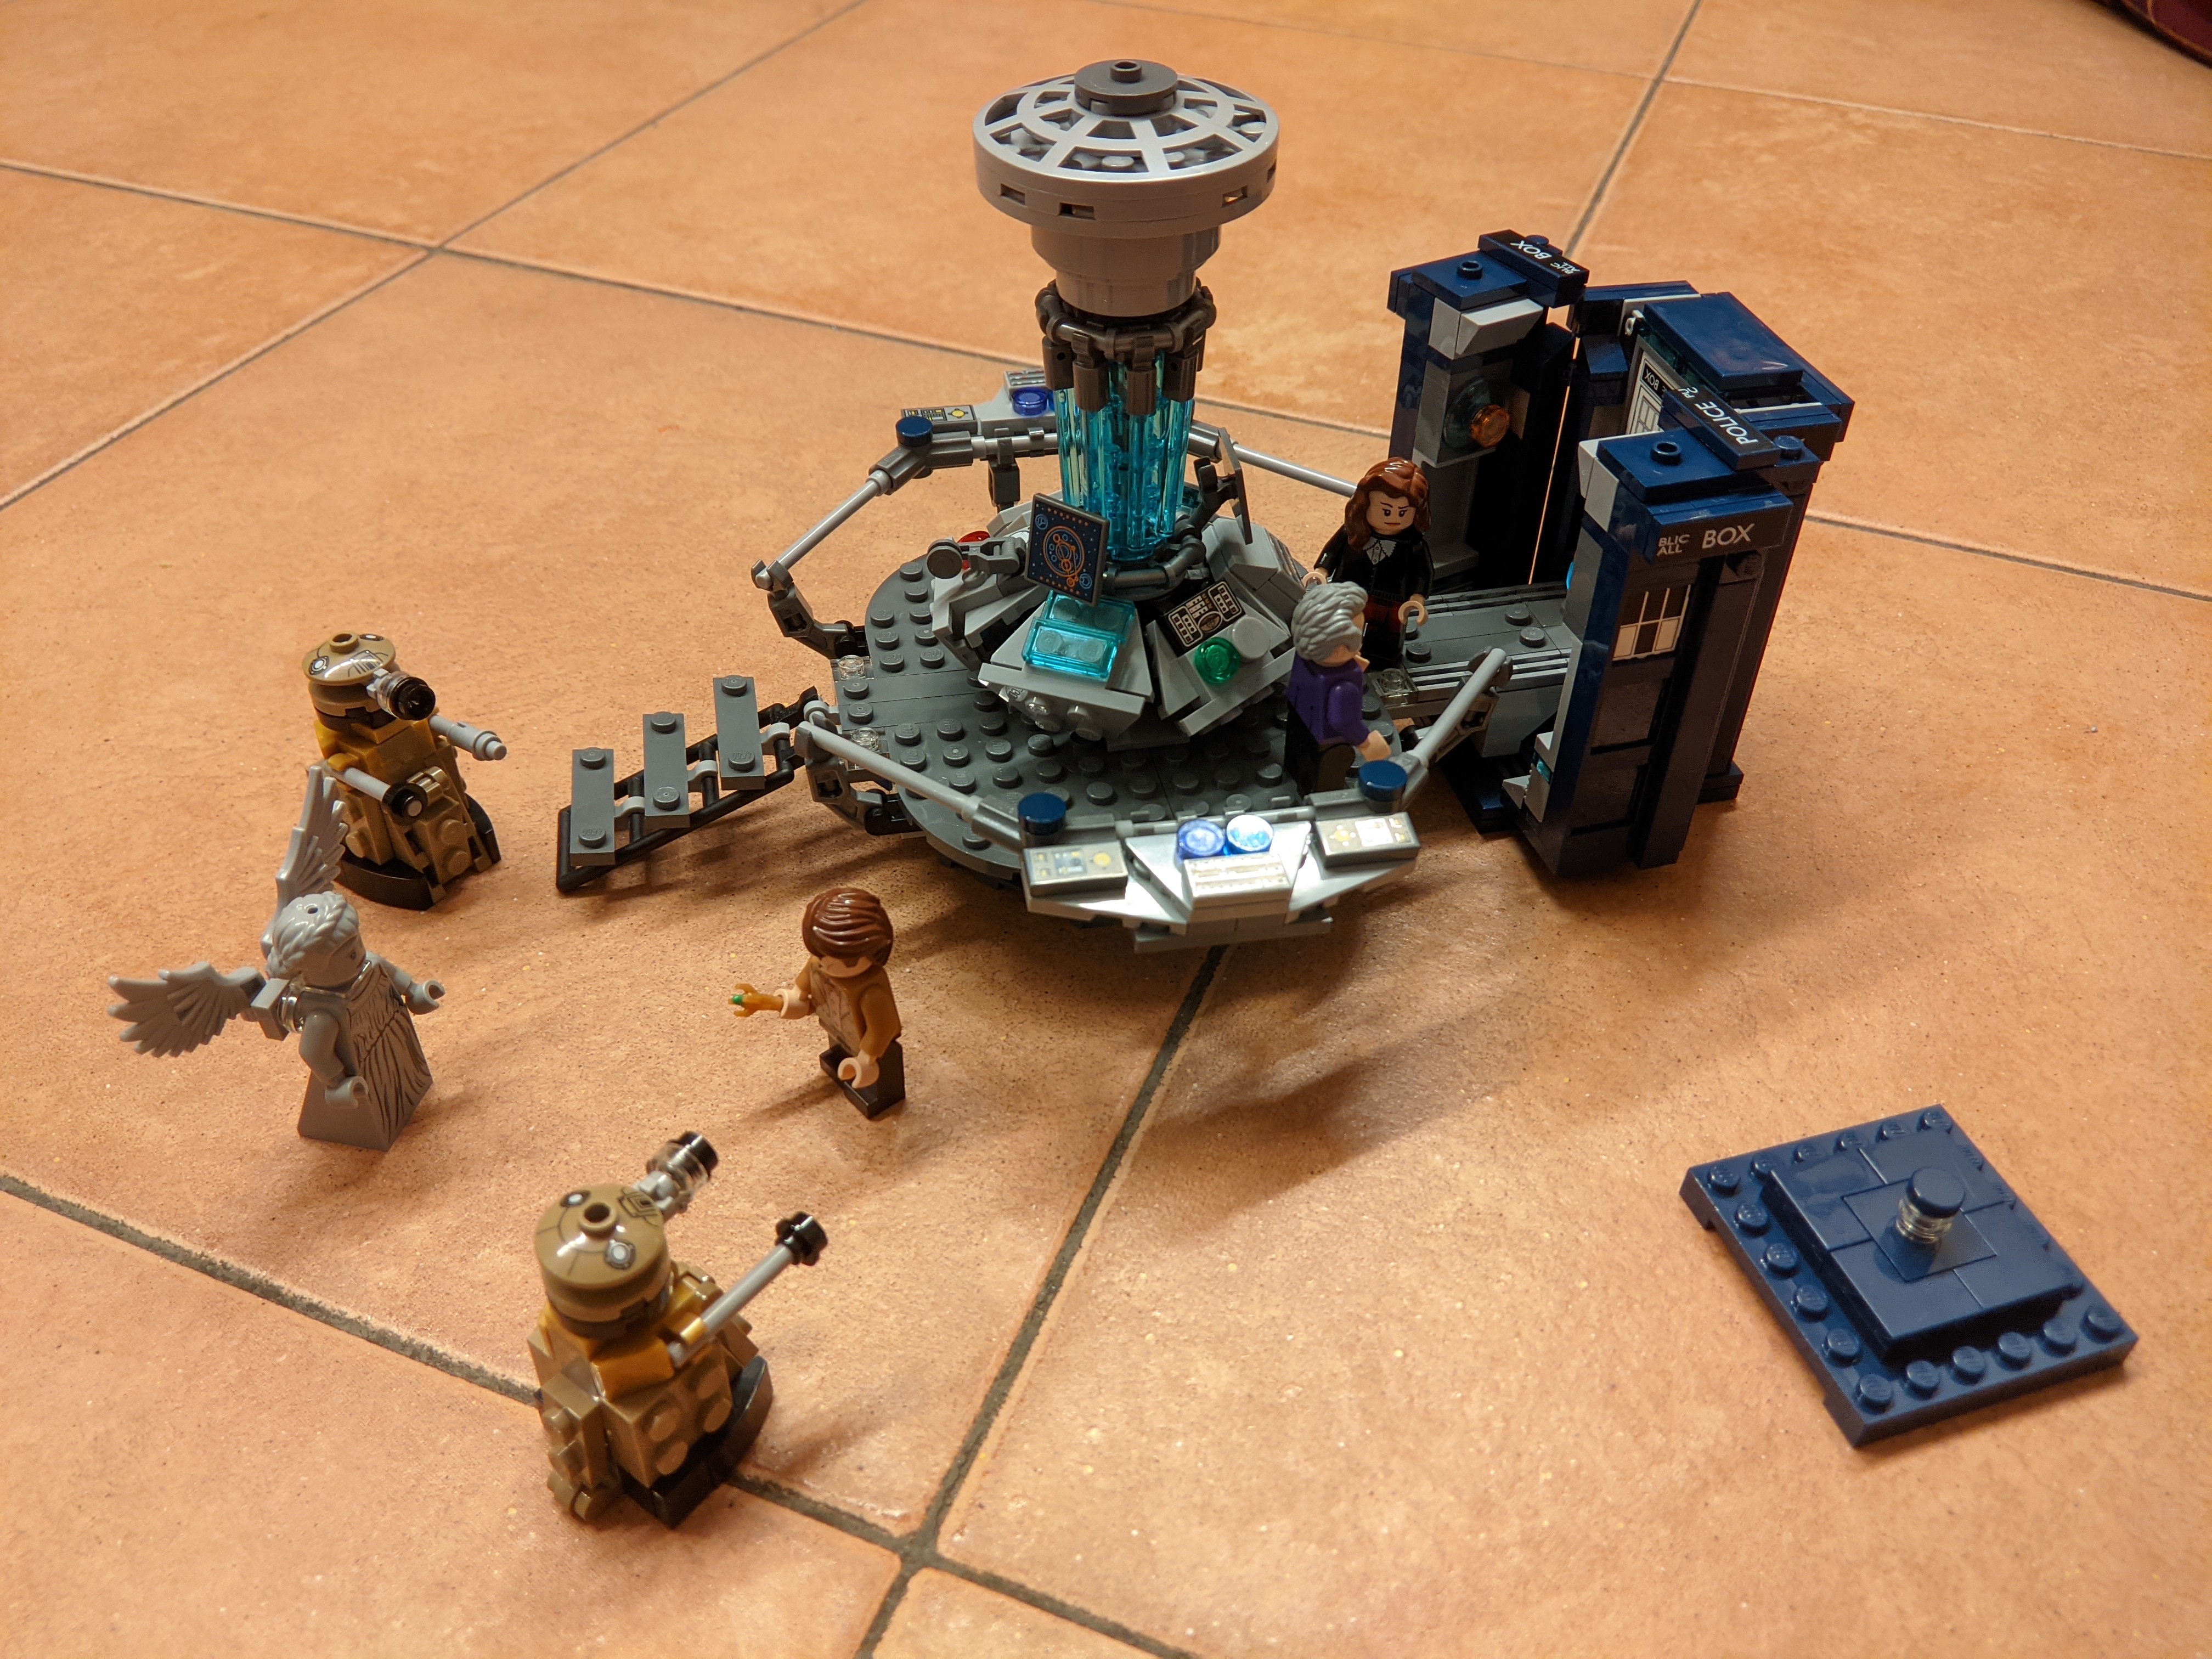
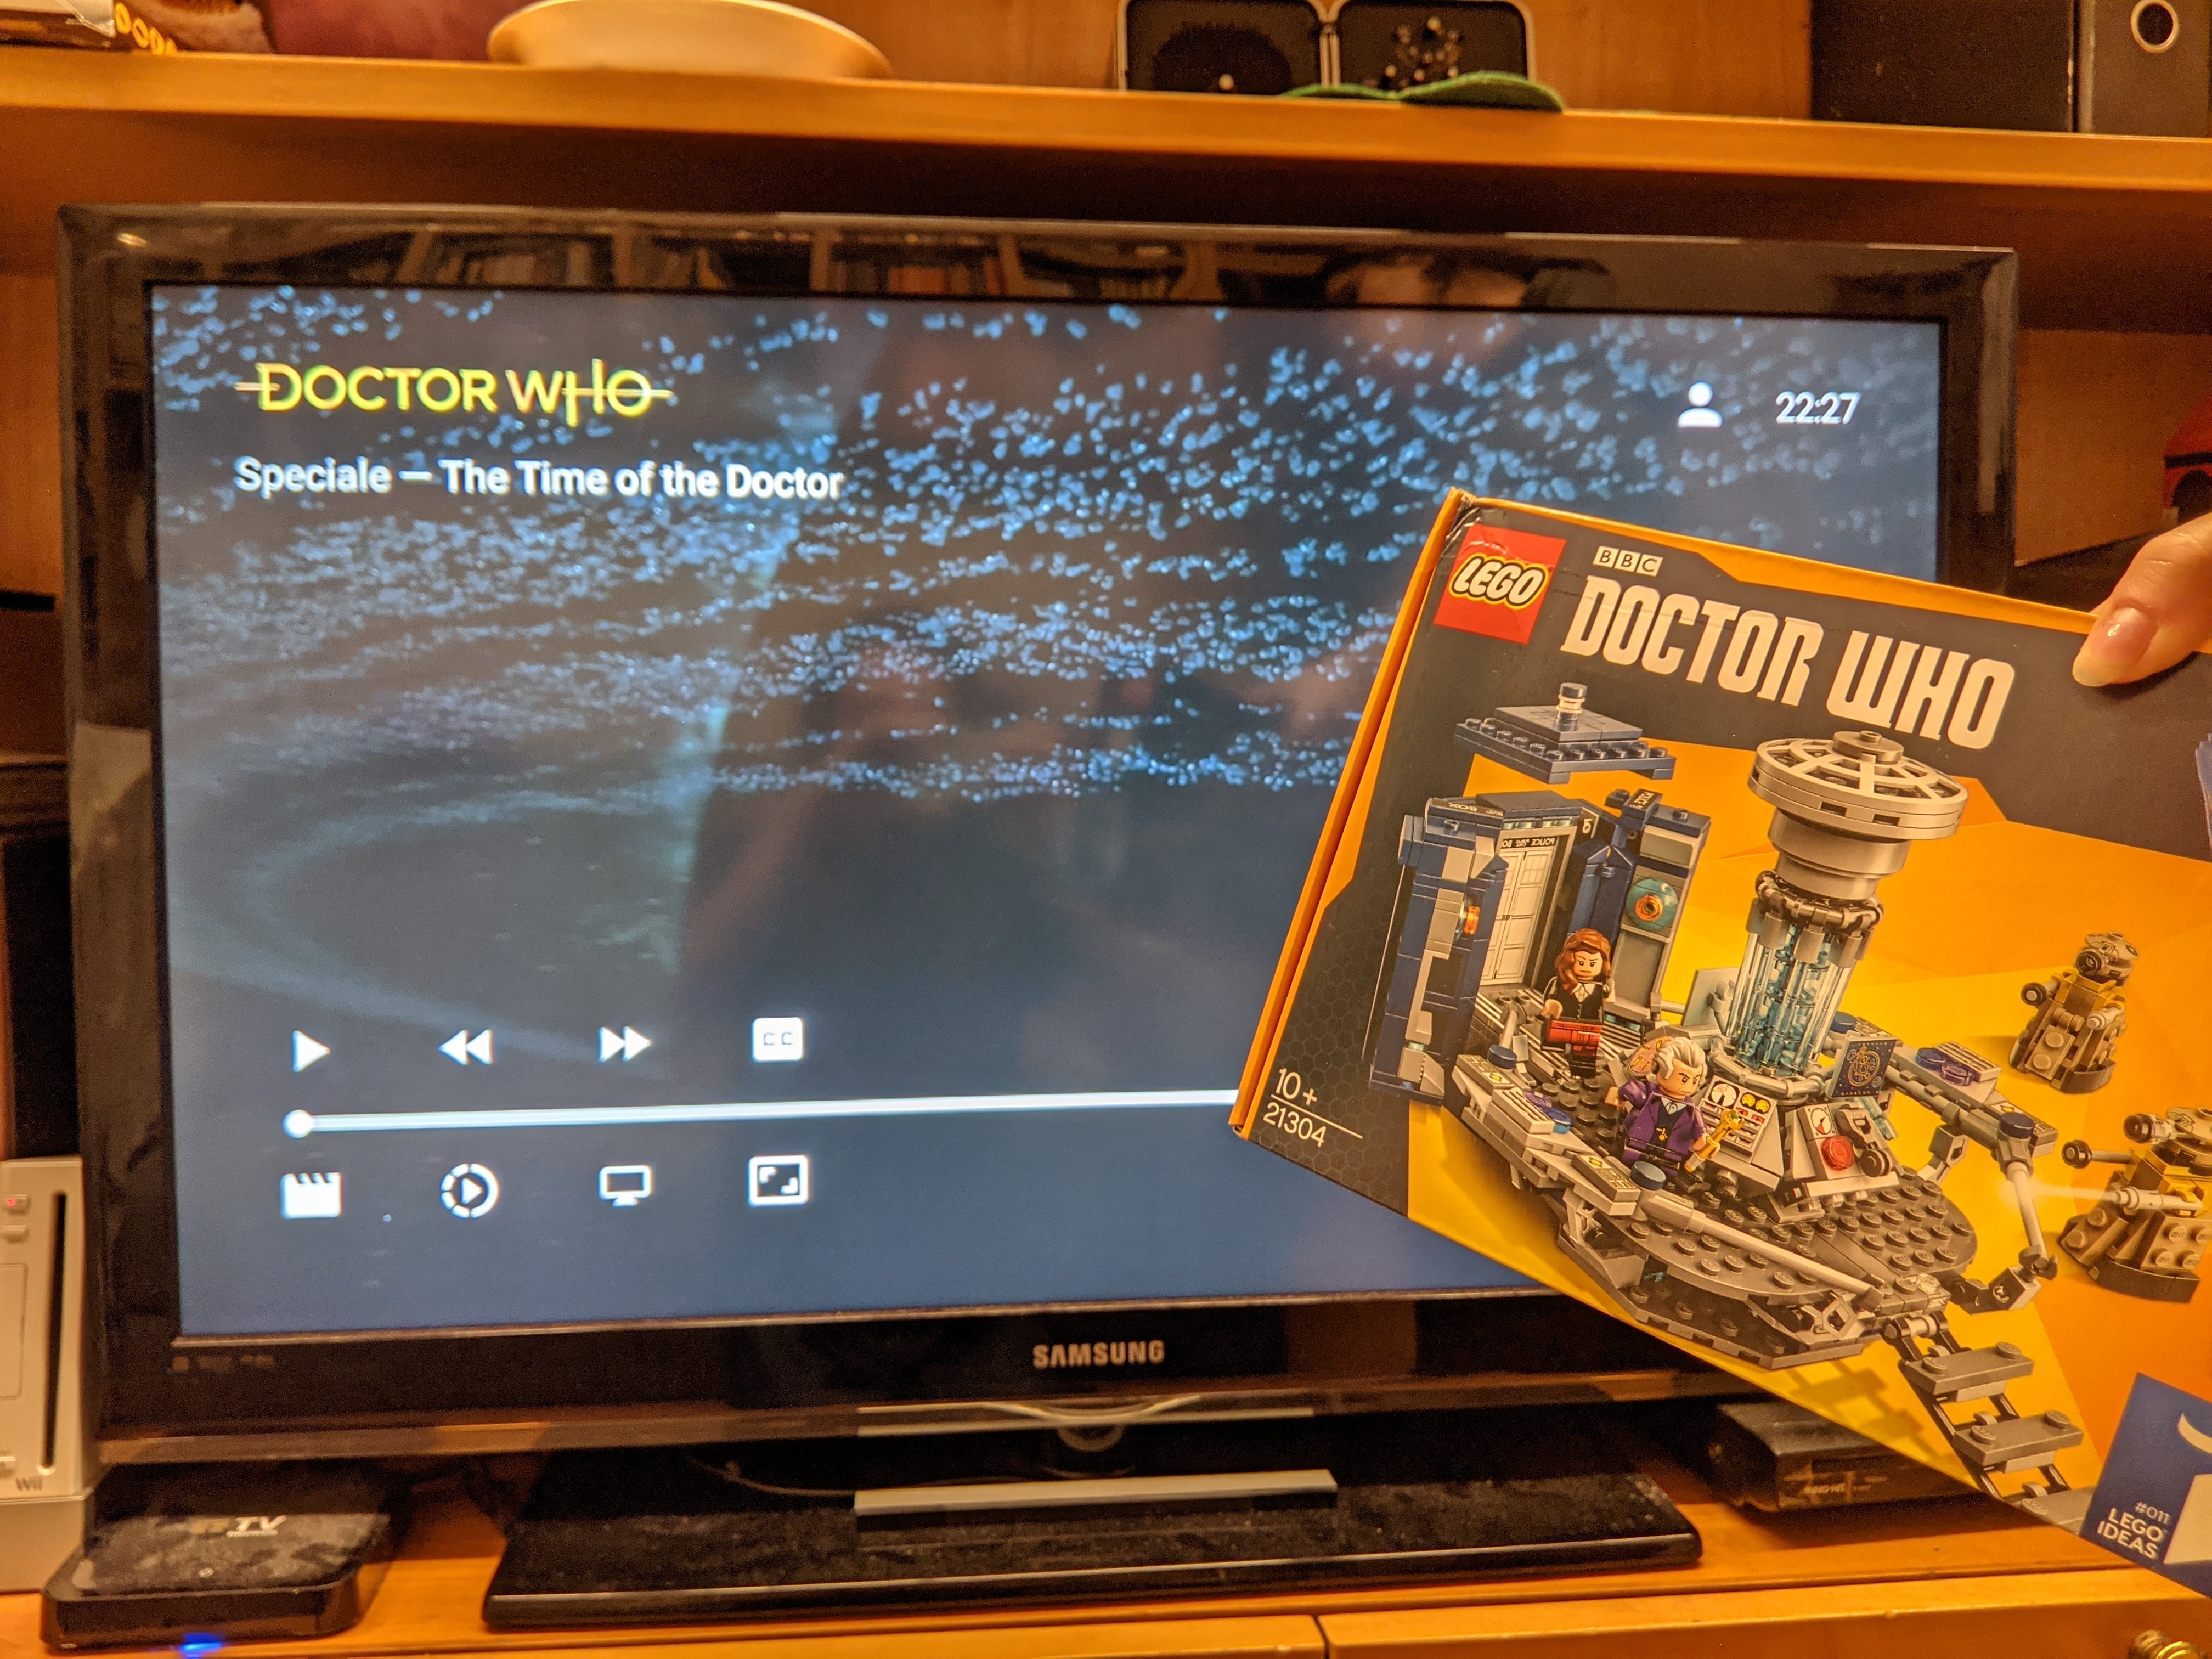
Just thought it would be fitting building while watching the matching Christmas special!

PXL_20231225_231413756

PXL_20231225_222959144

KIDNEYS! PXL_20231226_003811378

All finished up PXL_20231226_003909786

68
submitted 10 months ago* (last edited 10 months ago) by RedBauble@sh.itjust.works to c/doctorwho@lemmy.world

Just thought it would be fitting building while watching the matching Christmas special!

PXL_20231225_231413756

PXL_20231225_222959144

KIDNEYS! PXL_20231226_003811378

All finished up PXL_20231226_003909786

[-] RedBauble@sh.itjust.works 11 points 10 months ago

I really despise the use of the mouse, in some way it just feels somewhat wrong, especially the need to constantly move one hand between the mouse and the keyboard. Also I'm way faster at typing that I am pointing and clicking around looking for the right button to press. Terminal commands offer a simple and expressive way to interact with the computer.

[-] RedBauble@sh.itjust.works 6 points 11 months ago

What do you use now?

[-] RedBauble@sh.itjust.works 9 points 1 year ago

That was the Motorola Moto Z series for ya, had pins on the back for modules to be attached. Some modules were a battery pack, jbl speaker, a projector, and even a little printer to have the phone work like a polaroid

[-] RedBauble@sh.itjust.works 5 points 1 year ago

A raspberry pi running pihole does not need a monitor. Pihole itself only requires a lan connection (wifi should also work, check pihole docs for that) and only uses the monitor to show your ip address at the start. You can use any monitor with the pi, you don't need a dedicated one

[-] RedBauble@sh.itjust.works 9 points 1 year ago

Simply don't. Powering the RPi via the gpio is possible but bypasses all protections (over/reverse voltage, shortcircuit). Do it only if you know for sure that those things won't happen. Otherwise, know that you might kill your pi.

If you still wanna do it, look for ground (gnd) and a +5v rail on the ender 3 board. The here is the rpi gpio pinout, you have to connect gnd to gnd of the board and +5v to the +5v rail on the board.

I guess a good compromise would be to connect the +5v coming from the ender 3 to the proper pads/vias under the microusb cable on the pi, that way you would still have all the protections in place on the pi. But I have never done that, so don't quote me on that.

view more: next ›

RedBauble

joined 1 year ago