1
Found it on the curb, and I liked the design. Looks like solid wood, but the joints are all coming apart and look tricky to reinforce. Would you bother?


A handmade home for woodworkers and admirers of woodworkers. Our community icon is a planter box made by @Captain Aggravated, the winner of our summer '24 woodworking contest. Congratulations!
Found it on the curb, and I liked the design. Looks like solid wood, but the joints are all coming apart and look tricky to reinforce. Would you bother?
Walnut and maple., it's an inch and a quarter thick, 12 1/2 inches wide and about 17 inches long. While it is an end grain cutting board I actually built it with kneading dough in mind, I don't intend to cut on this one, not for awhile anyway. Built it this weekend and baked some bread with it today. Which is why my mixer is covered in flour. I'm really happy with this one.

Walnut and maple., it's an inch and a quarter thick, 12 1/2 inches wide and about 17 inches long. While it is an end grain cutting board I actually built it with kneading dough in mind, I don't intend to cut on this one, not for awhile anyway. Built it this weekend and baked some bread with it today. Which is why my mixer is covered in flour. I'm really happy with this one.
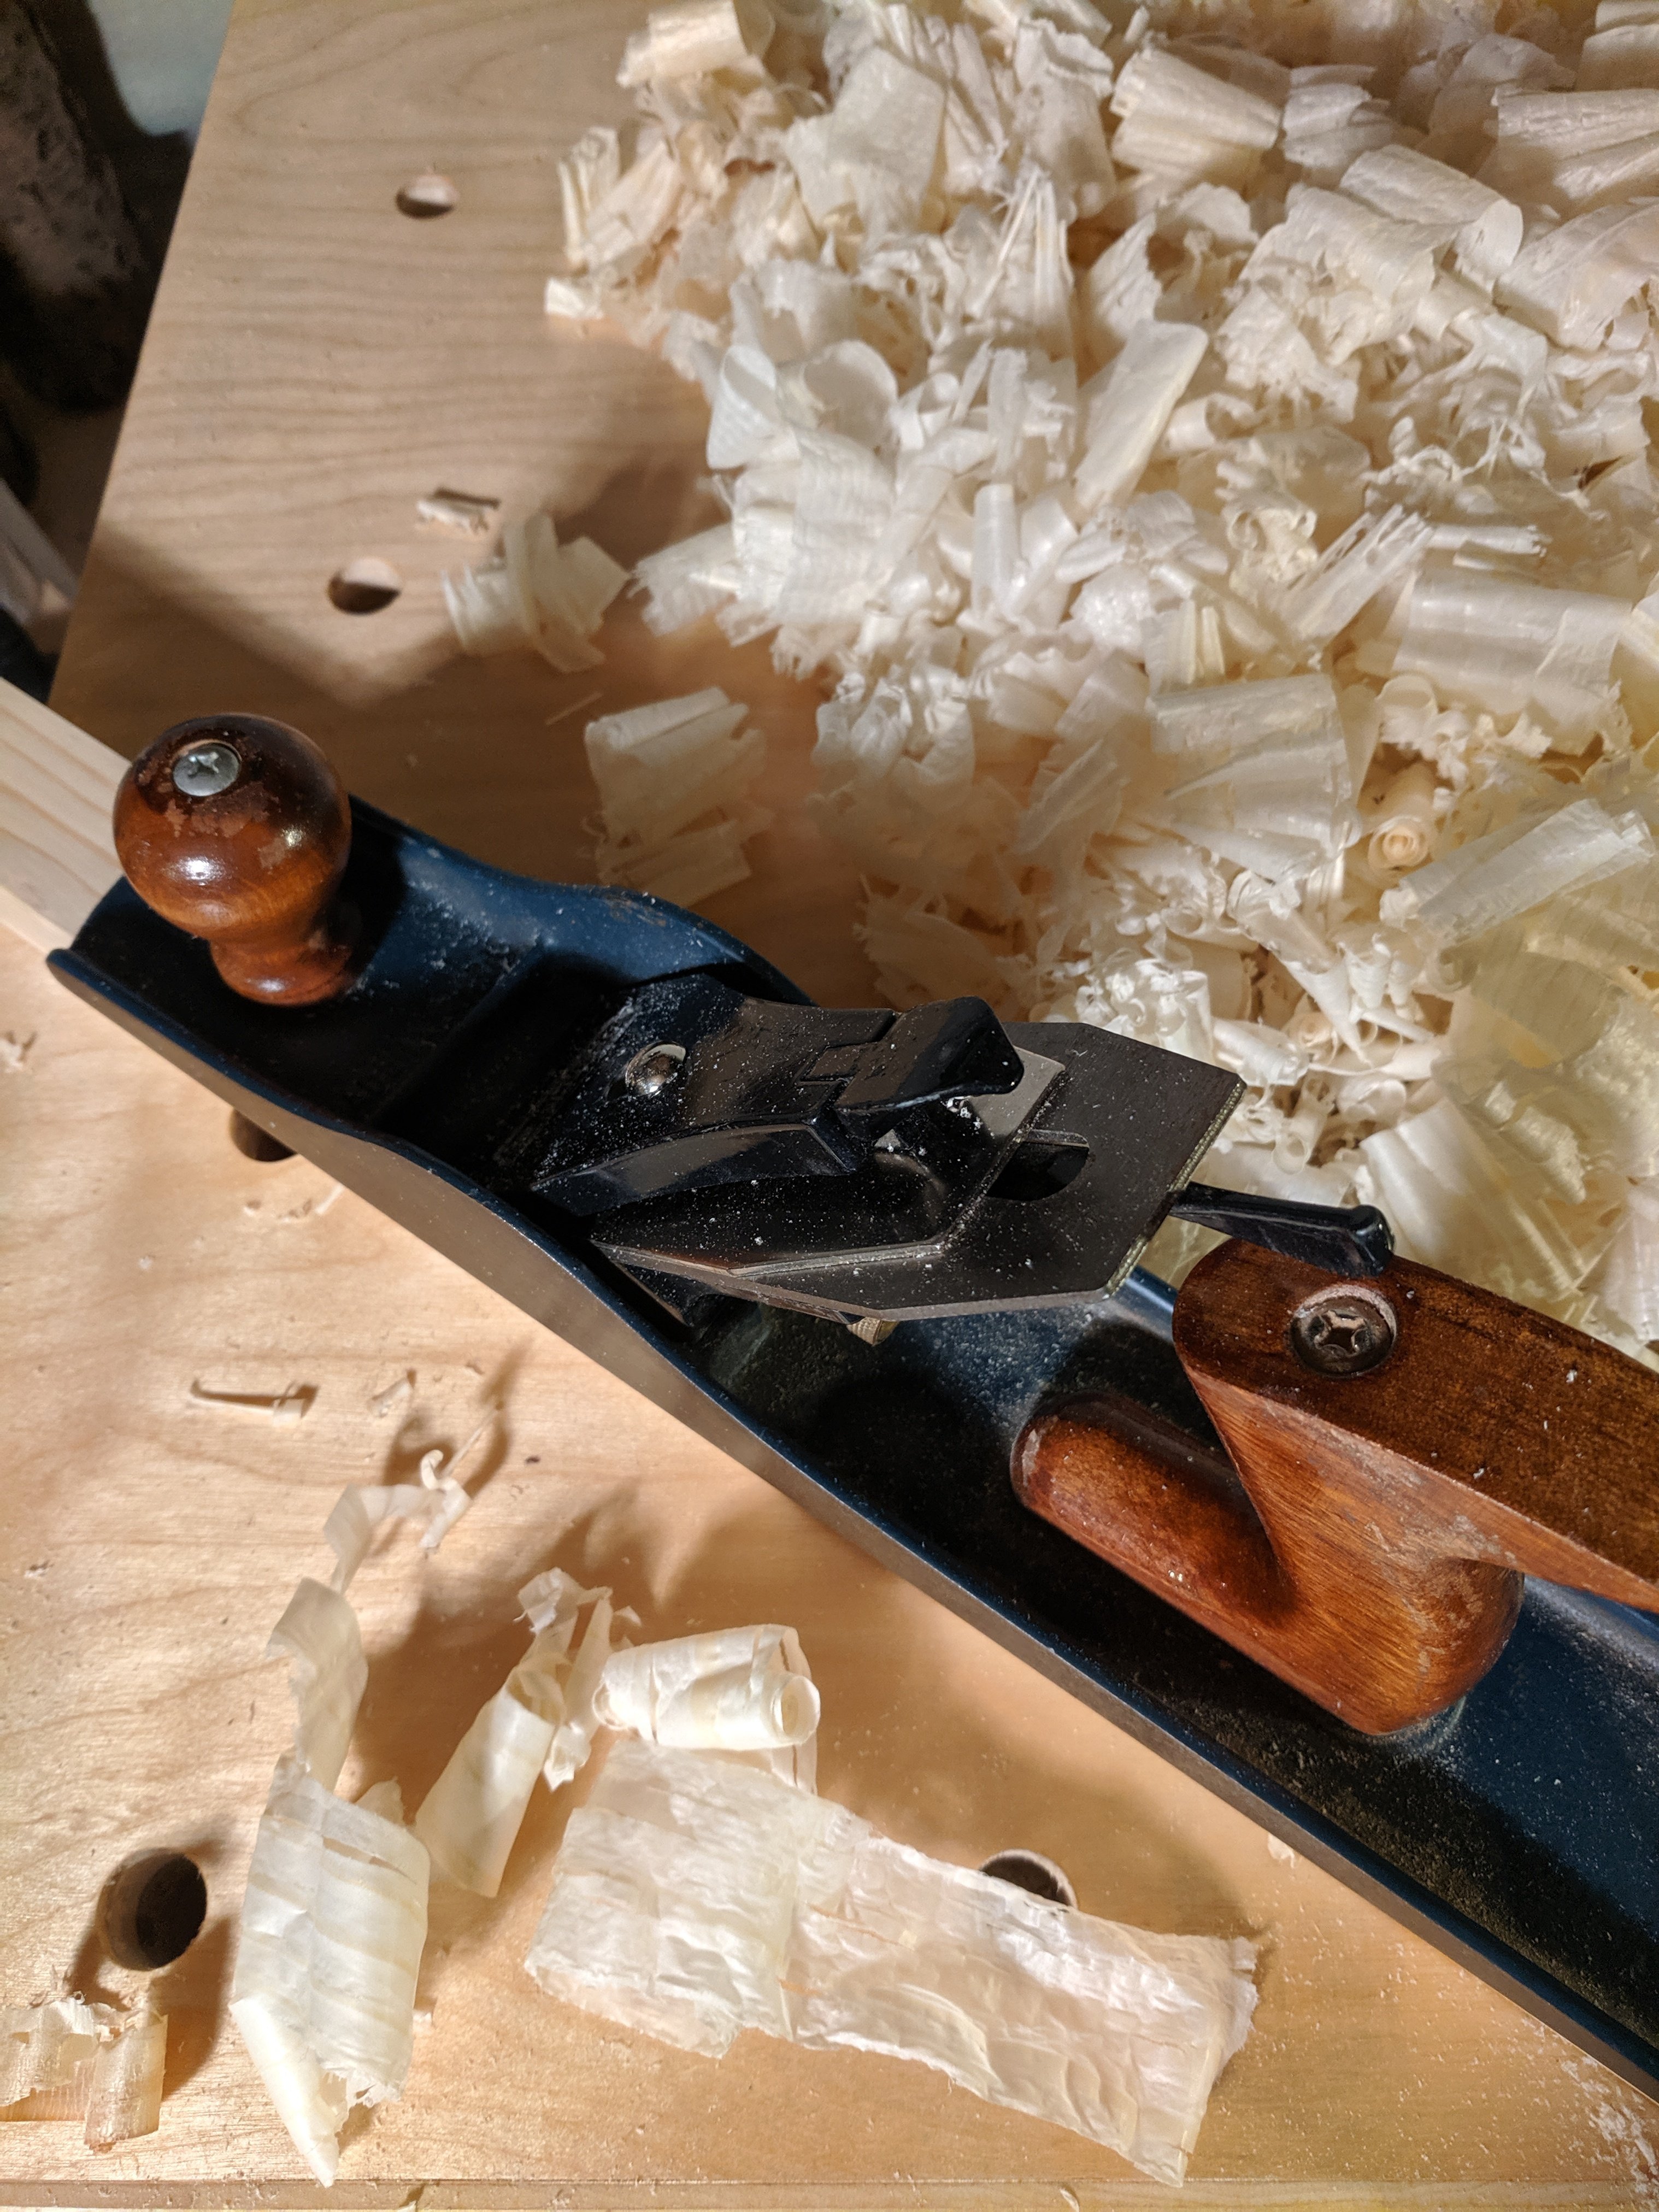
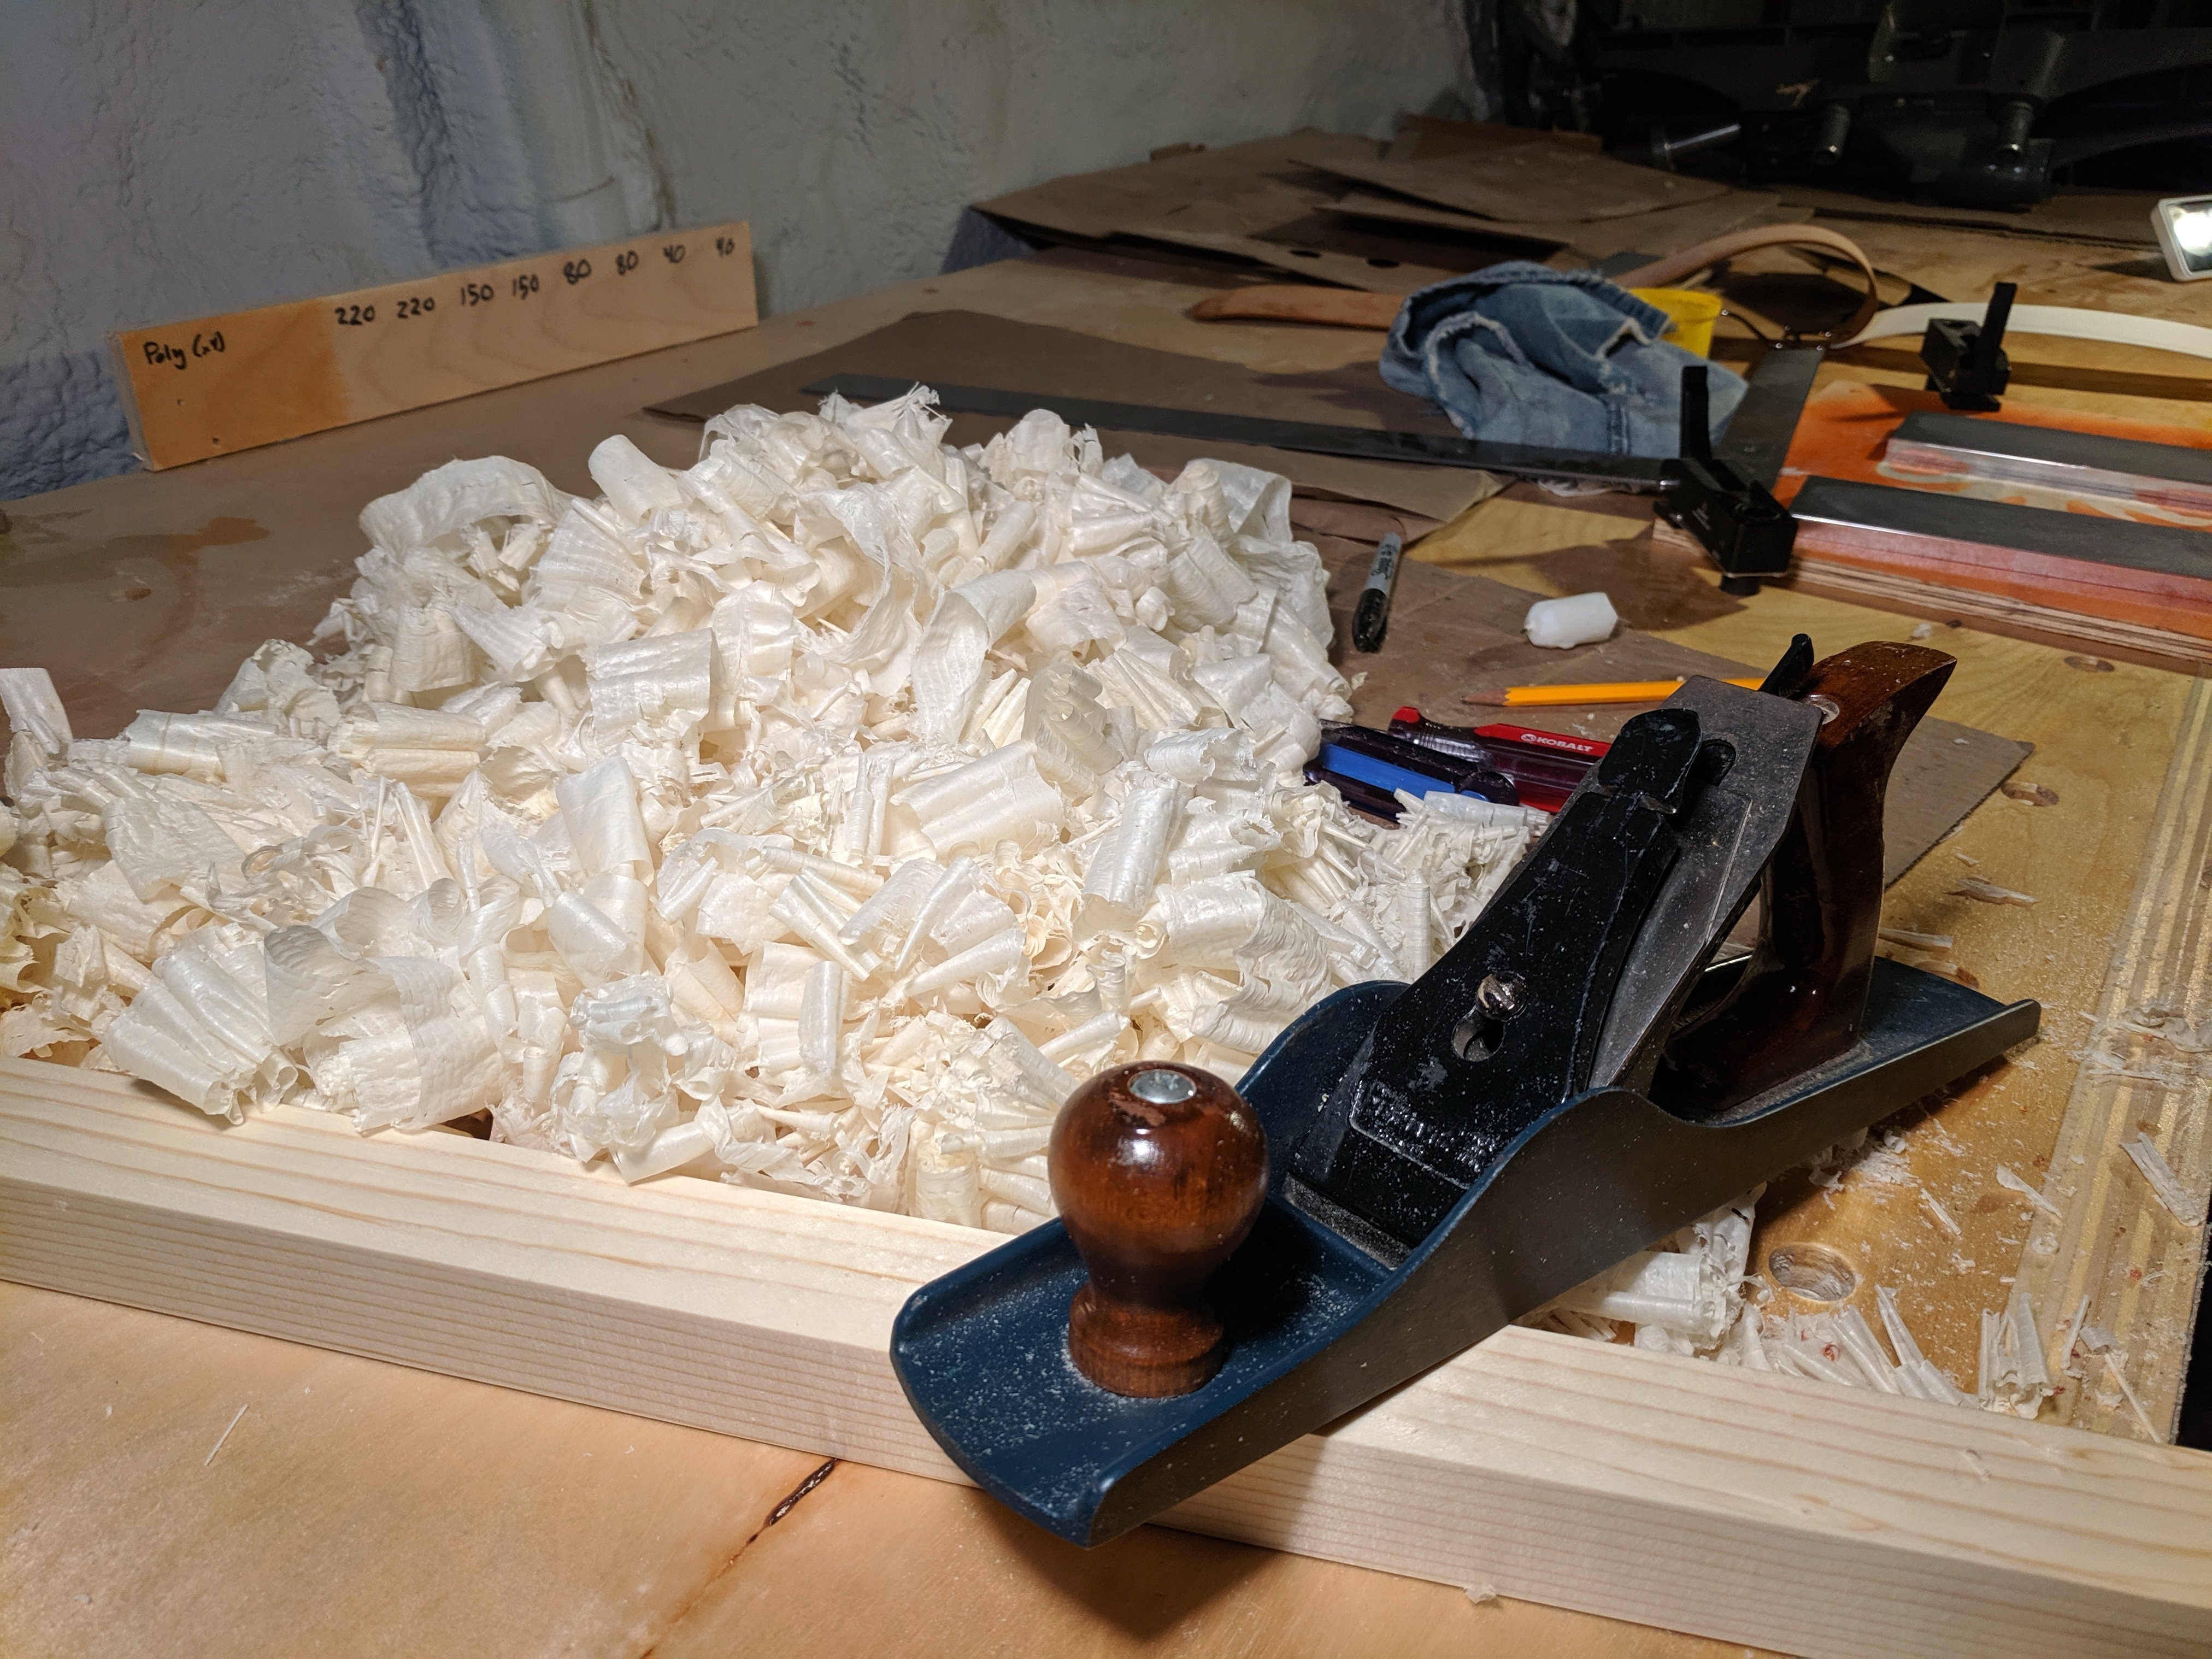
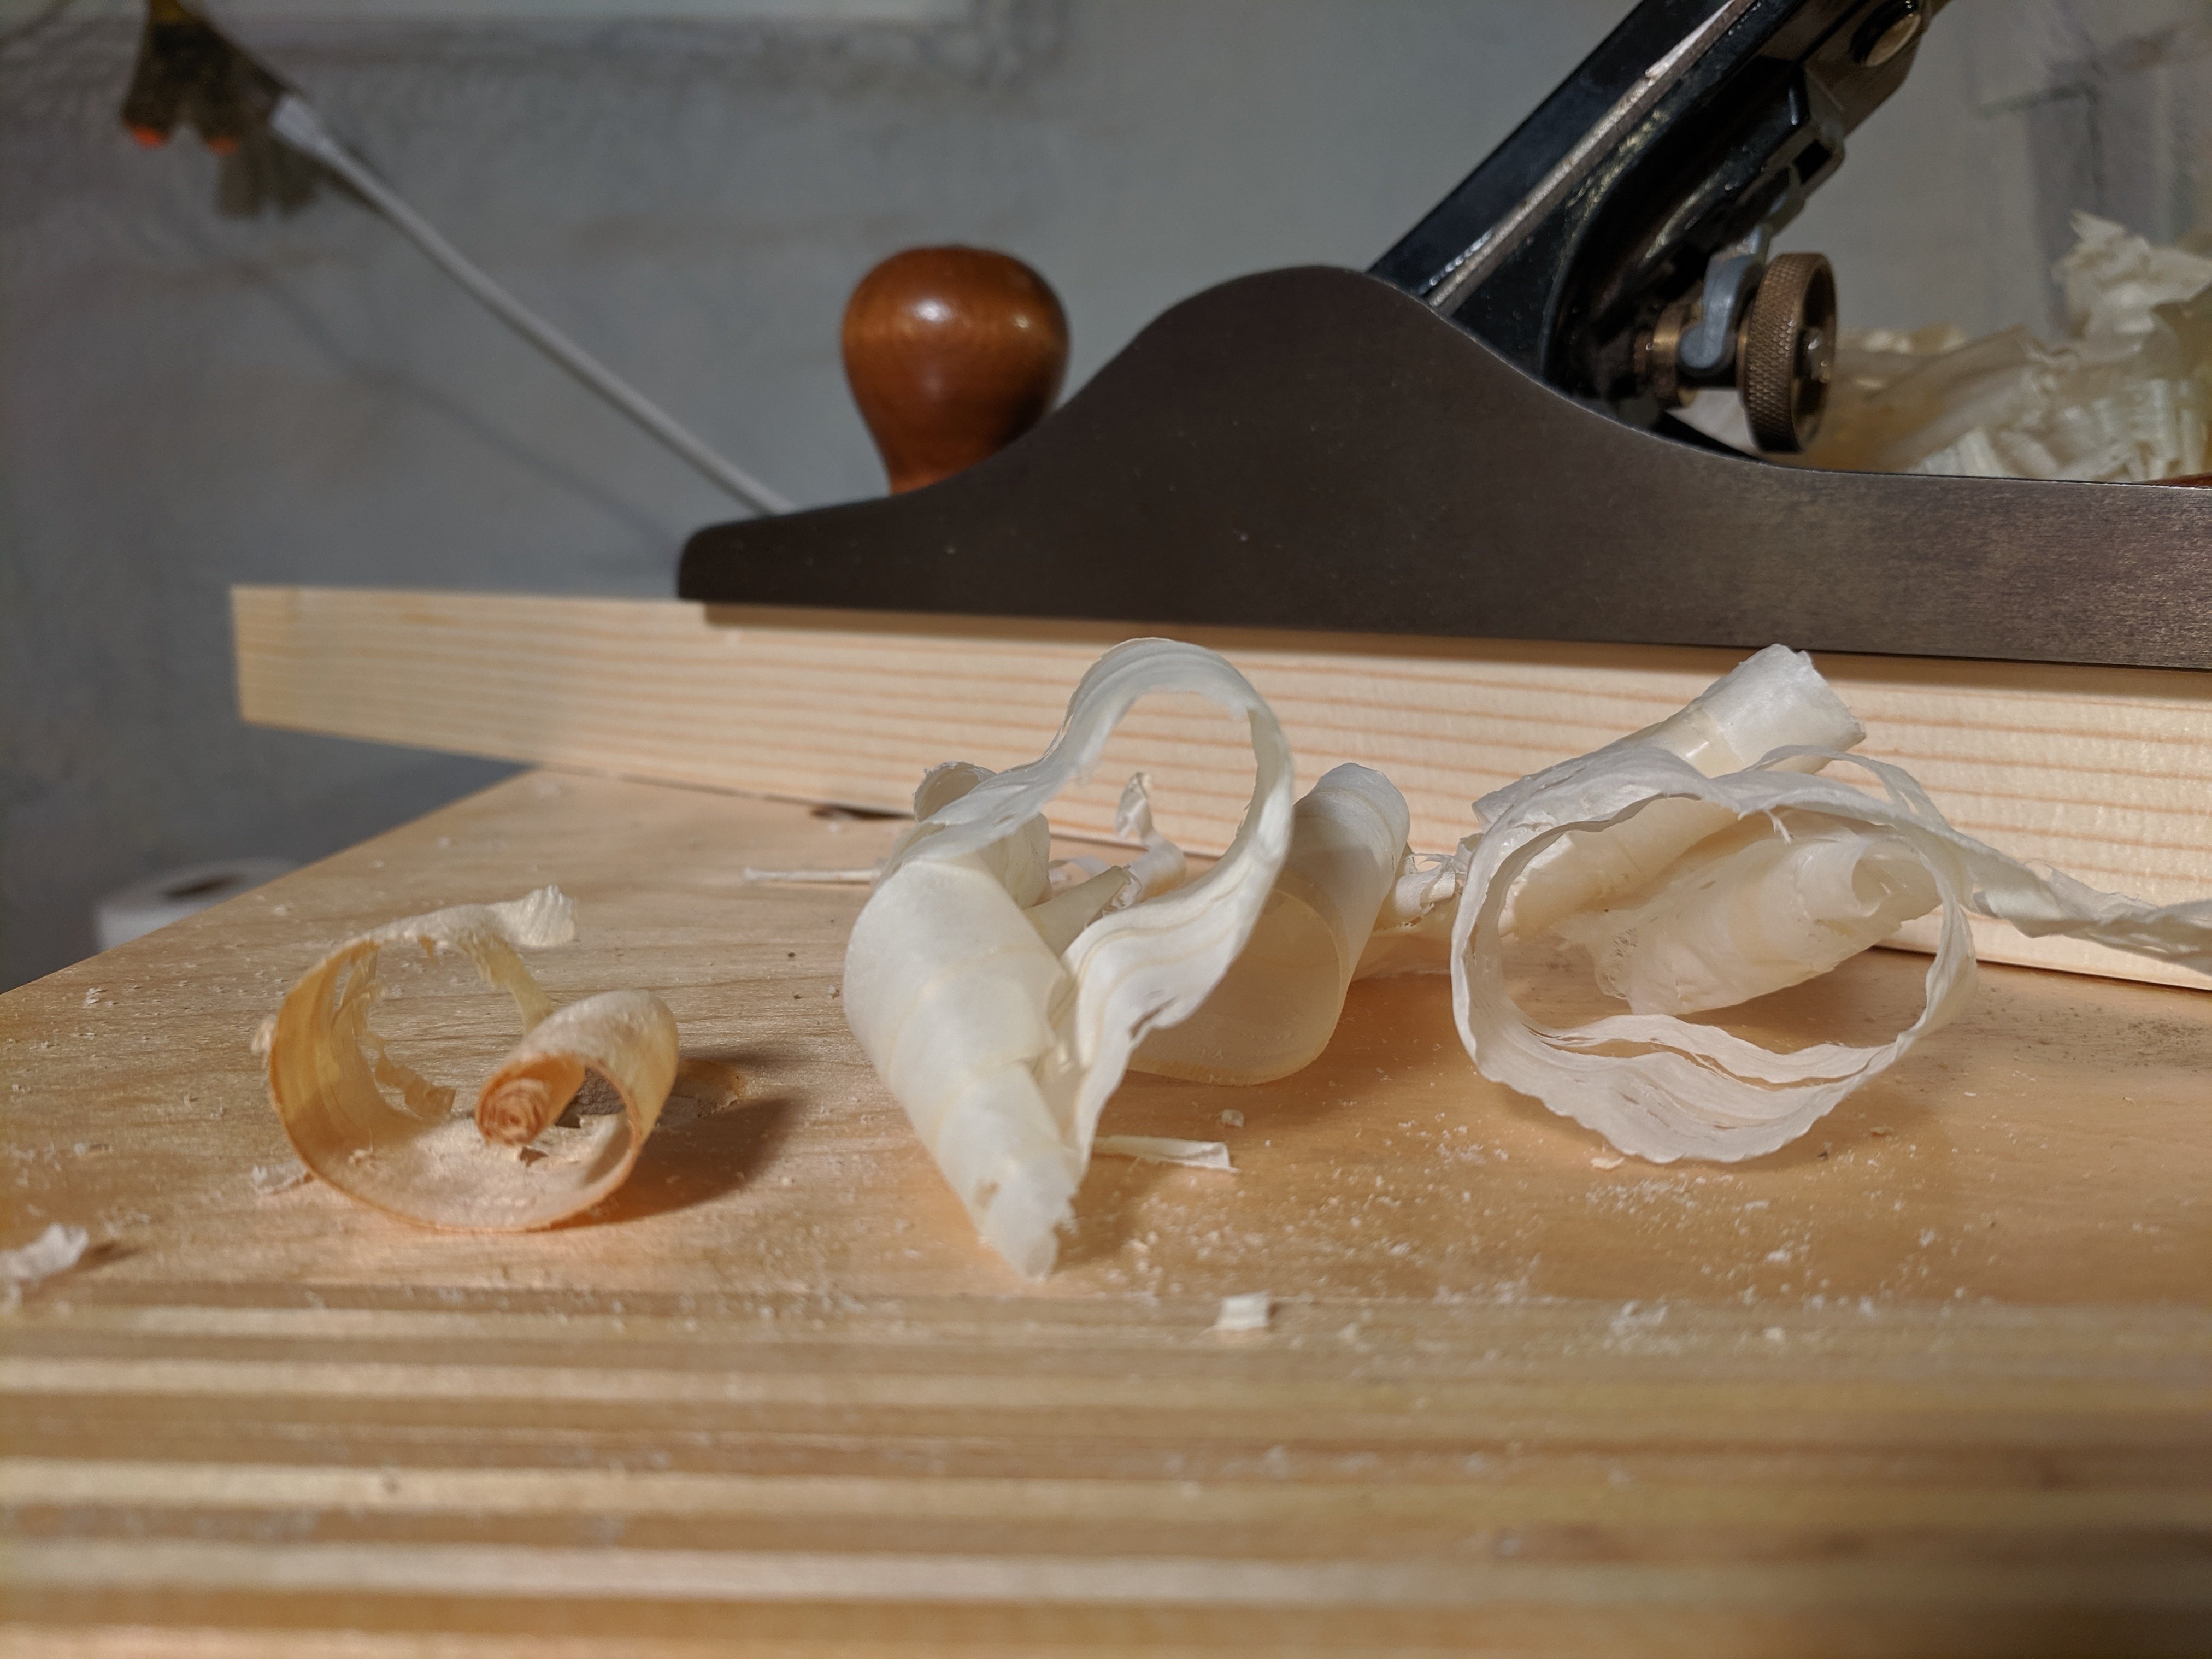
It took lots of repetition honing, stropping, going through setup, realizing the chip breaker was right on the edge of the blade, repeat, new error. The first picture is progress: small and crunchy, long and crinkley, long and papery.
Sharpening using Atoma 400/600/1200 diamond plates + a strop I had around. I found Wood By Wright's setup video helpful and have been enjoying Rex Kreuger's videos on sharpening and other things.
I worked so hard for these shavings, surely there's something fun to do with them.
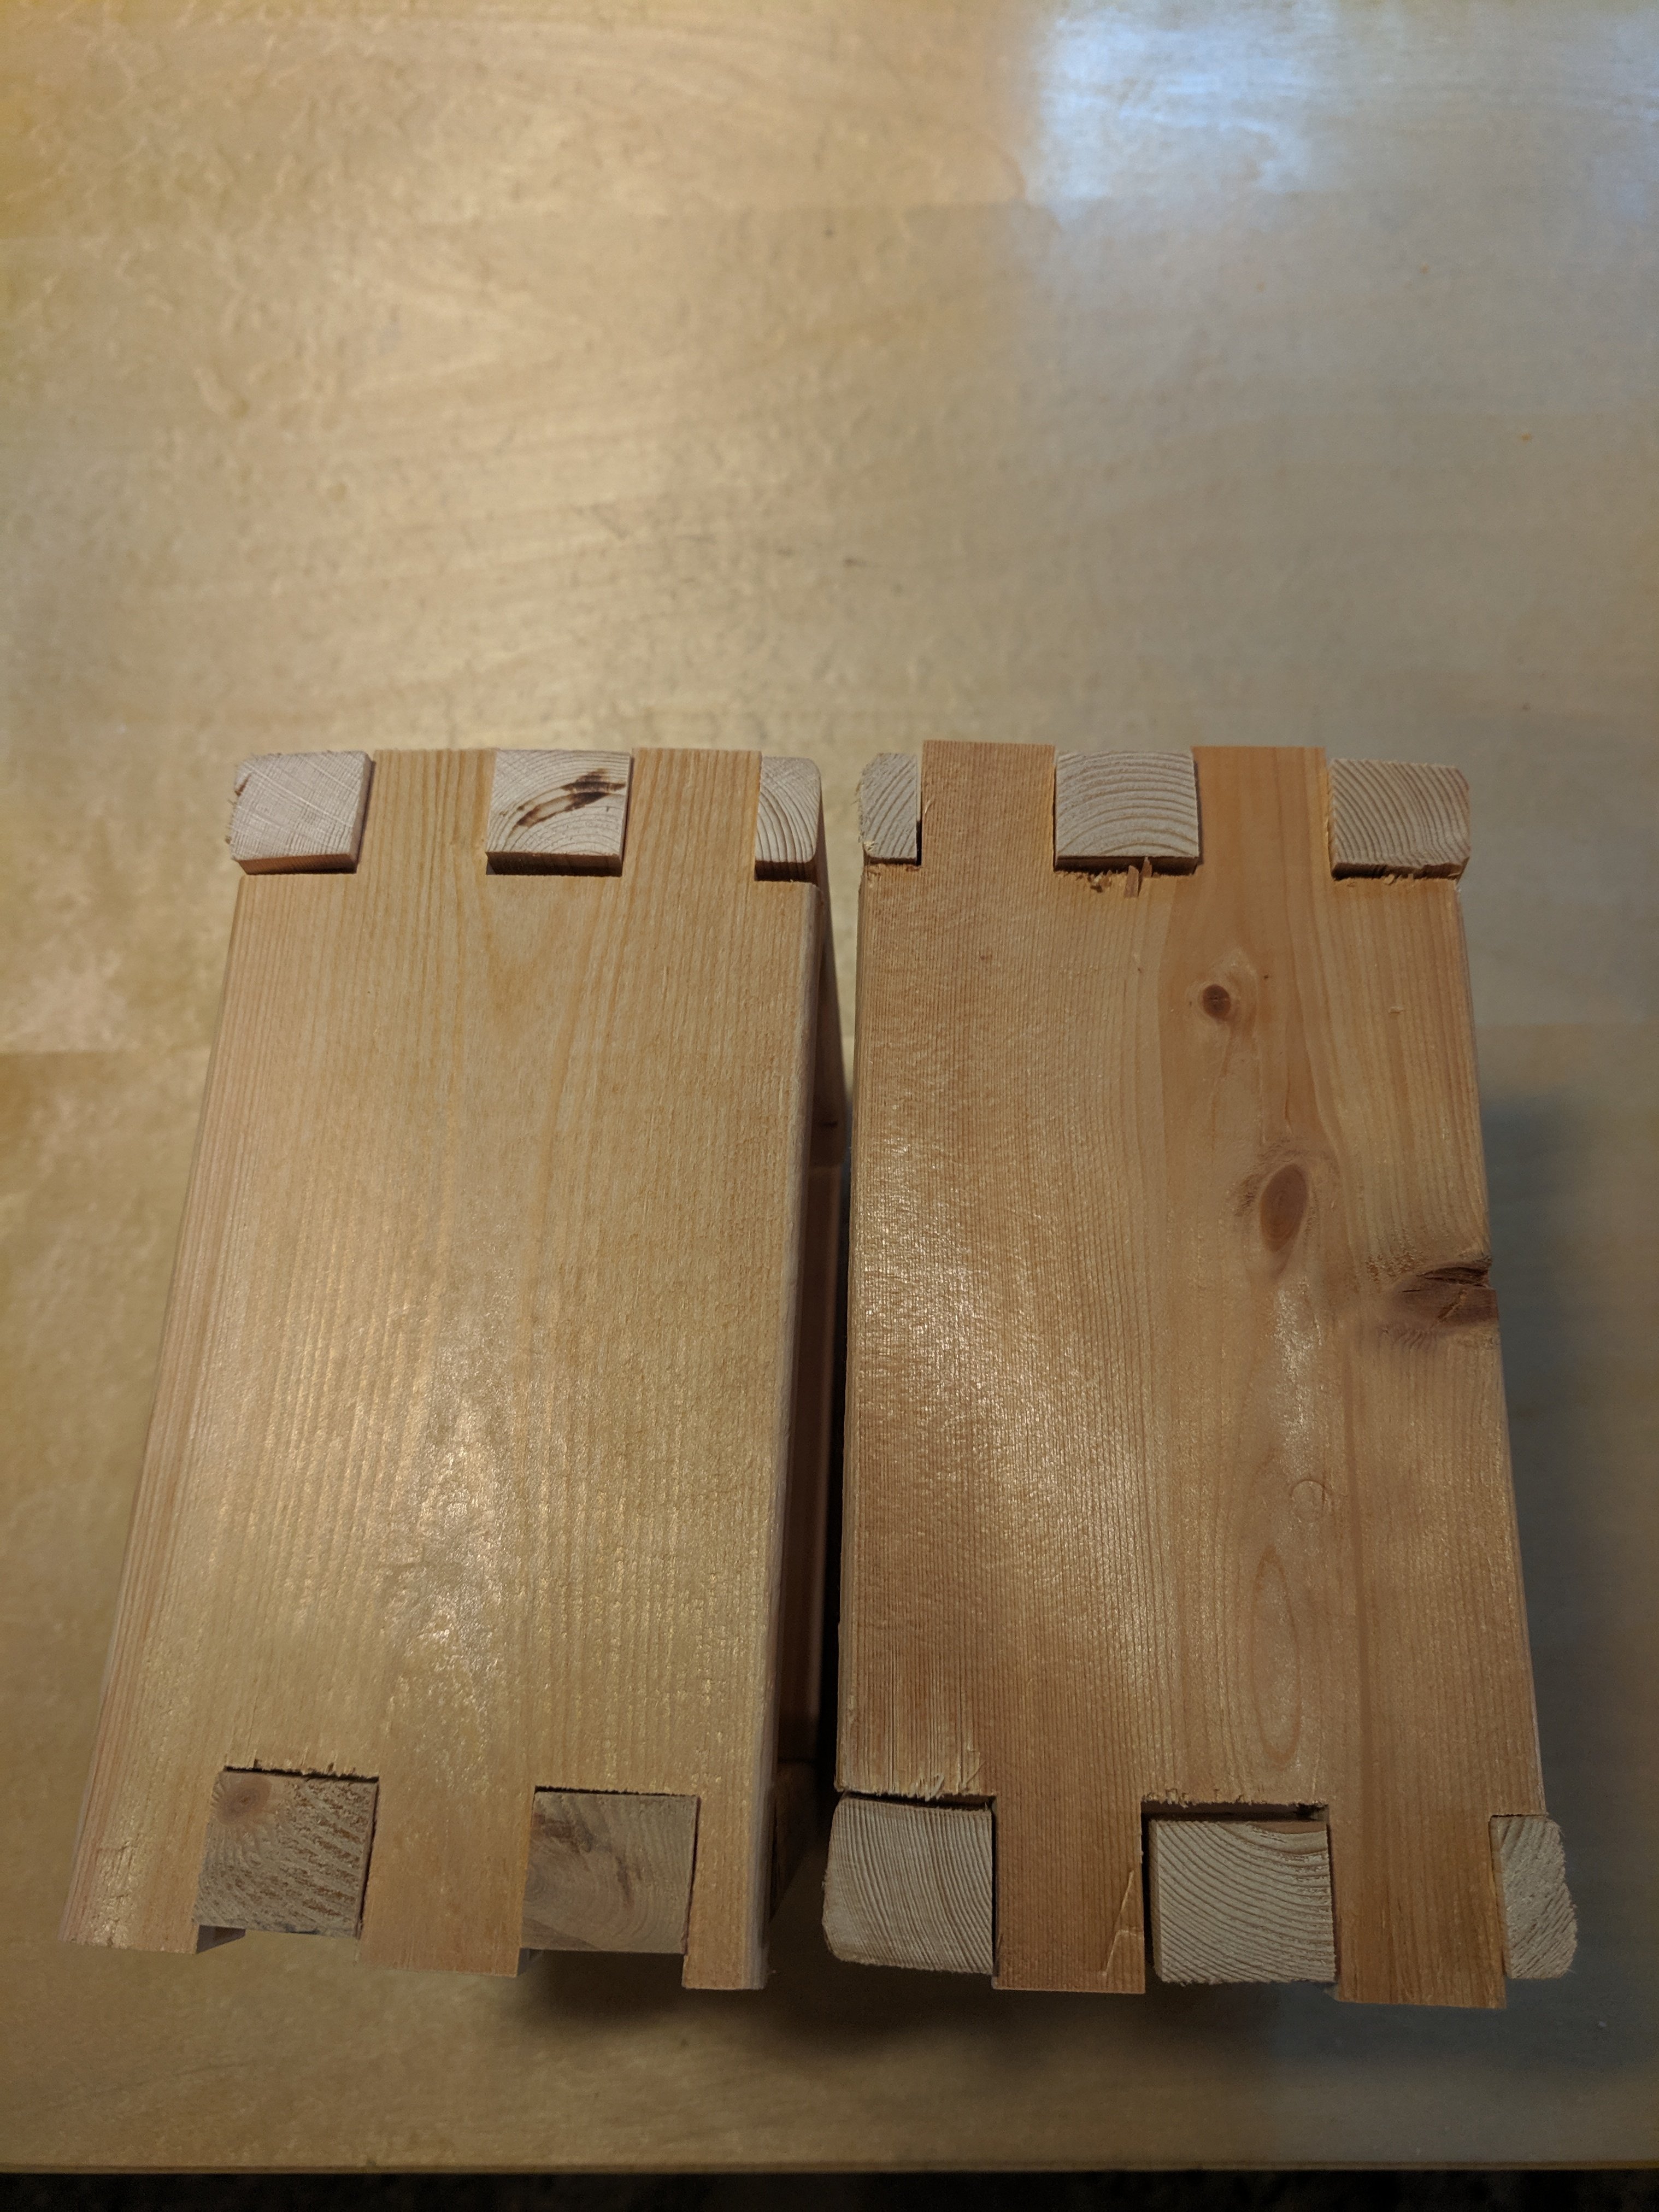
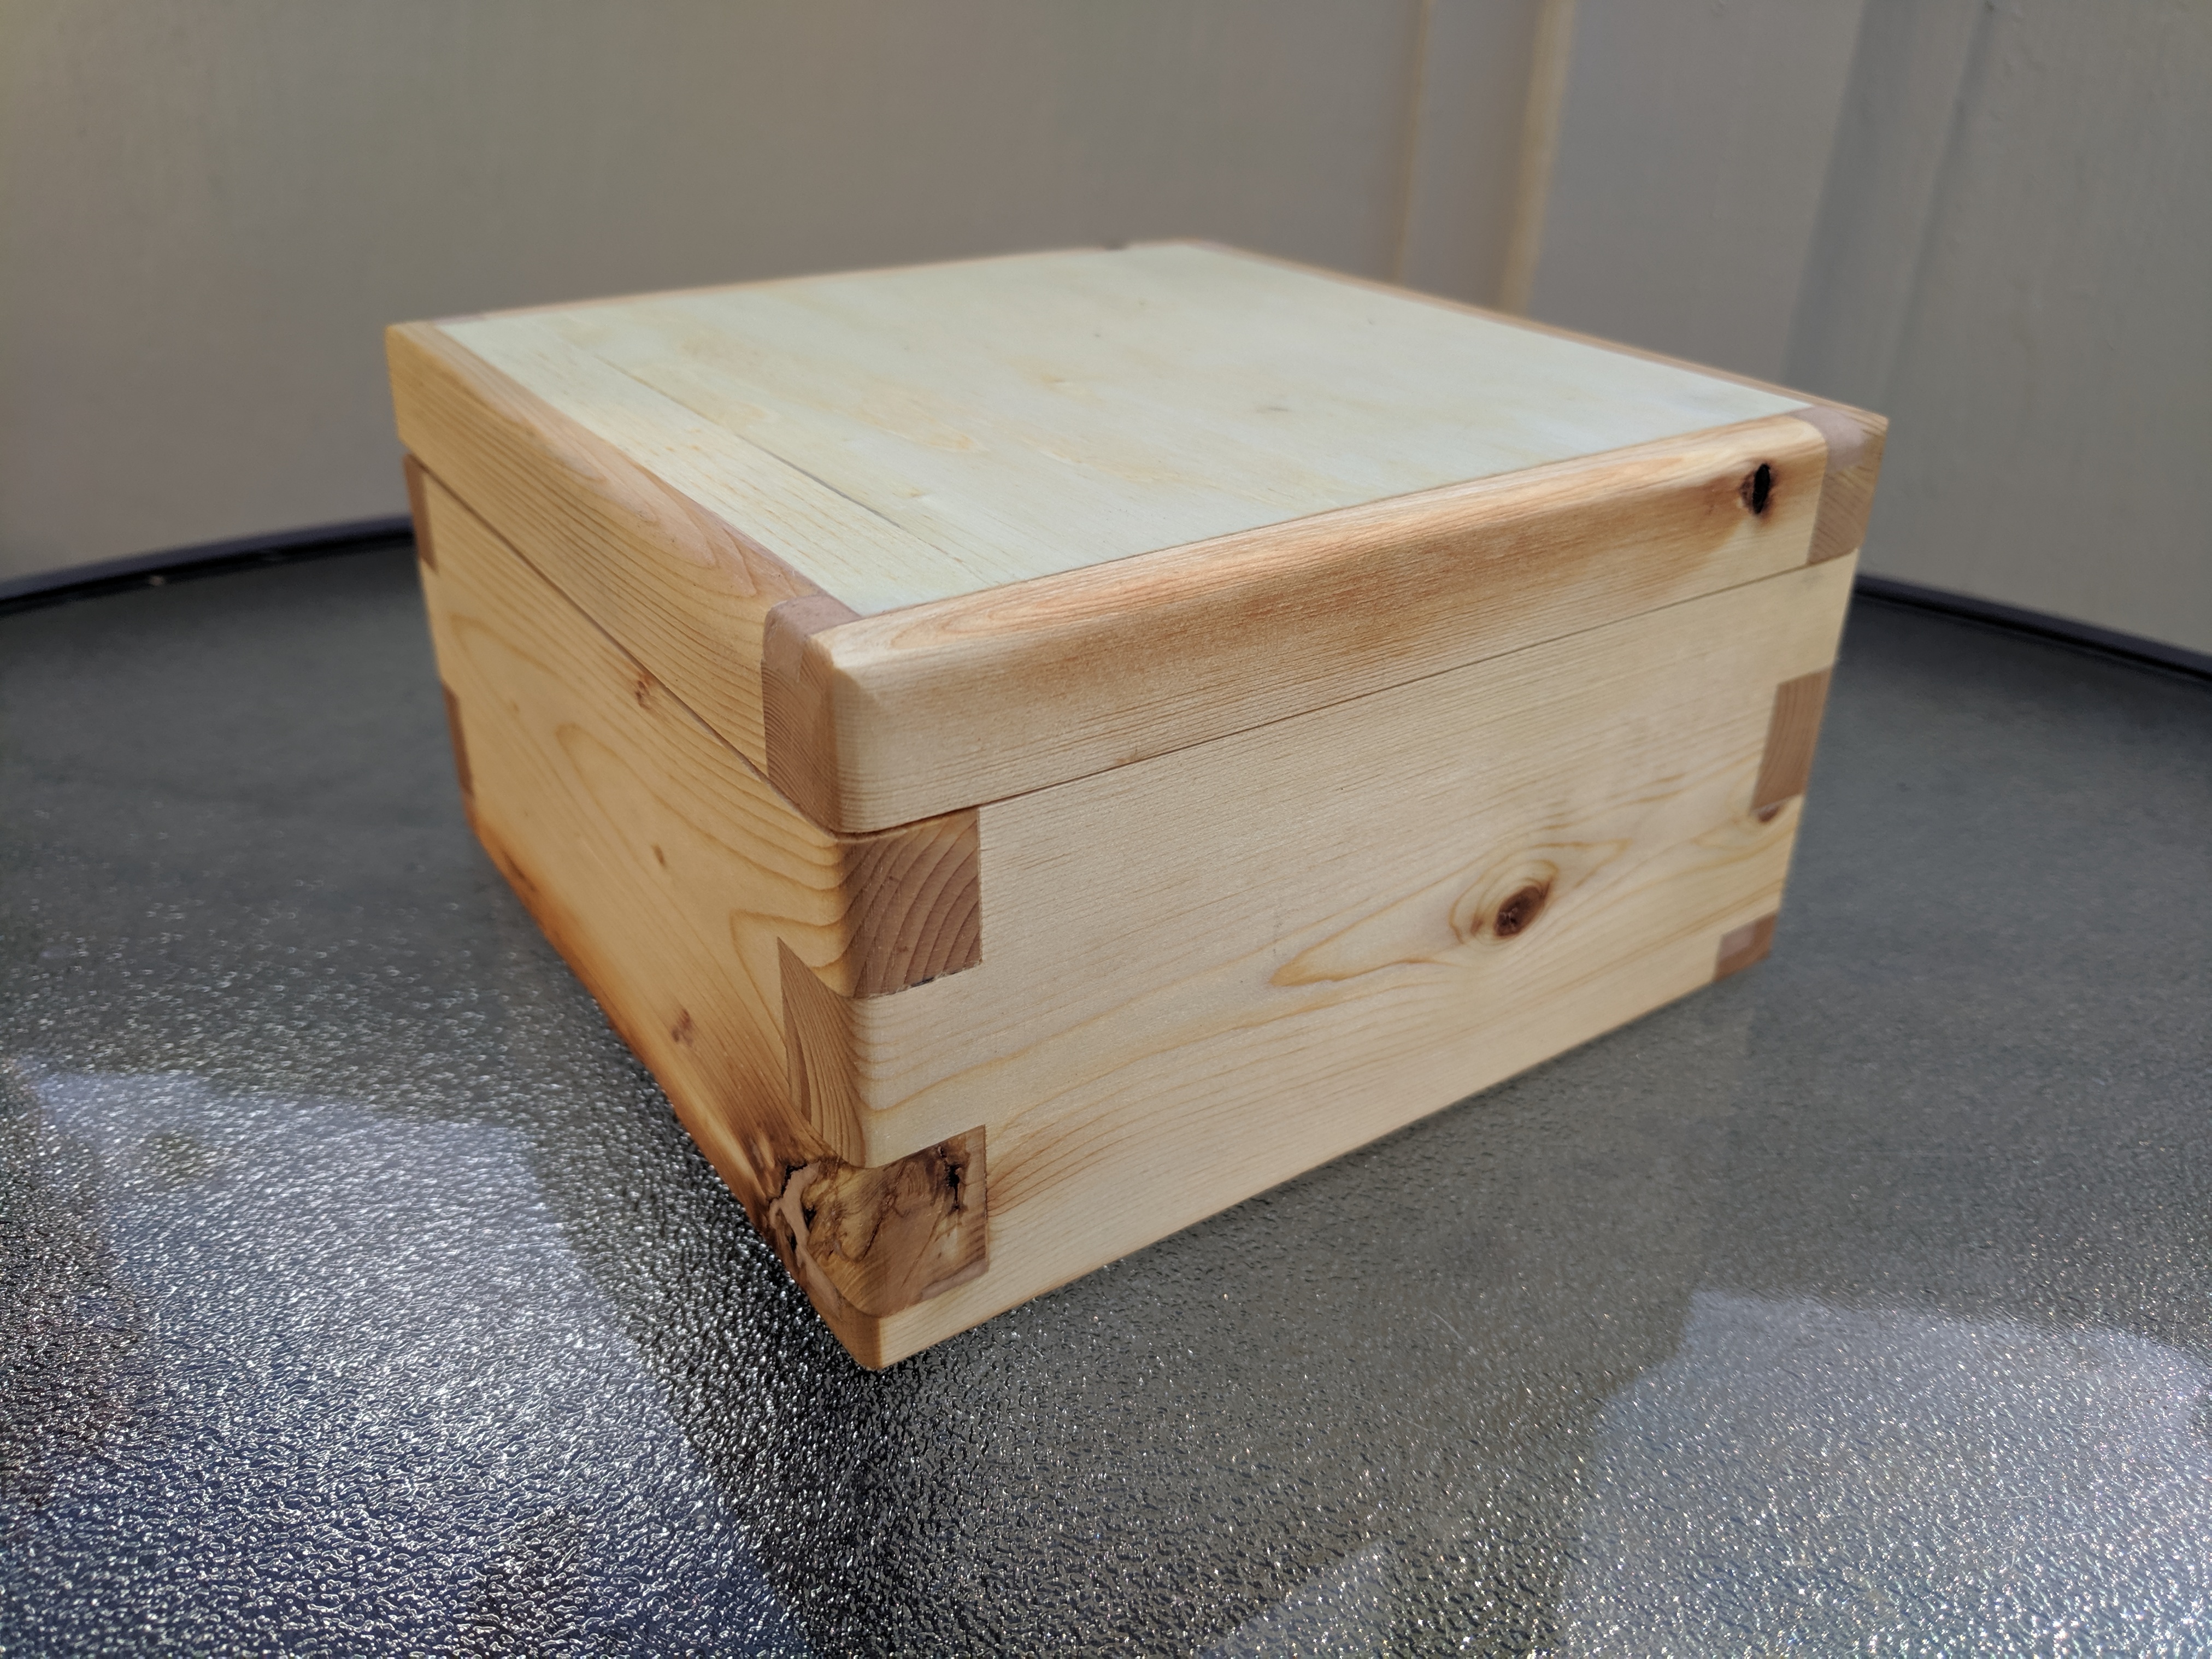
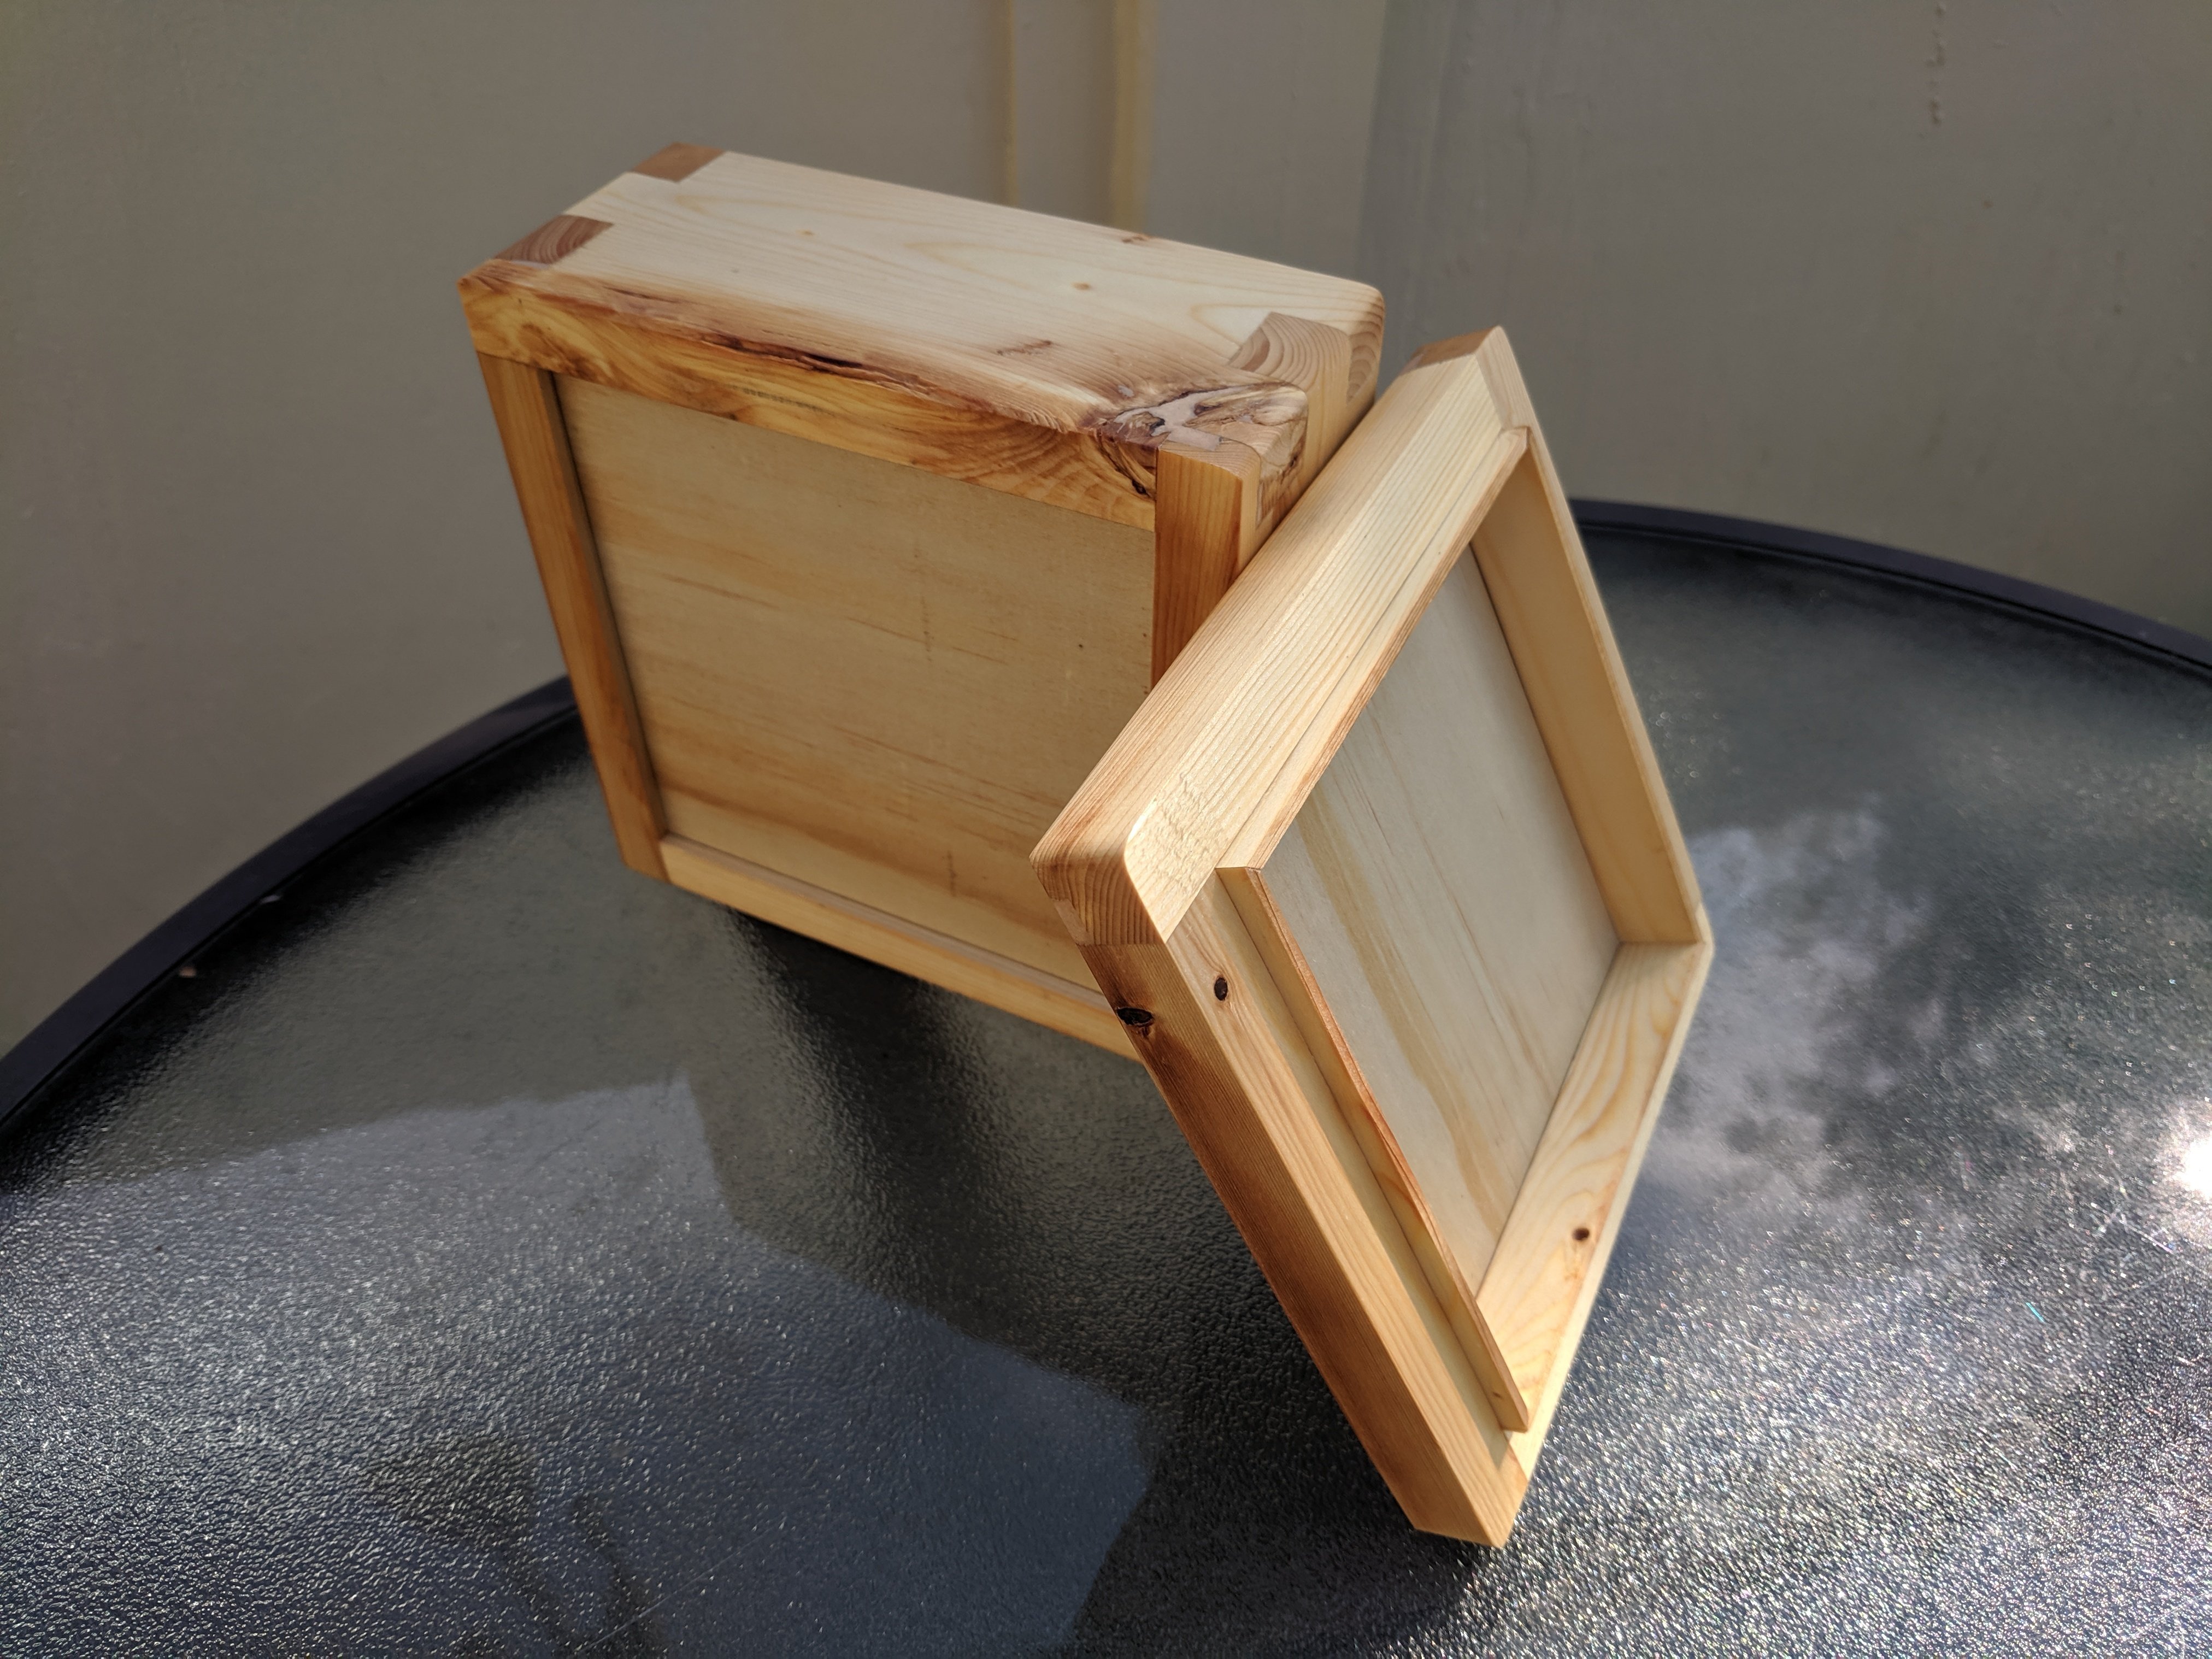
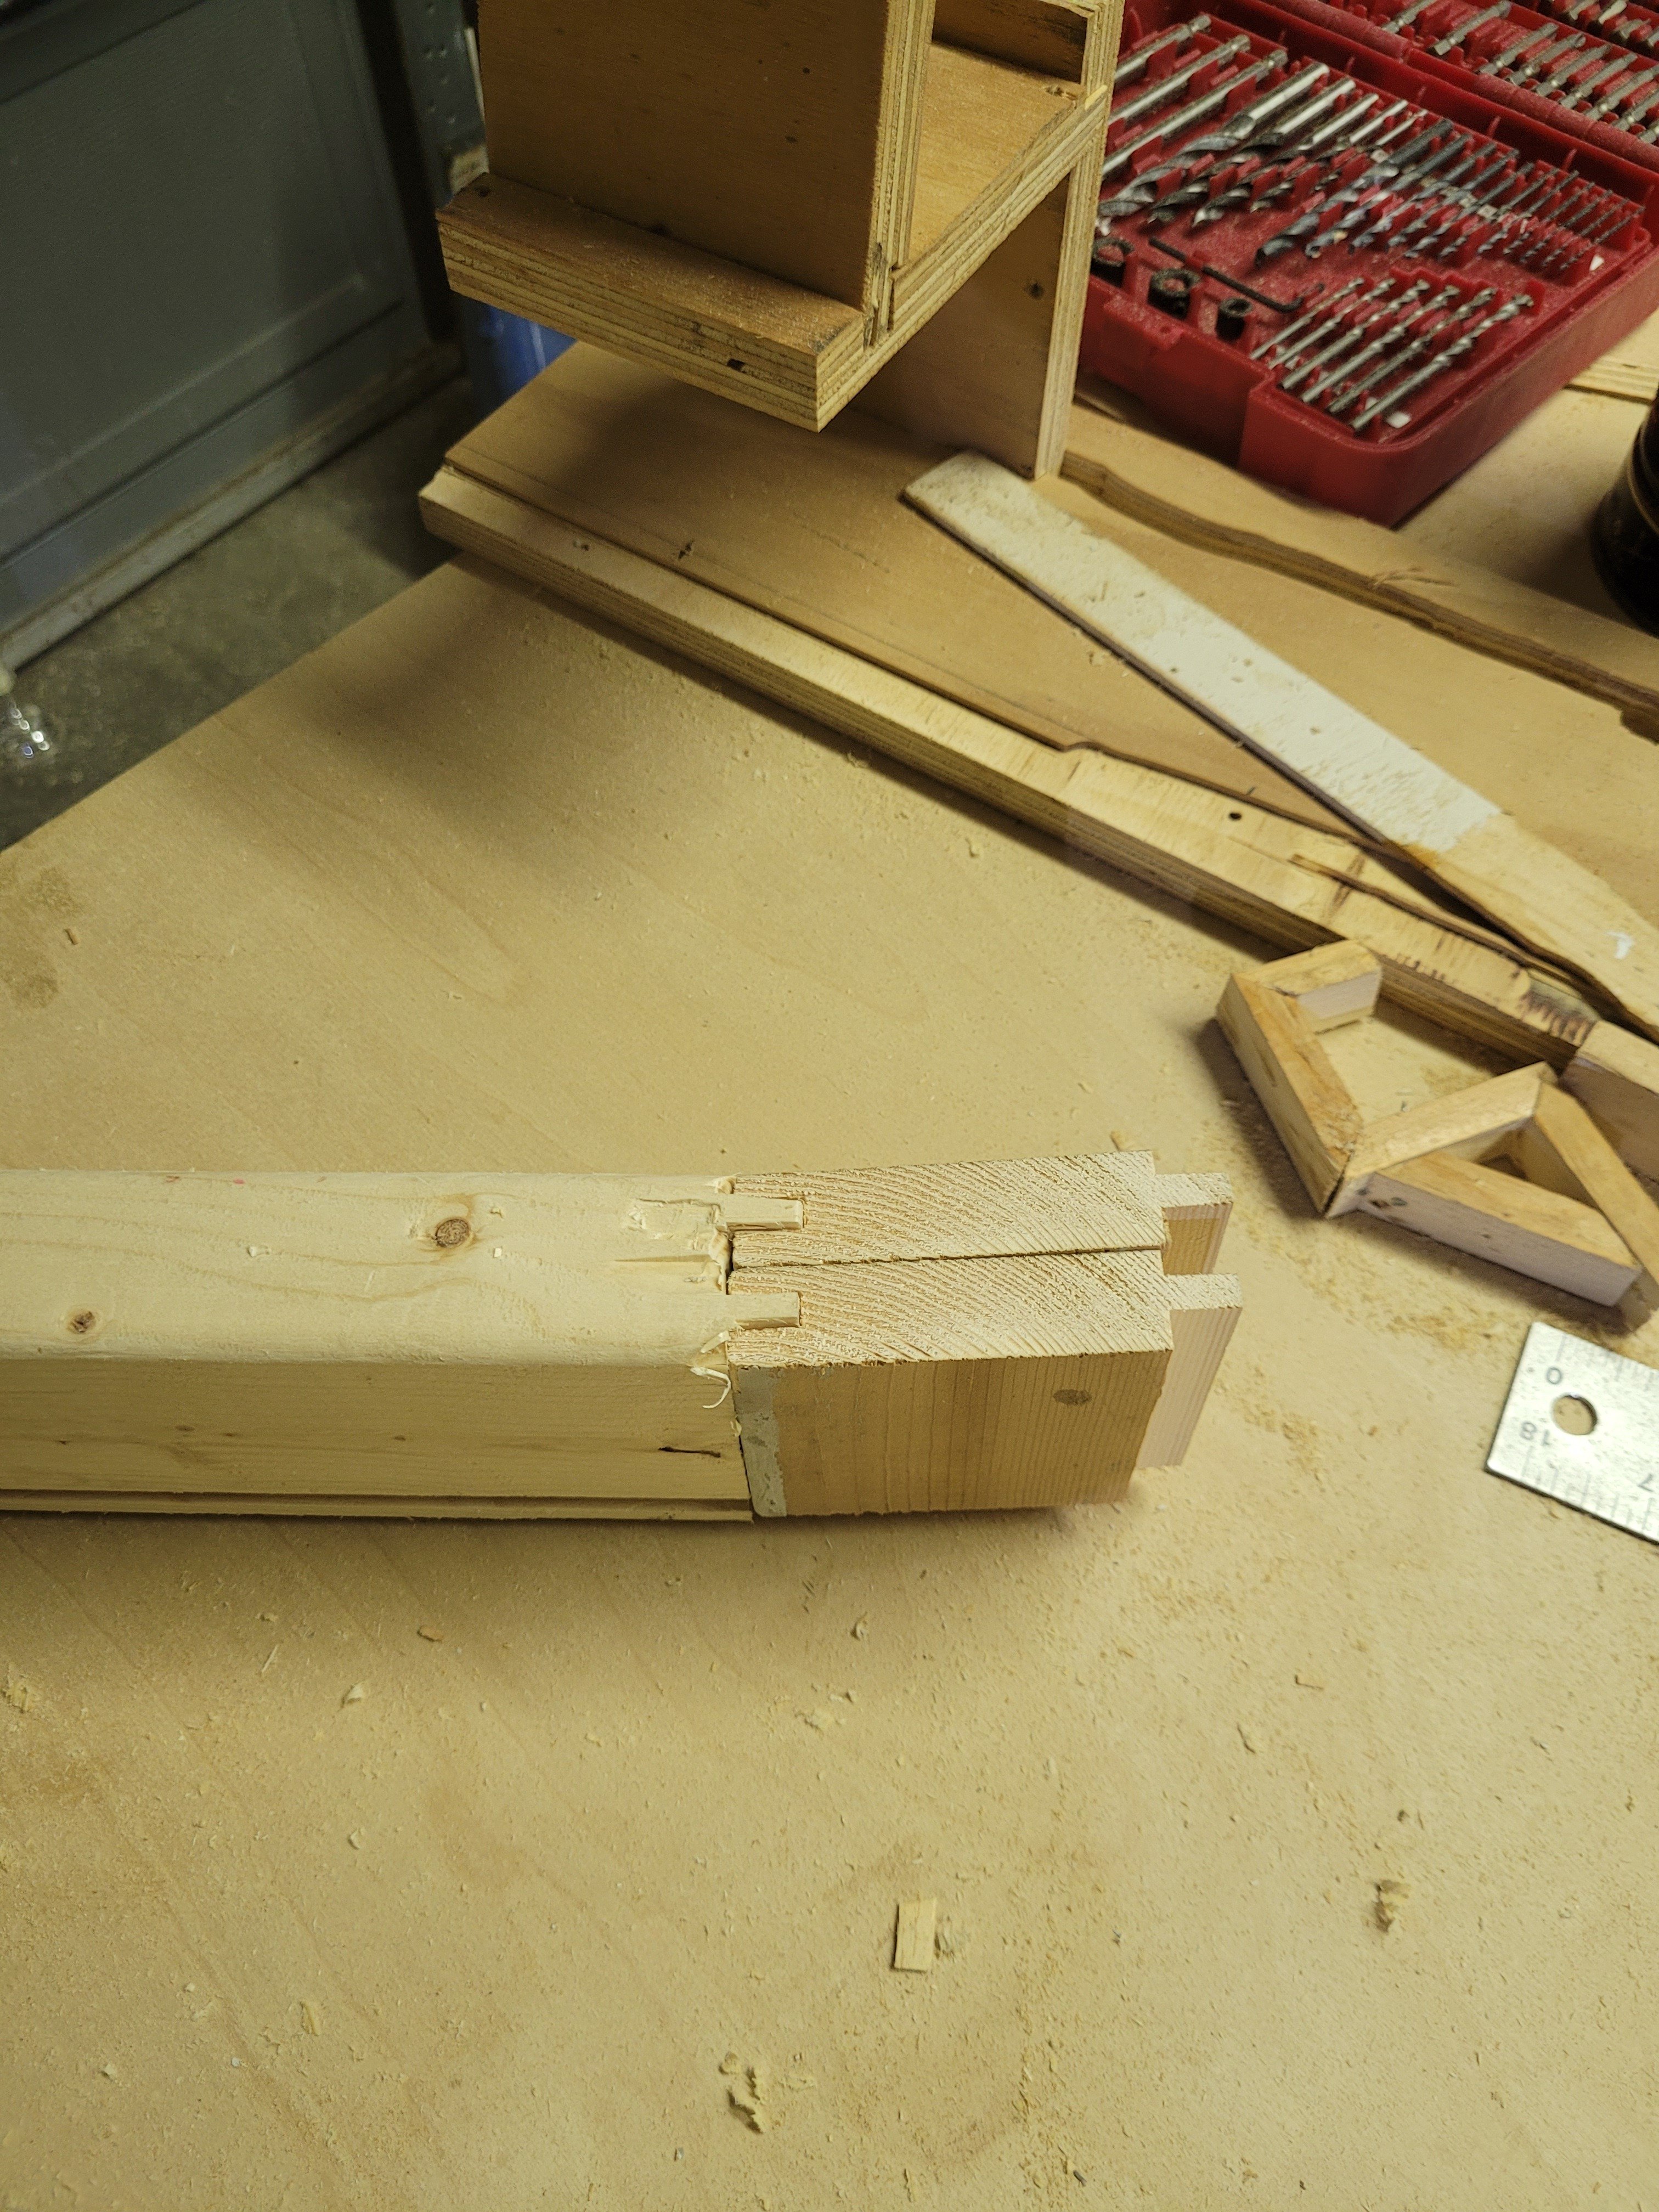
I made a box joint jig following [https://www.youtube.com/watch?v=EyJof__nTR4](Woodfather's video). It's a nice simple/flexible design for those of us without a dado stack.

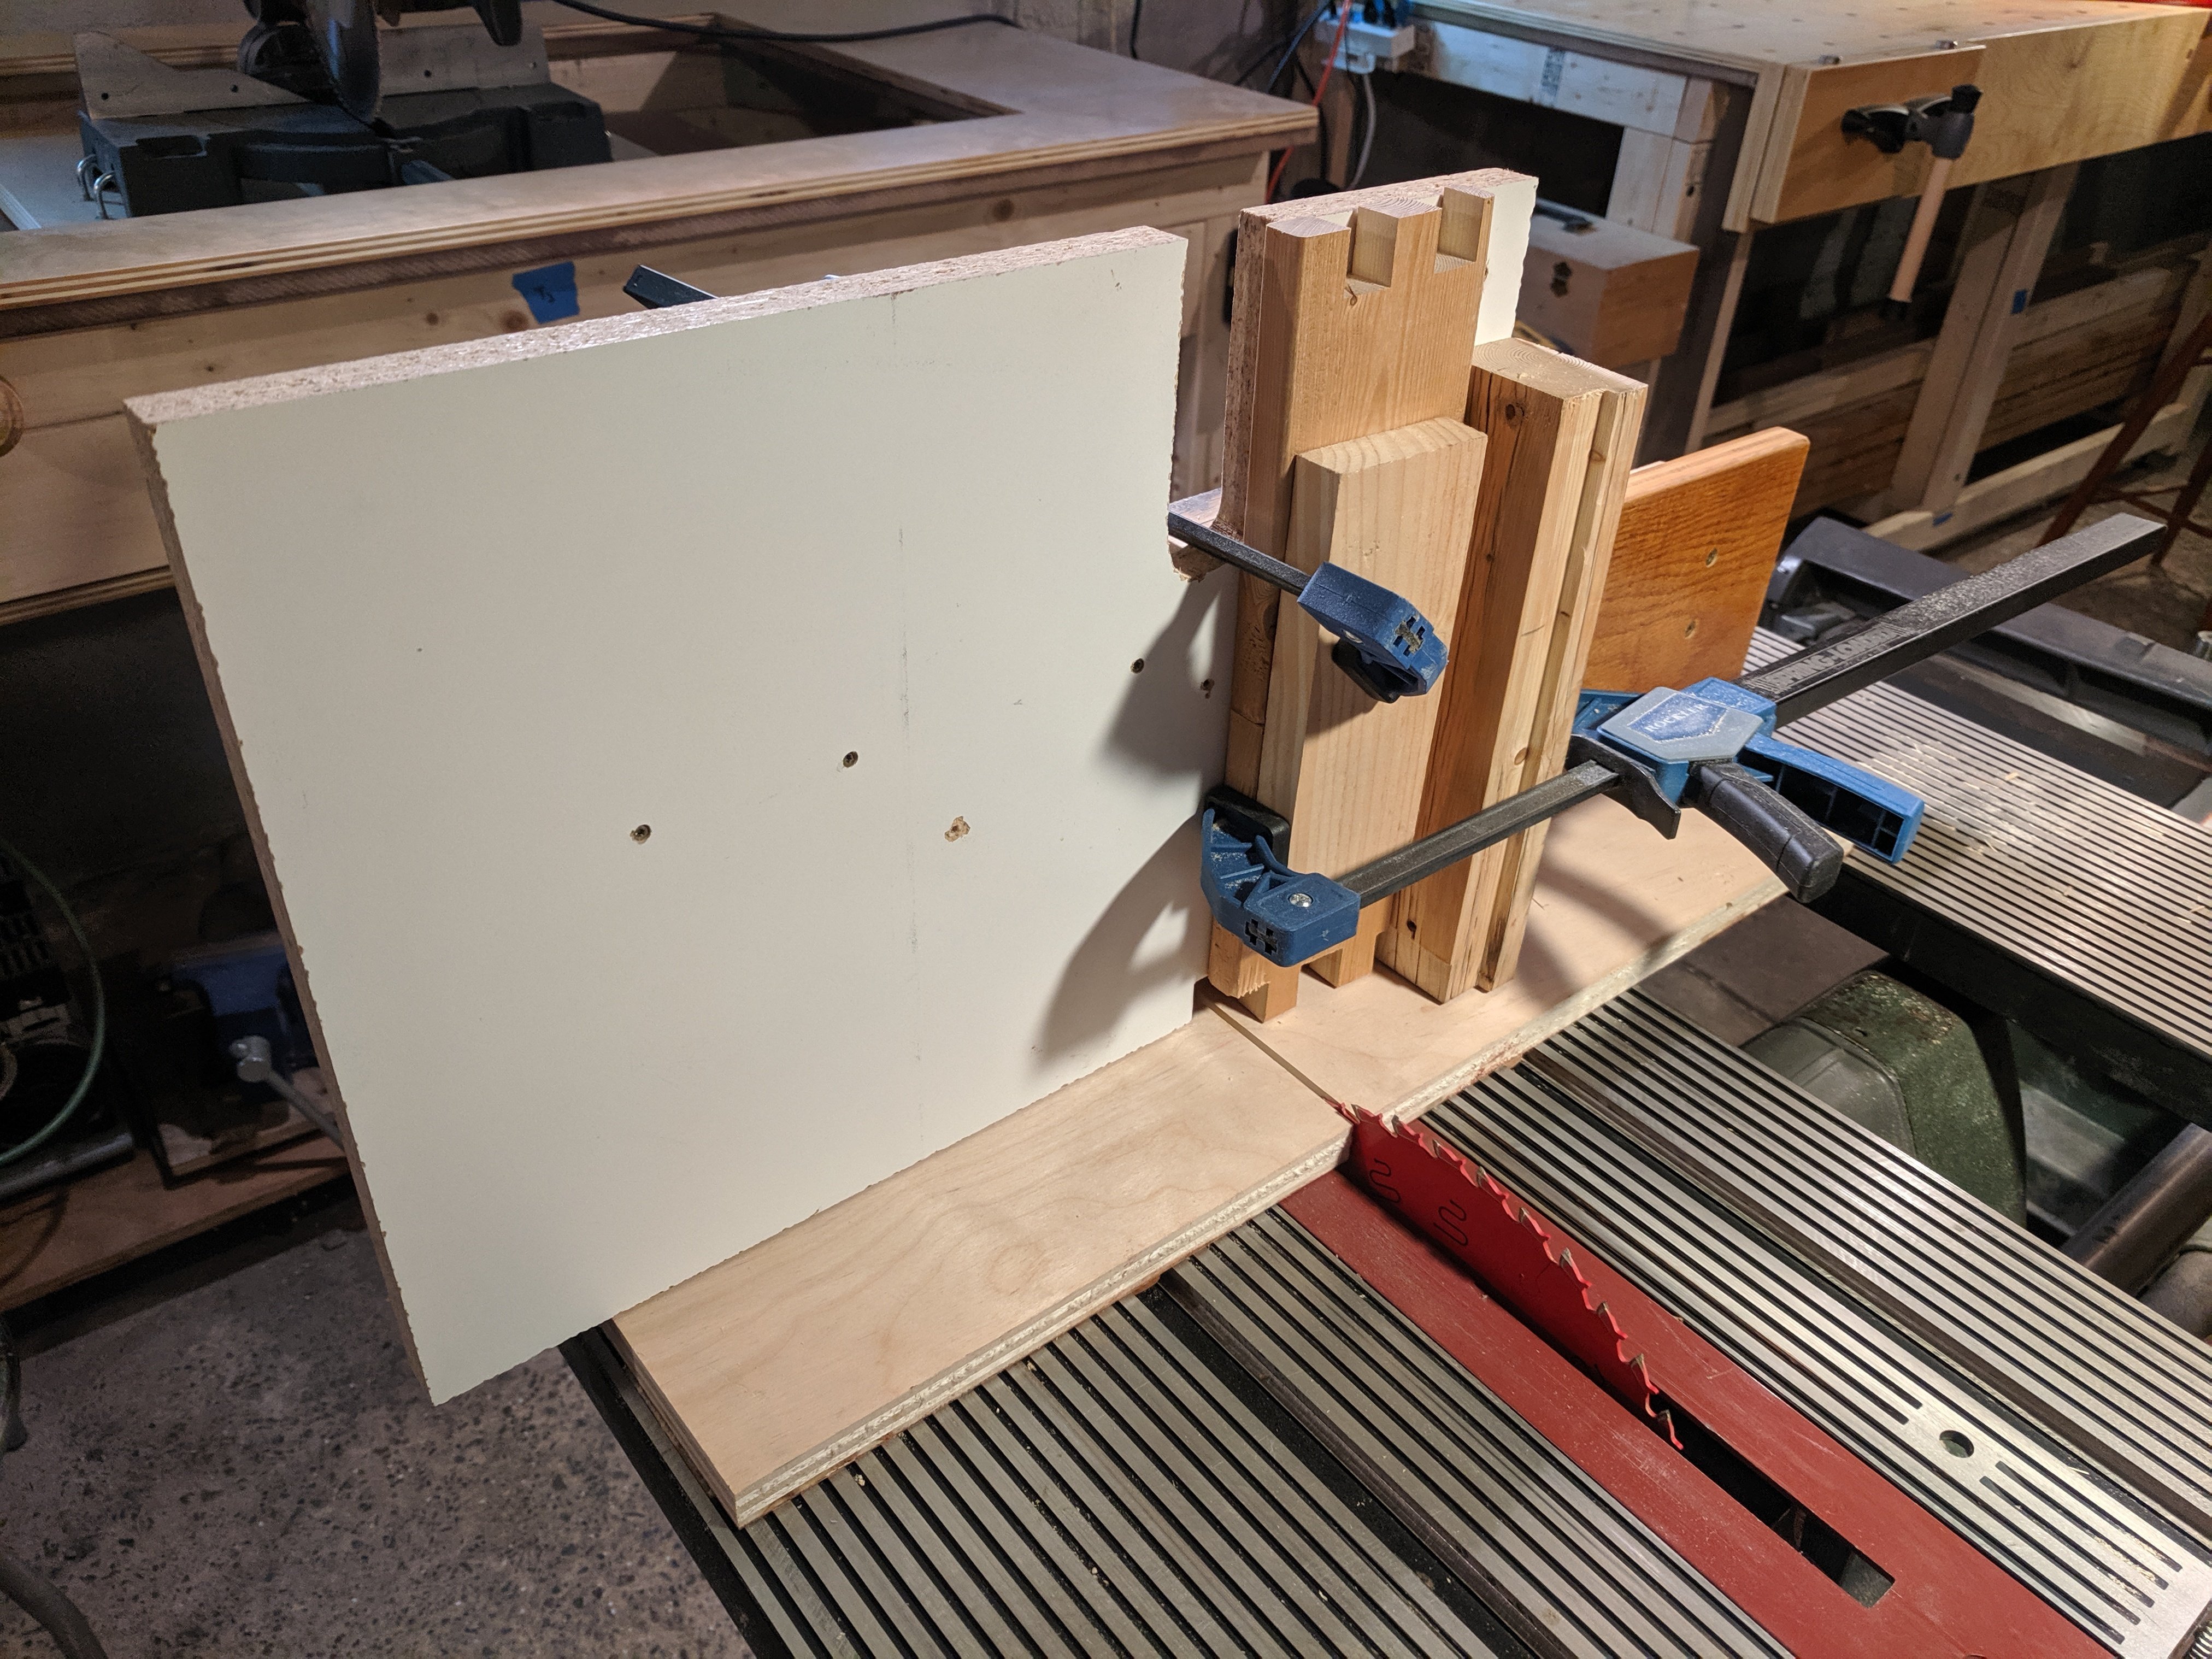
First try was very sloppy, but once I adjusted the key width and got my clamps set up better the fit is great. The scraps I had around were bed slats off the curb, which were very cupped. But they actually turned out pretty nicely (after plenty of cleanup).
Boiled linseed oil finish.
There is a lot more checking than I realized, and I'm afraid filling these gaps by just pouring in epoxy will be difficult. I want to keep the live edge and avoid making a complete deep pour epoxy mold. Some of these gaps go all the way through The 2-in slab. Any tips for me?

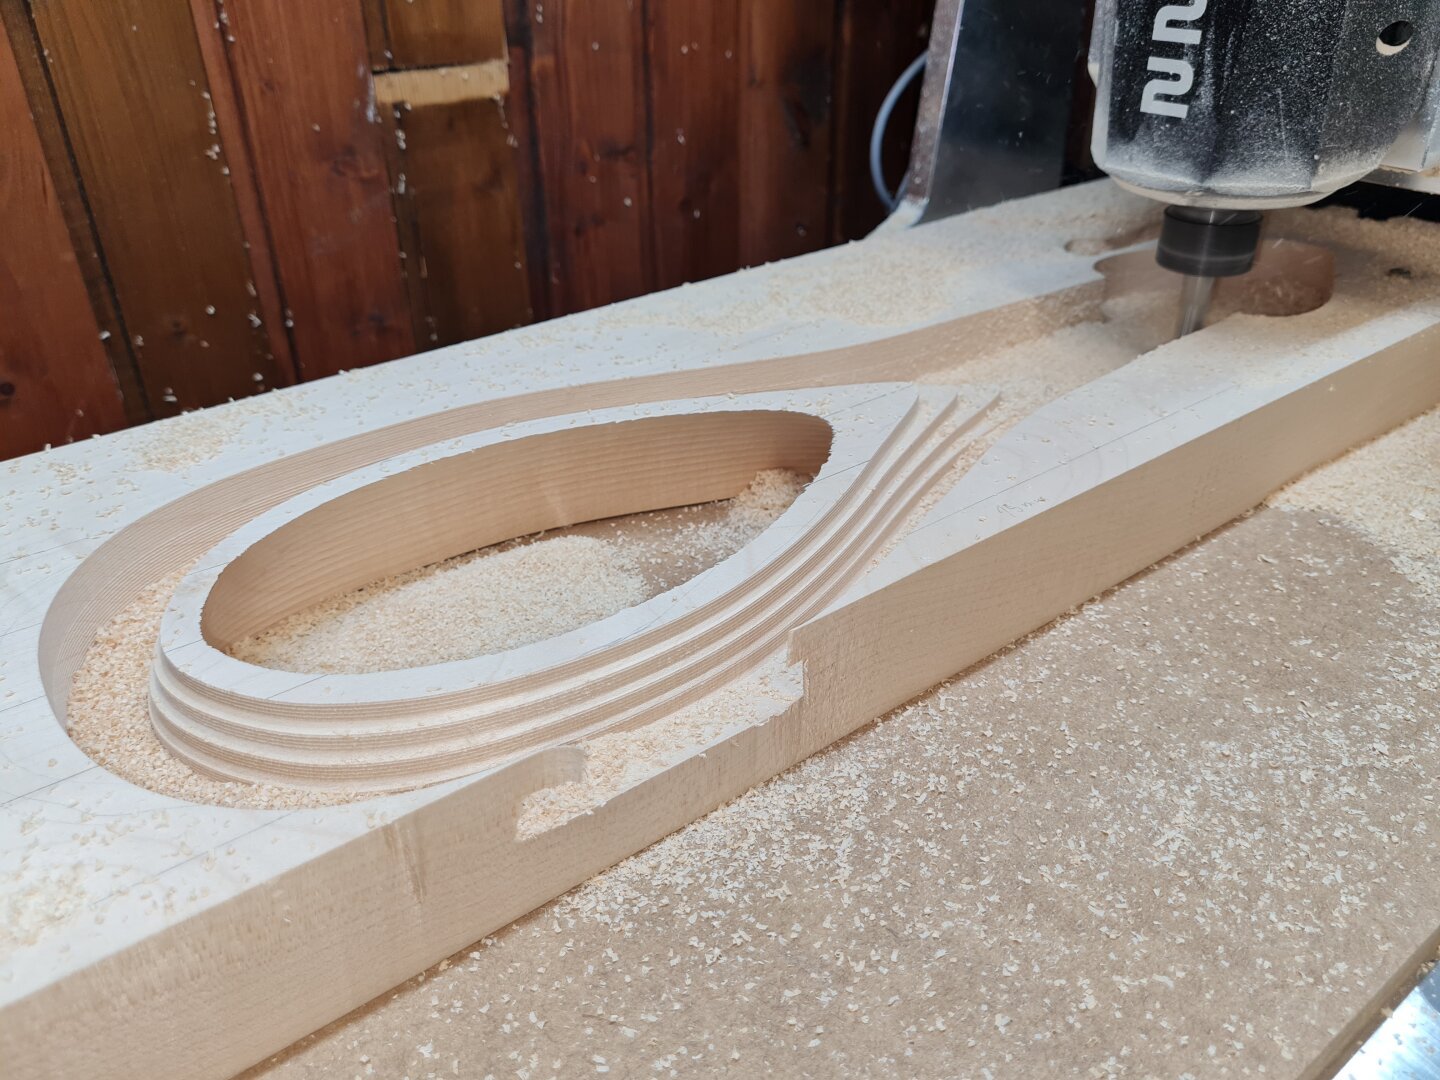
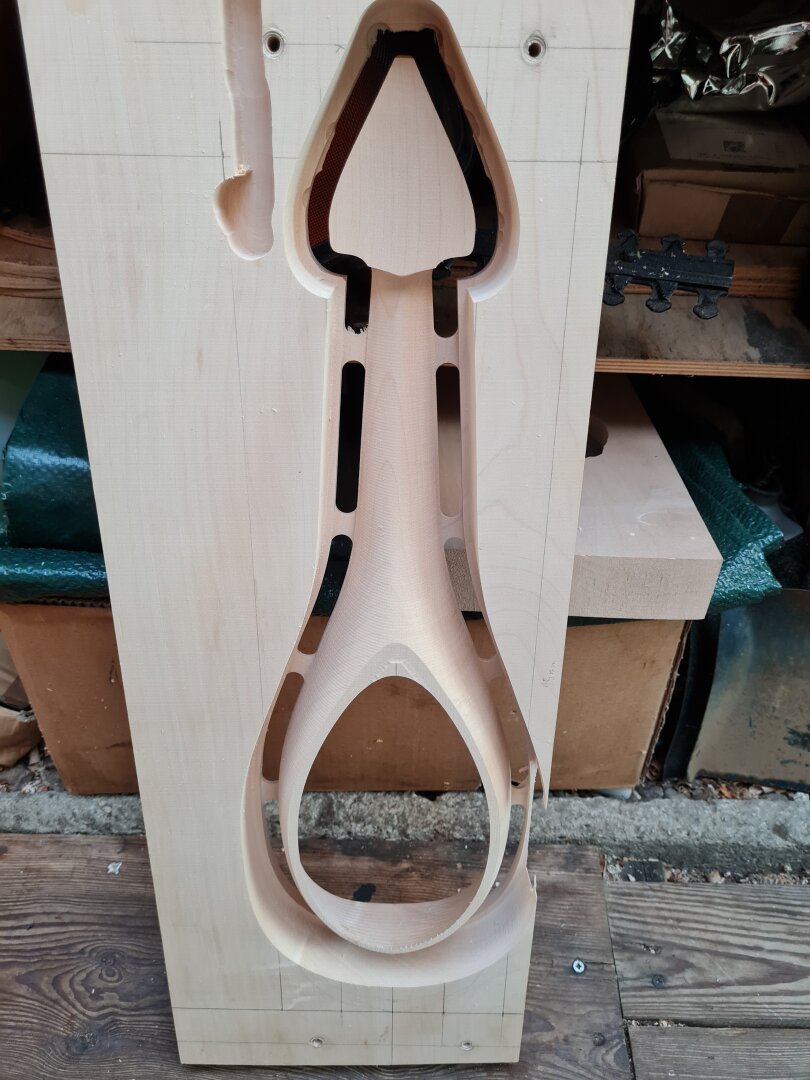
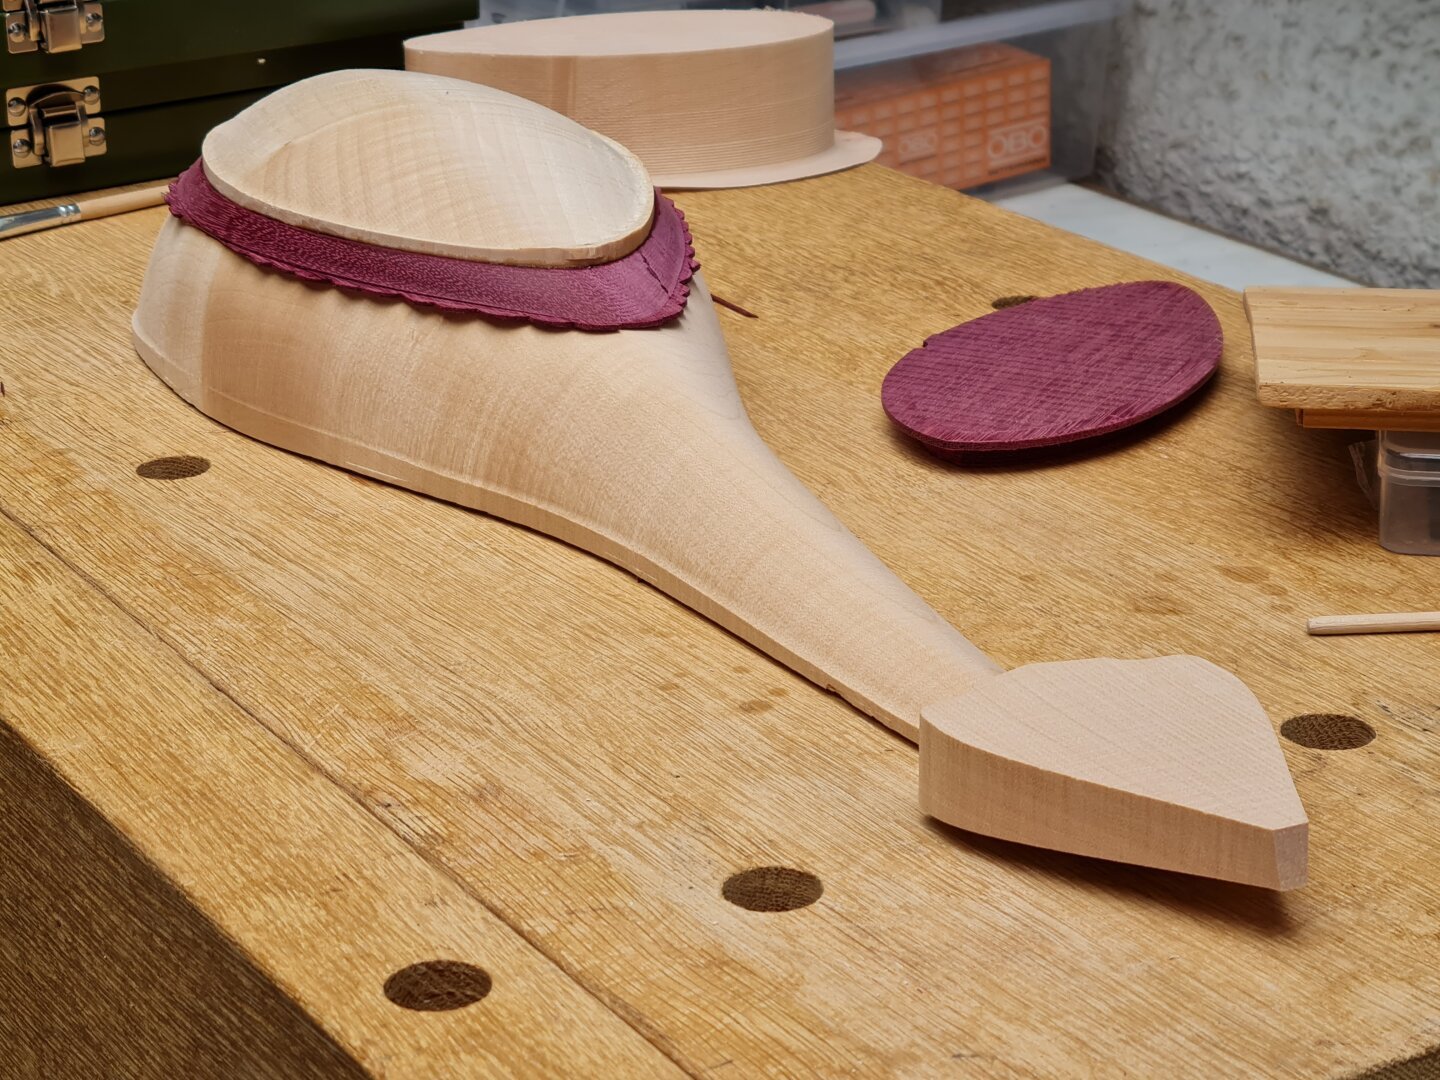
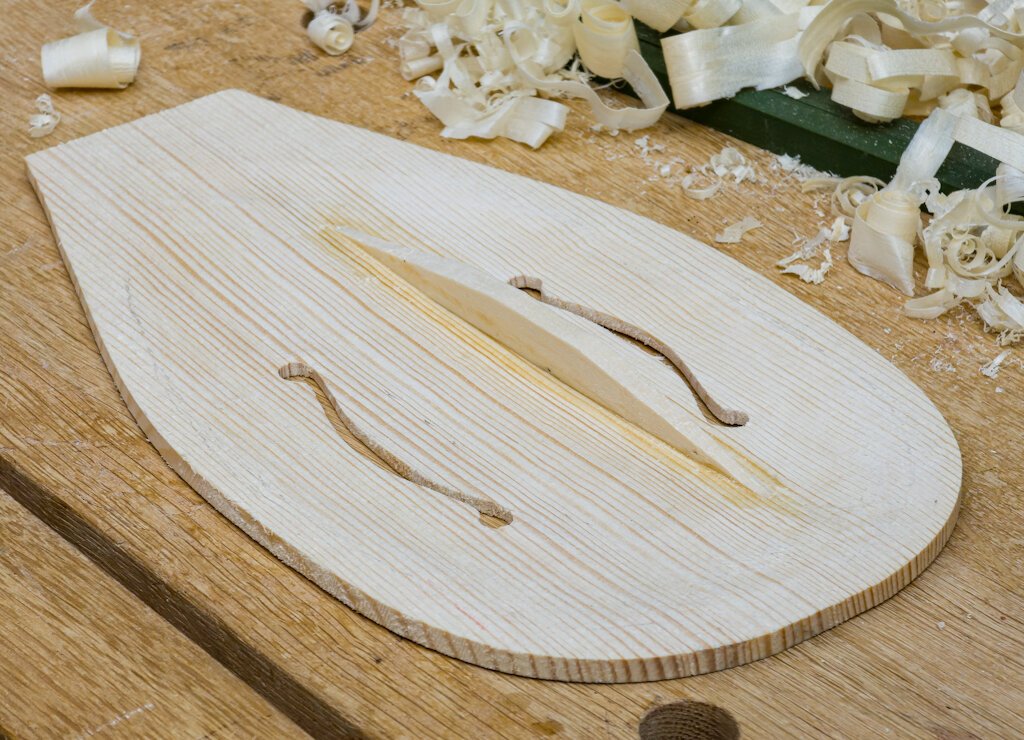
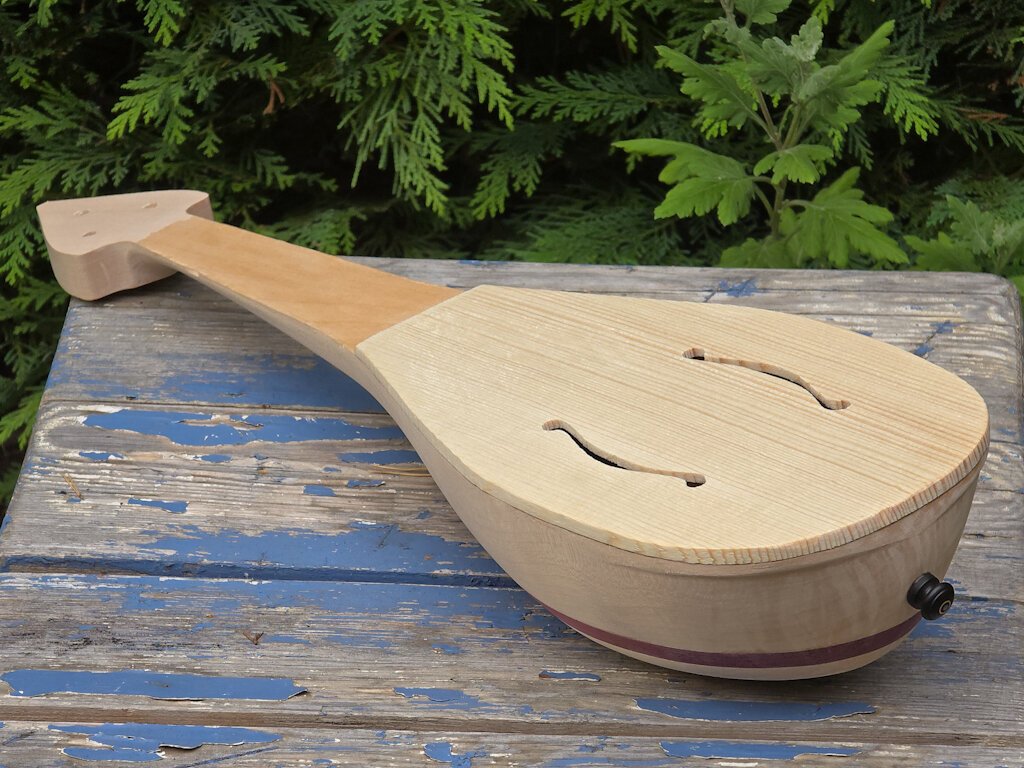
Most parts are cnc-carved. The body is usually carved from a single block of wood, but for my cnc, I split it into three parts, including a decorative strip of amaranth.
Vibrating string length 29.5cm (3/4 violin). Strings are Aquila F-Red superior tension, G-D-A.
Materials used: maple, spruce, amaranth, ebony.
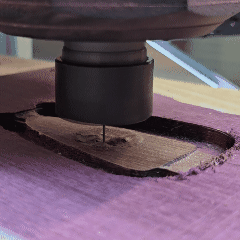
Some build pics:

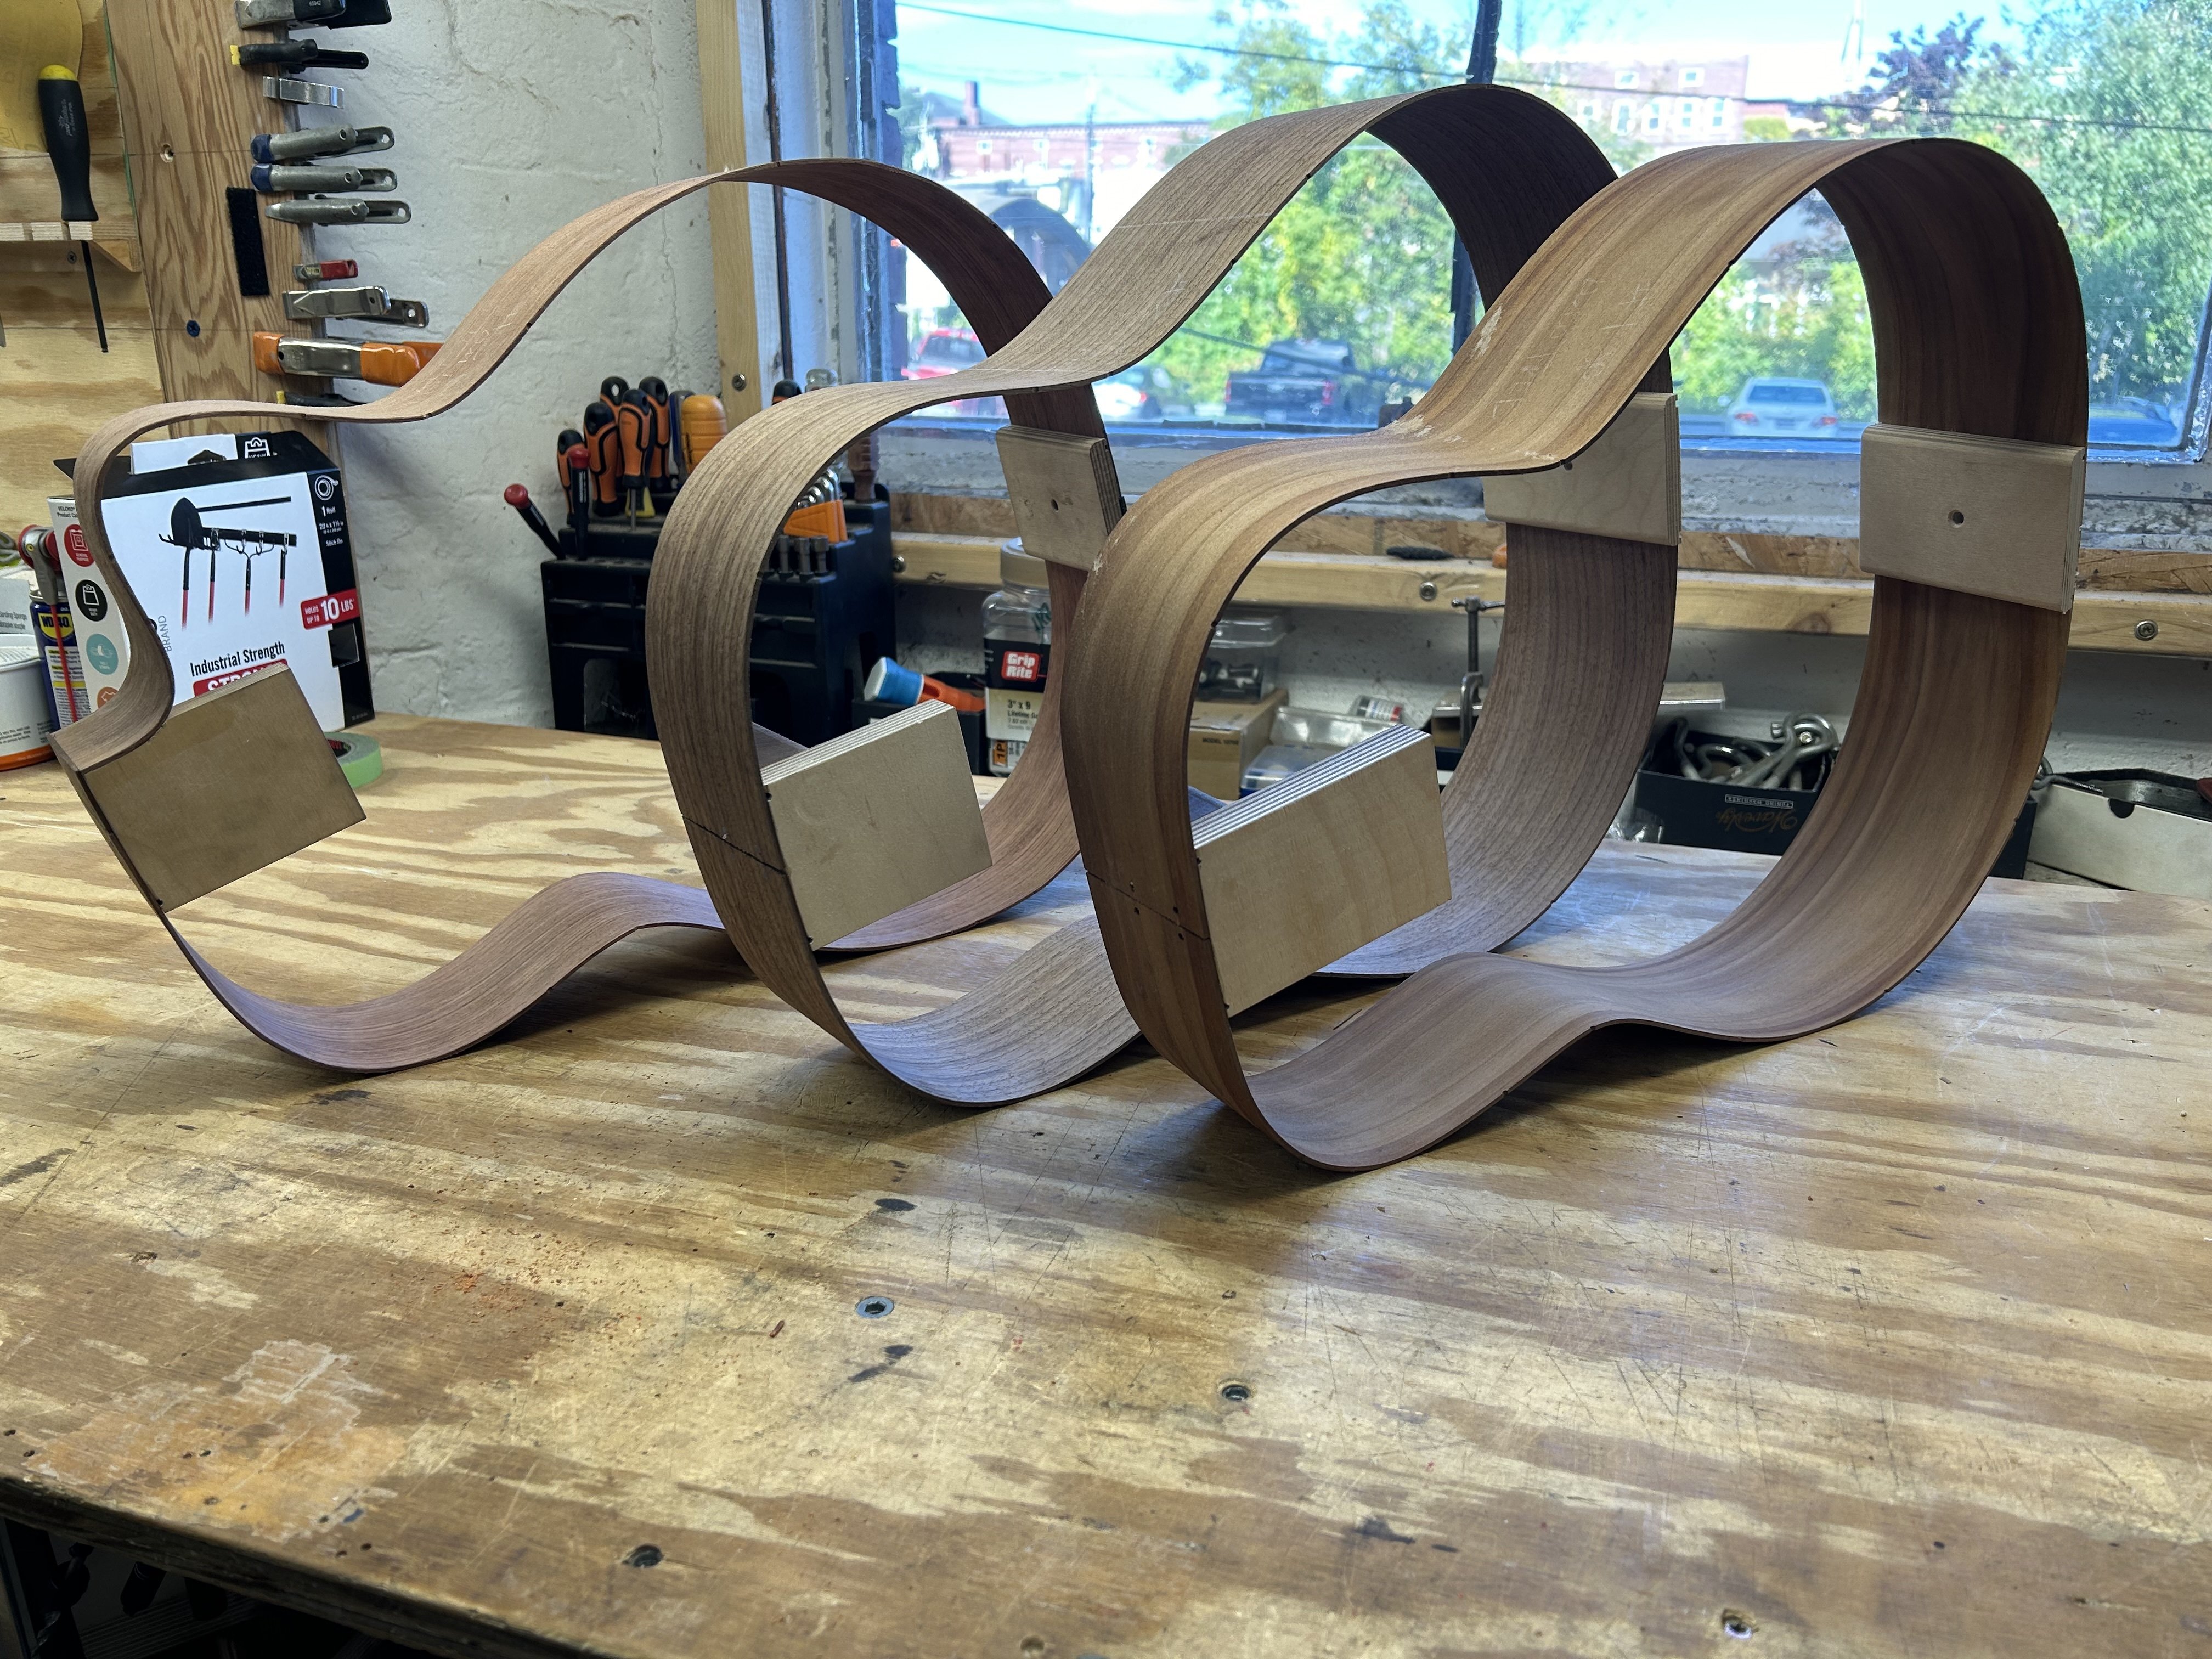
Continued from previous posts. As usual, it took longer than expected, but here are the rims all bent and blocked up. Next steps will be getting the tops and backs all braced up and voiced. After that I’ll install the kerfed lining and side braces, do some final bowl sanding, notch the lining and finally put the boxes together. Simple as that.
Should have more to share in the coming weeks.
Thanks for the support! Happy to answer any questions!
Not that big, but it would still be interesting. I pulled some honey locust from our firewood pile a few years back and incorporated it into a desk. It has a fairly boring grain pattern, but I like the color a lot.

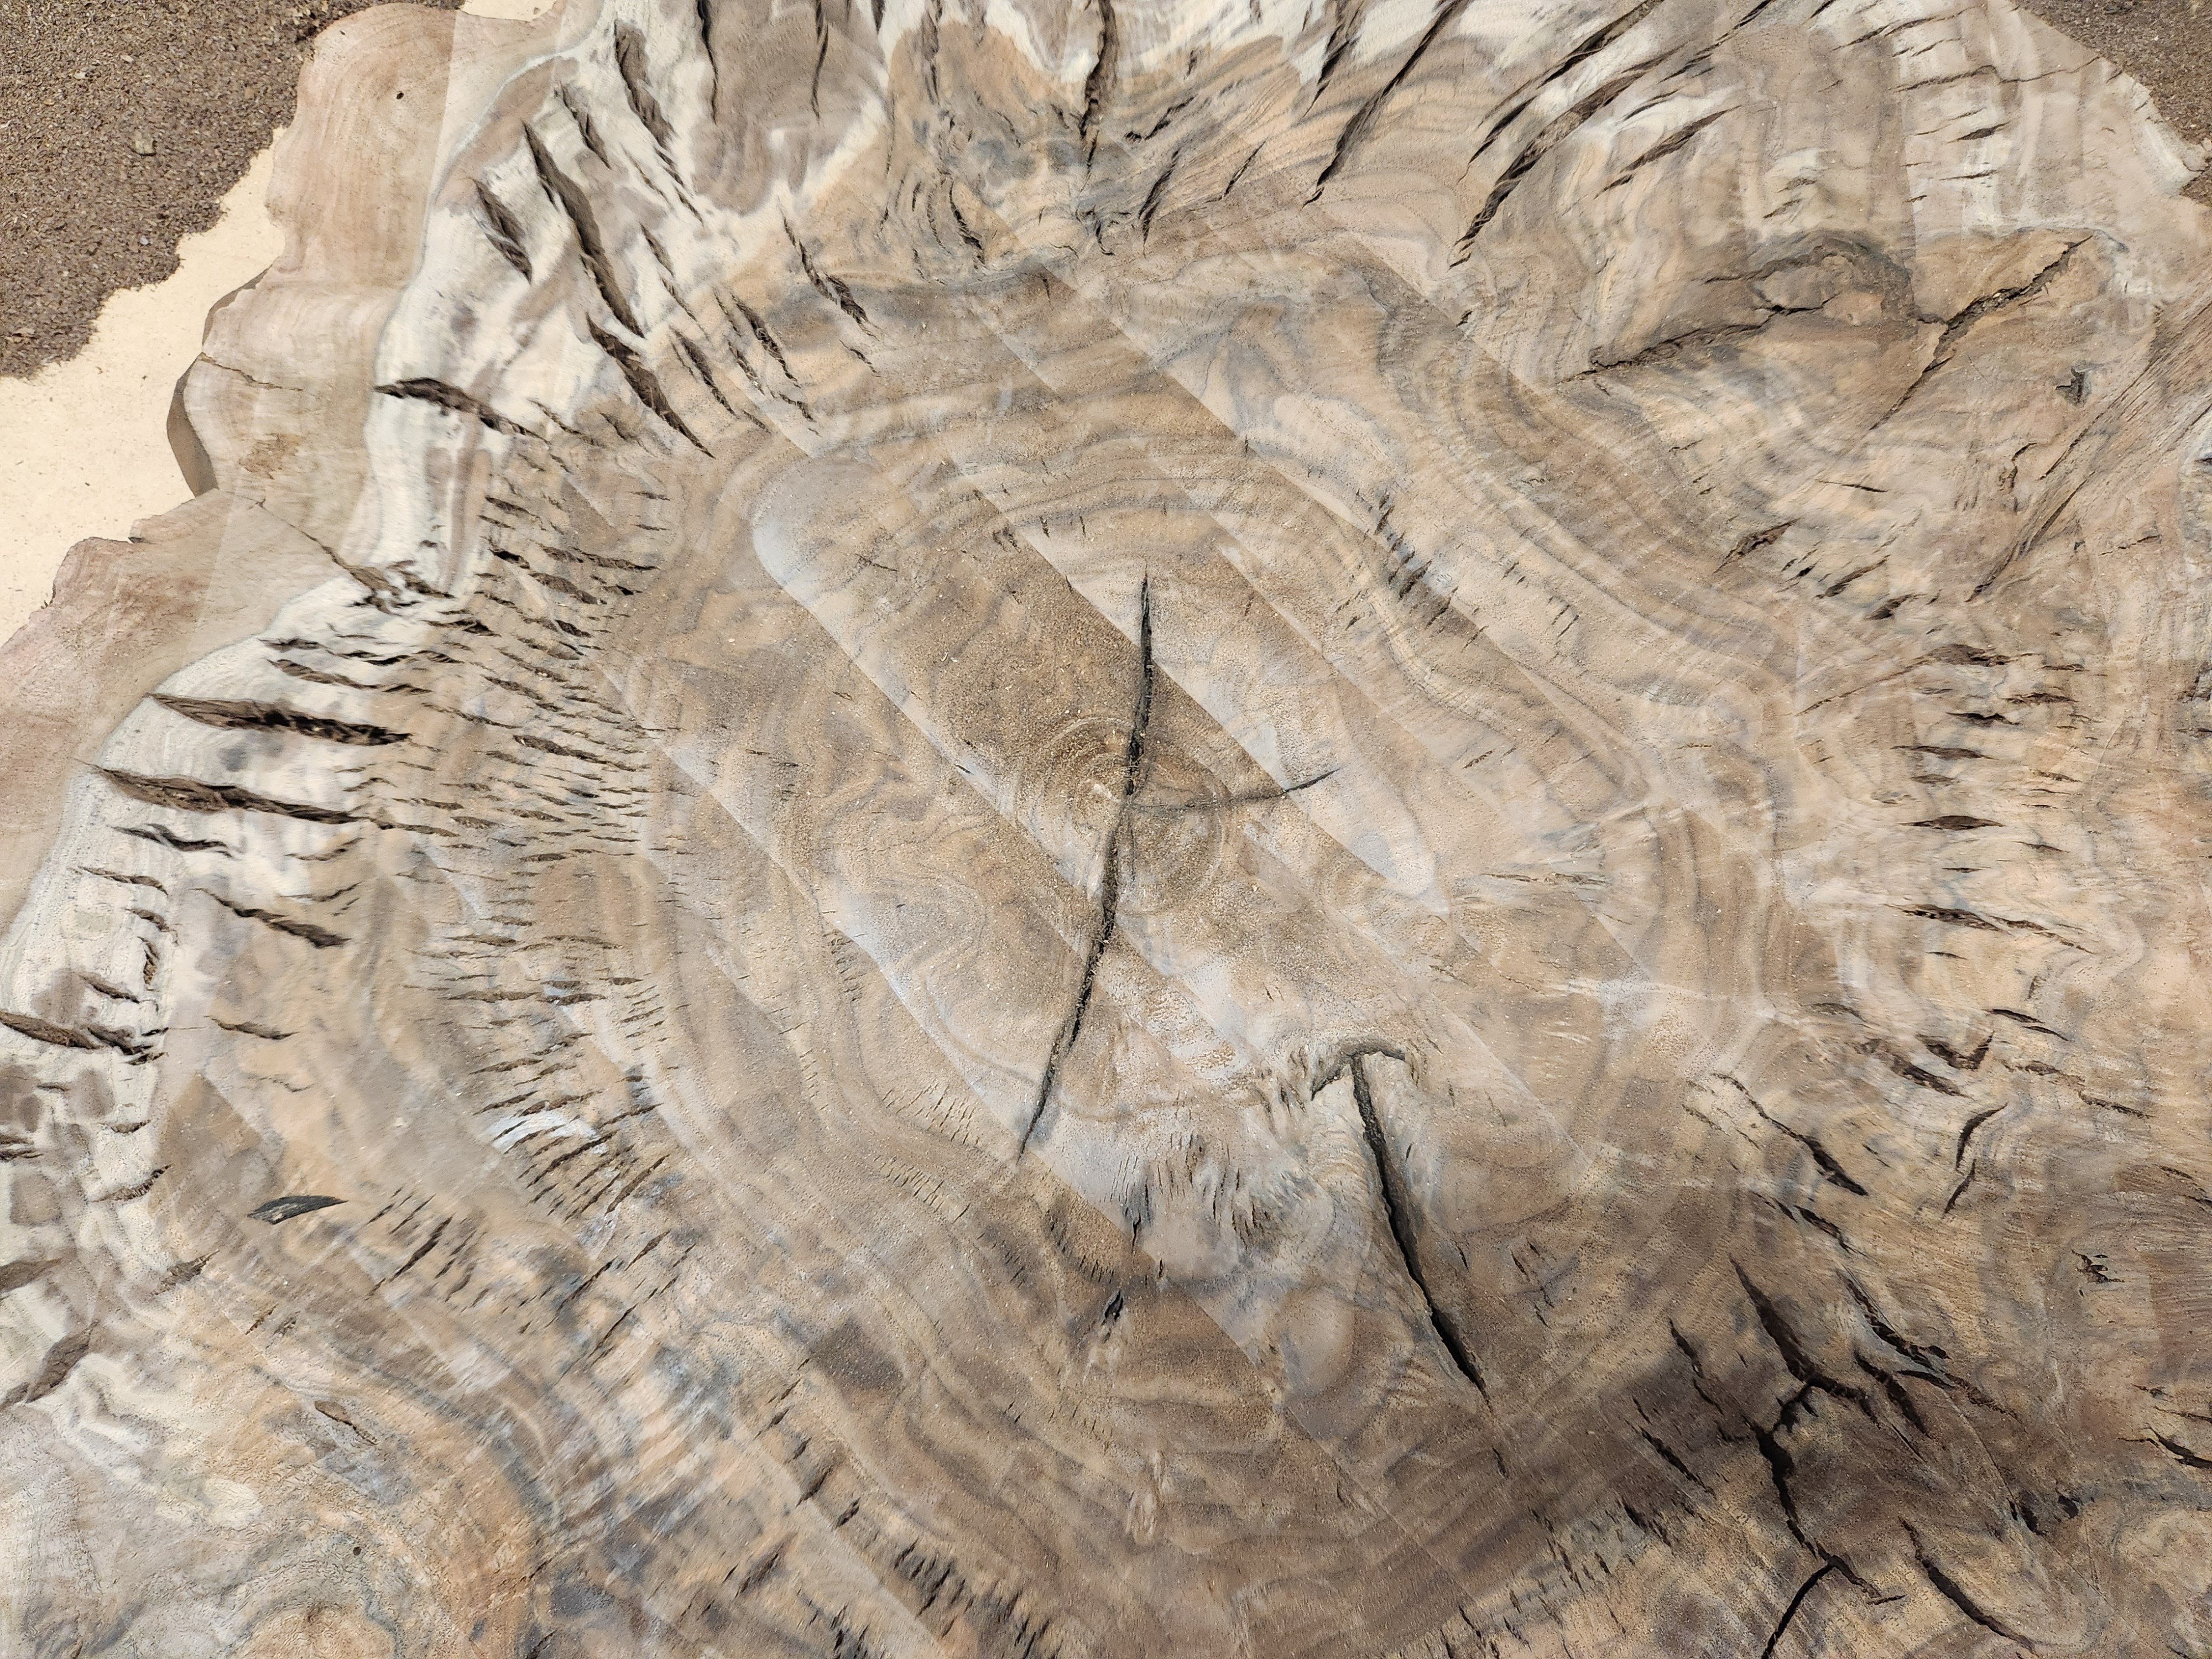
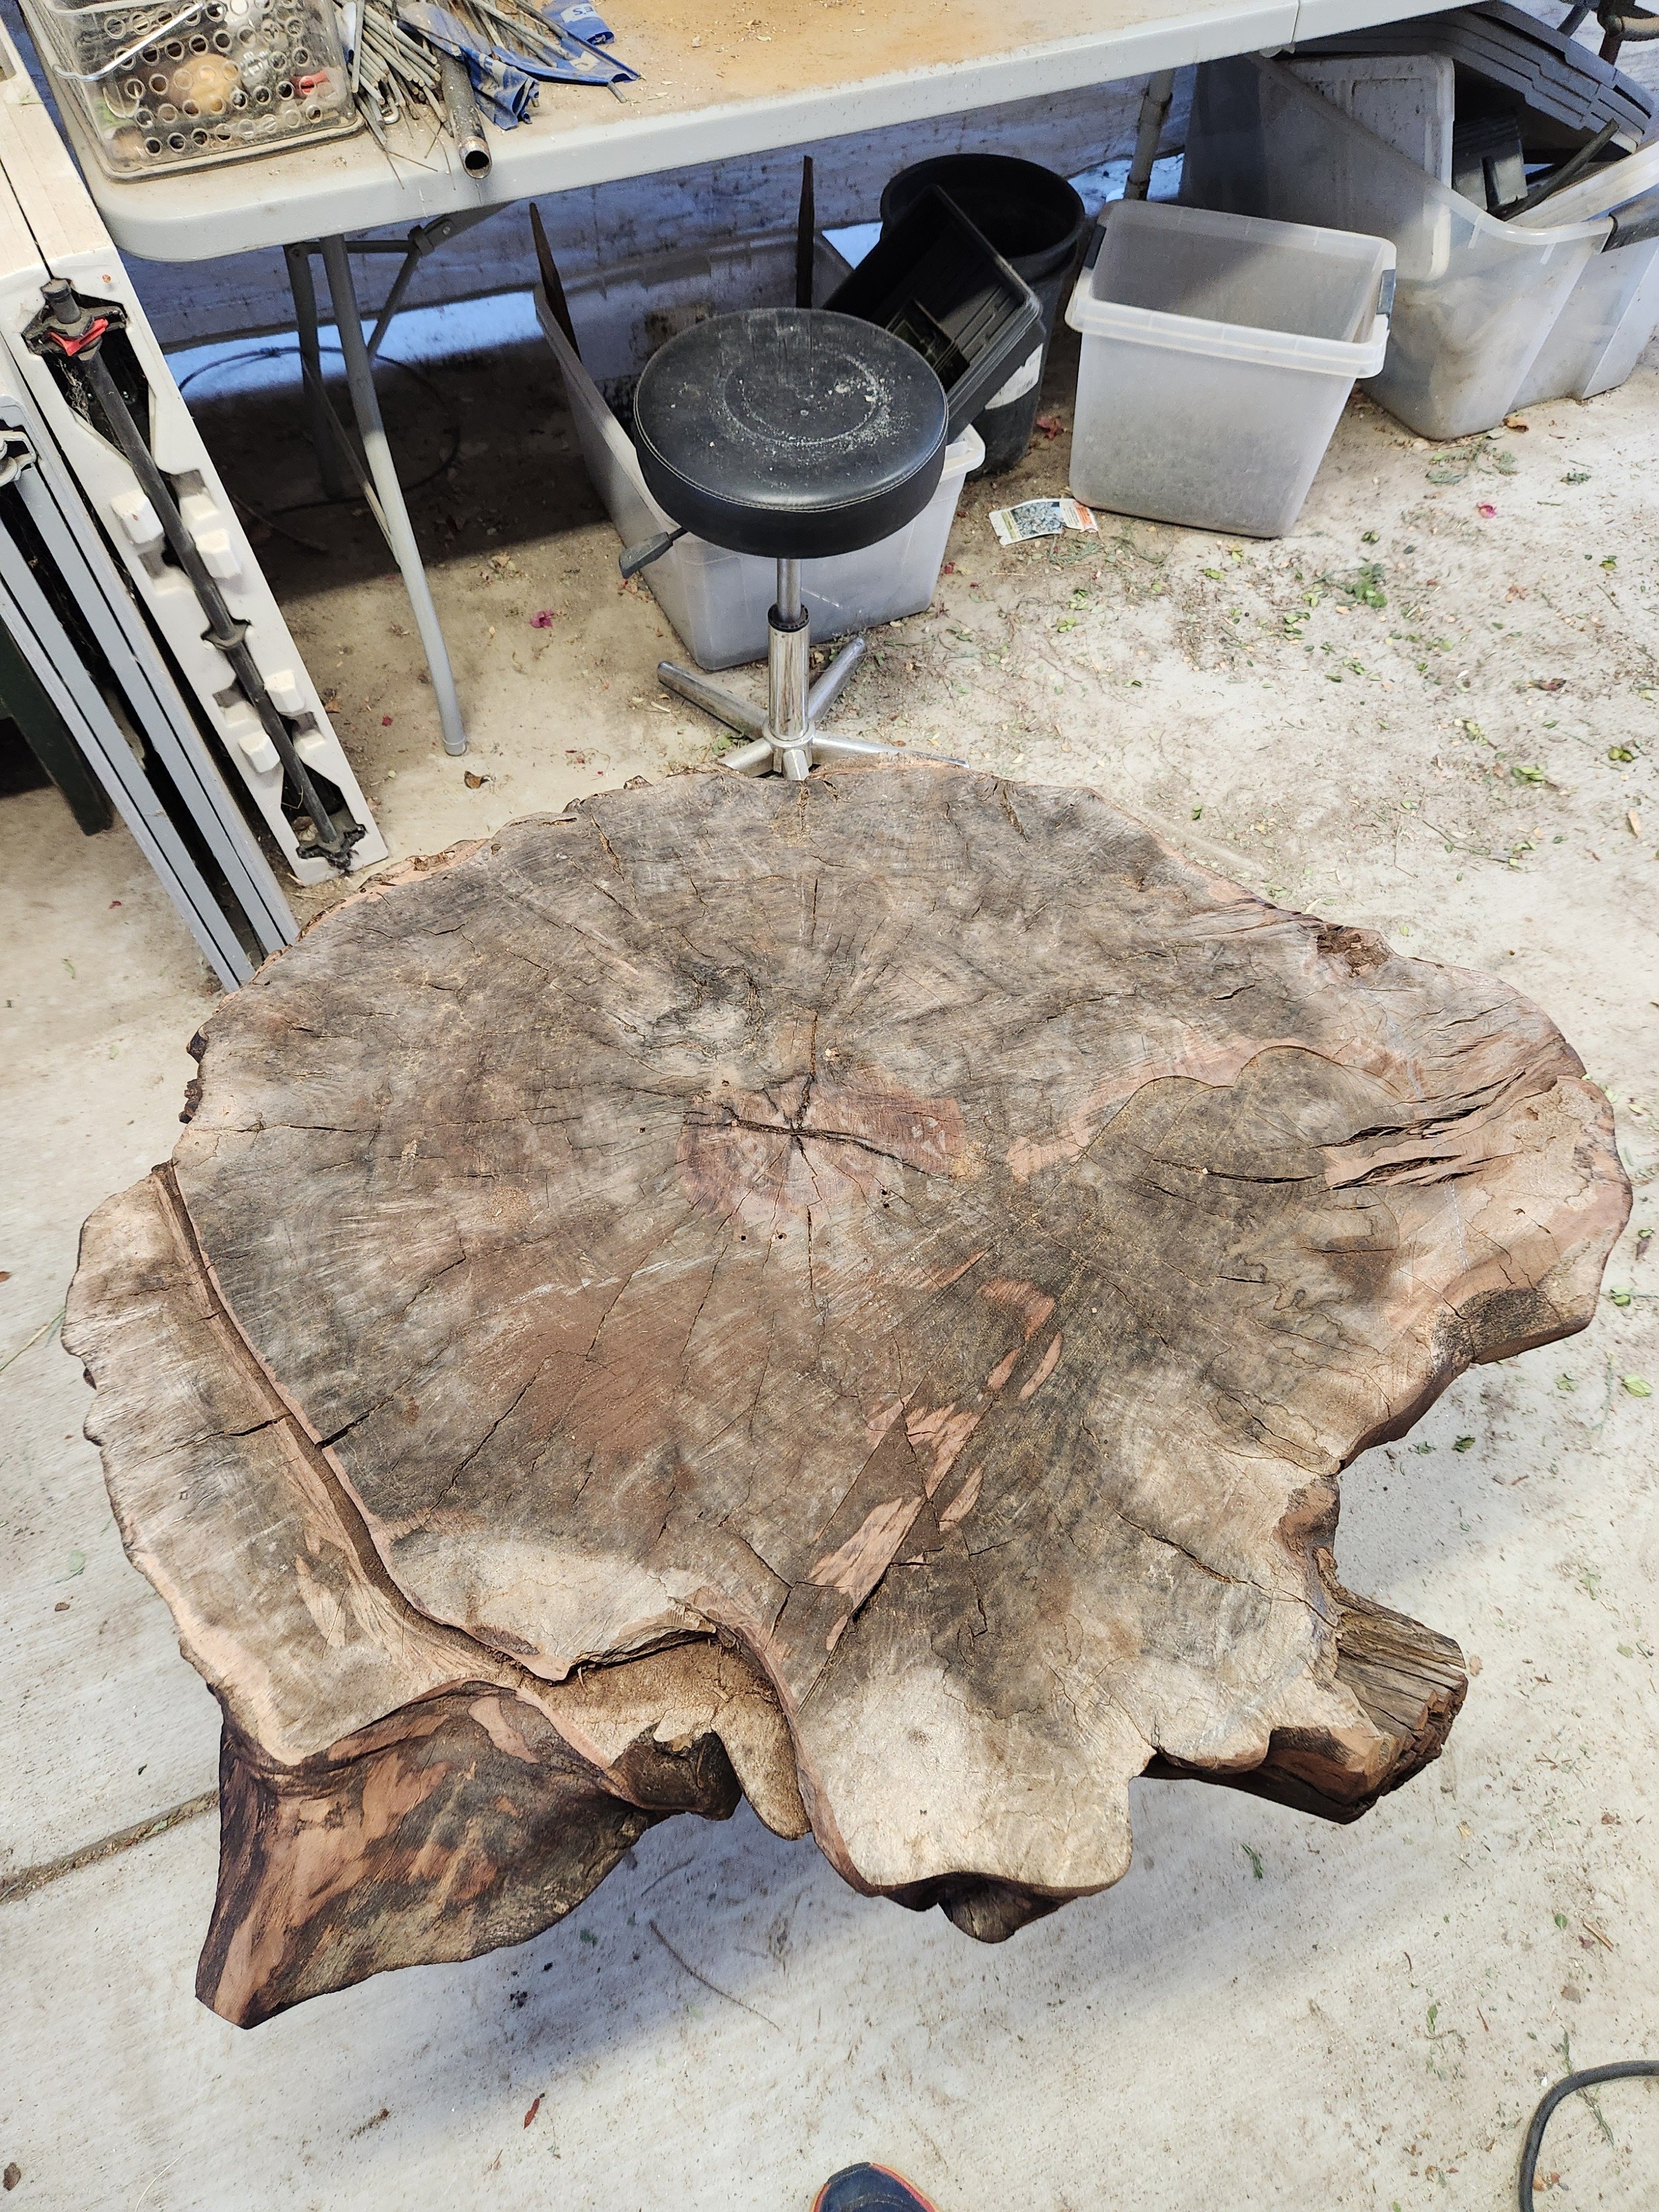
Bought this black walnut cookie off of Facebook marketplace for a good price. The only catch is it is warped, cracked, cupped, and twisted. It's about 4 in thick and that's plenty of material to make a coffee table, but I need some advice and guidance on making a router planing jig please.
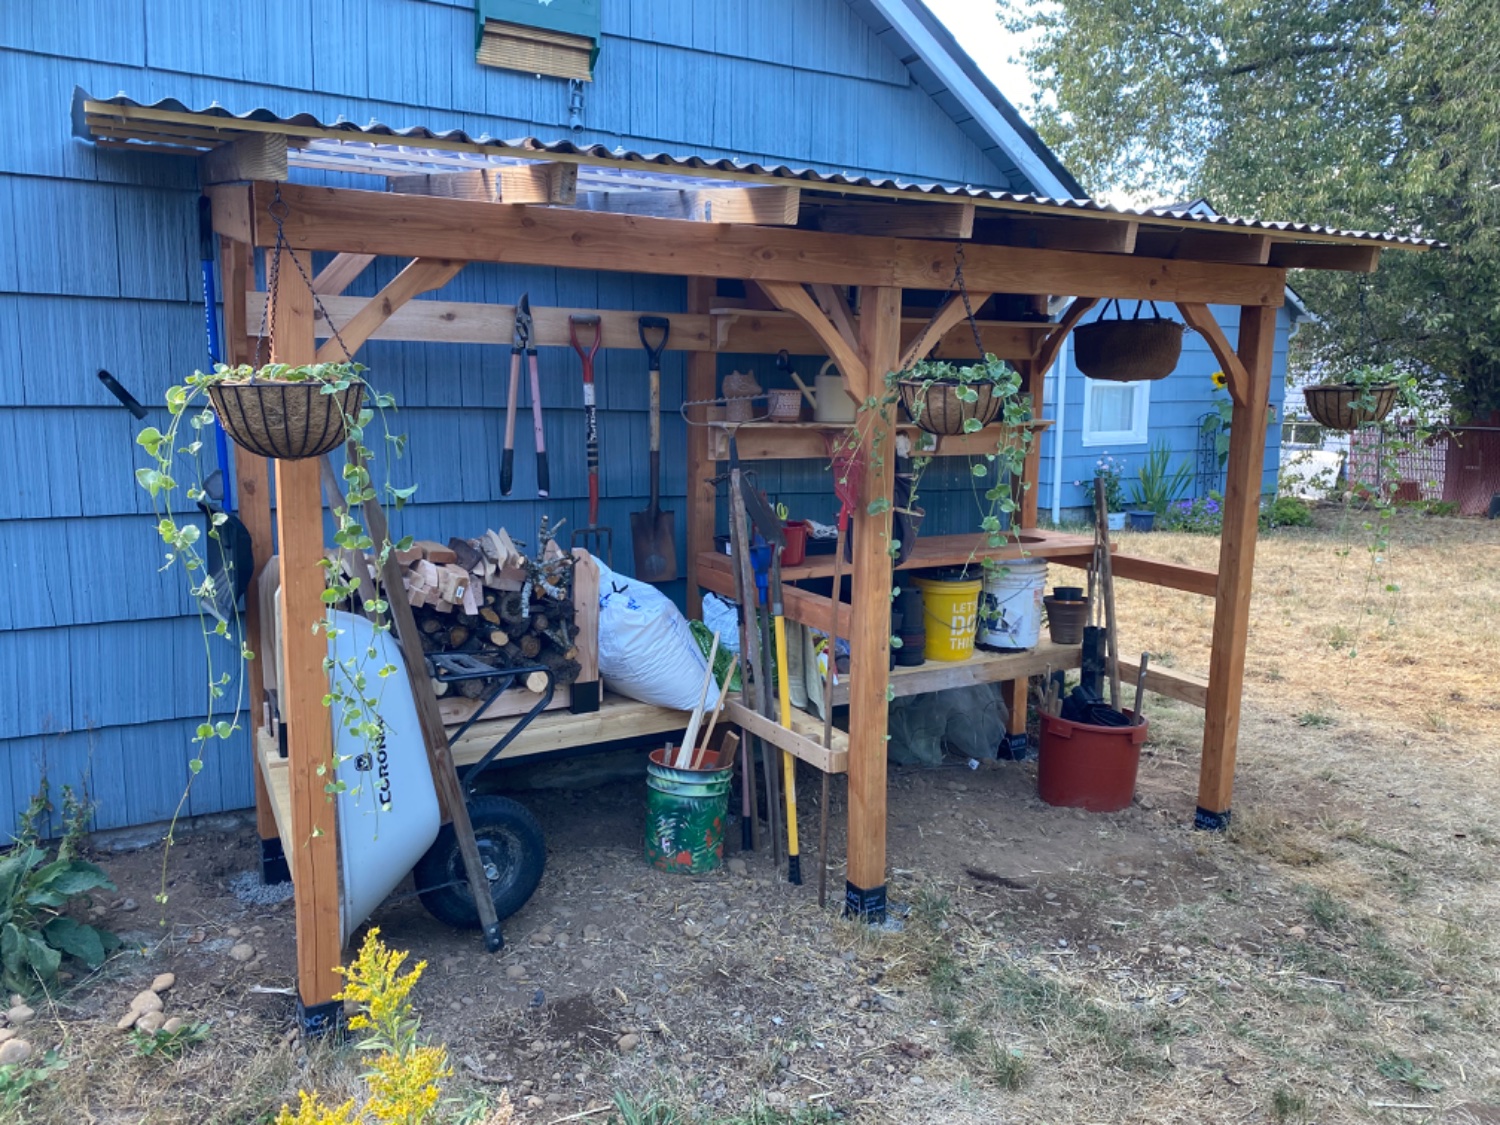
The potting bench has a hole so that soil can be brushed into the bucket below. I was able to salvage some of the older boards from the old pile of junk that stood there before, which are in the roof. Speaking of the roof, see how some of it is clear? I’m going to build a cold frame into that part of the roof for hardening off plants! I’m having a hard time deciding how to do that but though.
The wife wants gravel on the ground but I’m not so sure. I think that the gravel will just end up filling with dirt and debris and weeds. I think I might prefer to just leave it bare earth. What do you think?

