this post was submitted on 20 Jun 2024
323 points (99.1% liked)
Woodworking
8549 readers
1 users here now
A handmade home for woodworkers and admirers of woodworkers. Our community icon is submitted by @inquanto@lemmy.world, winner of the Christmas 2025 gift contest with a lovely series of hardwood cutting boards.
founded 2 years ago
MODERATORS
you are viewing a single comment's thread
view the rest of the comments
view the rest of the comments
Looks awesome! Do you have pictures/steps of how you did it? I would love to give this a try.
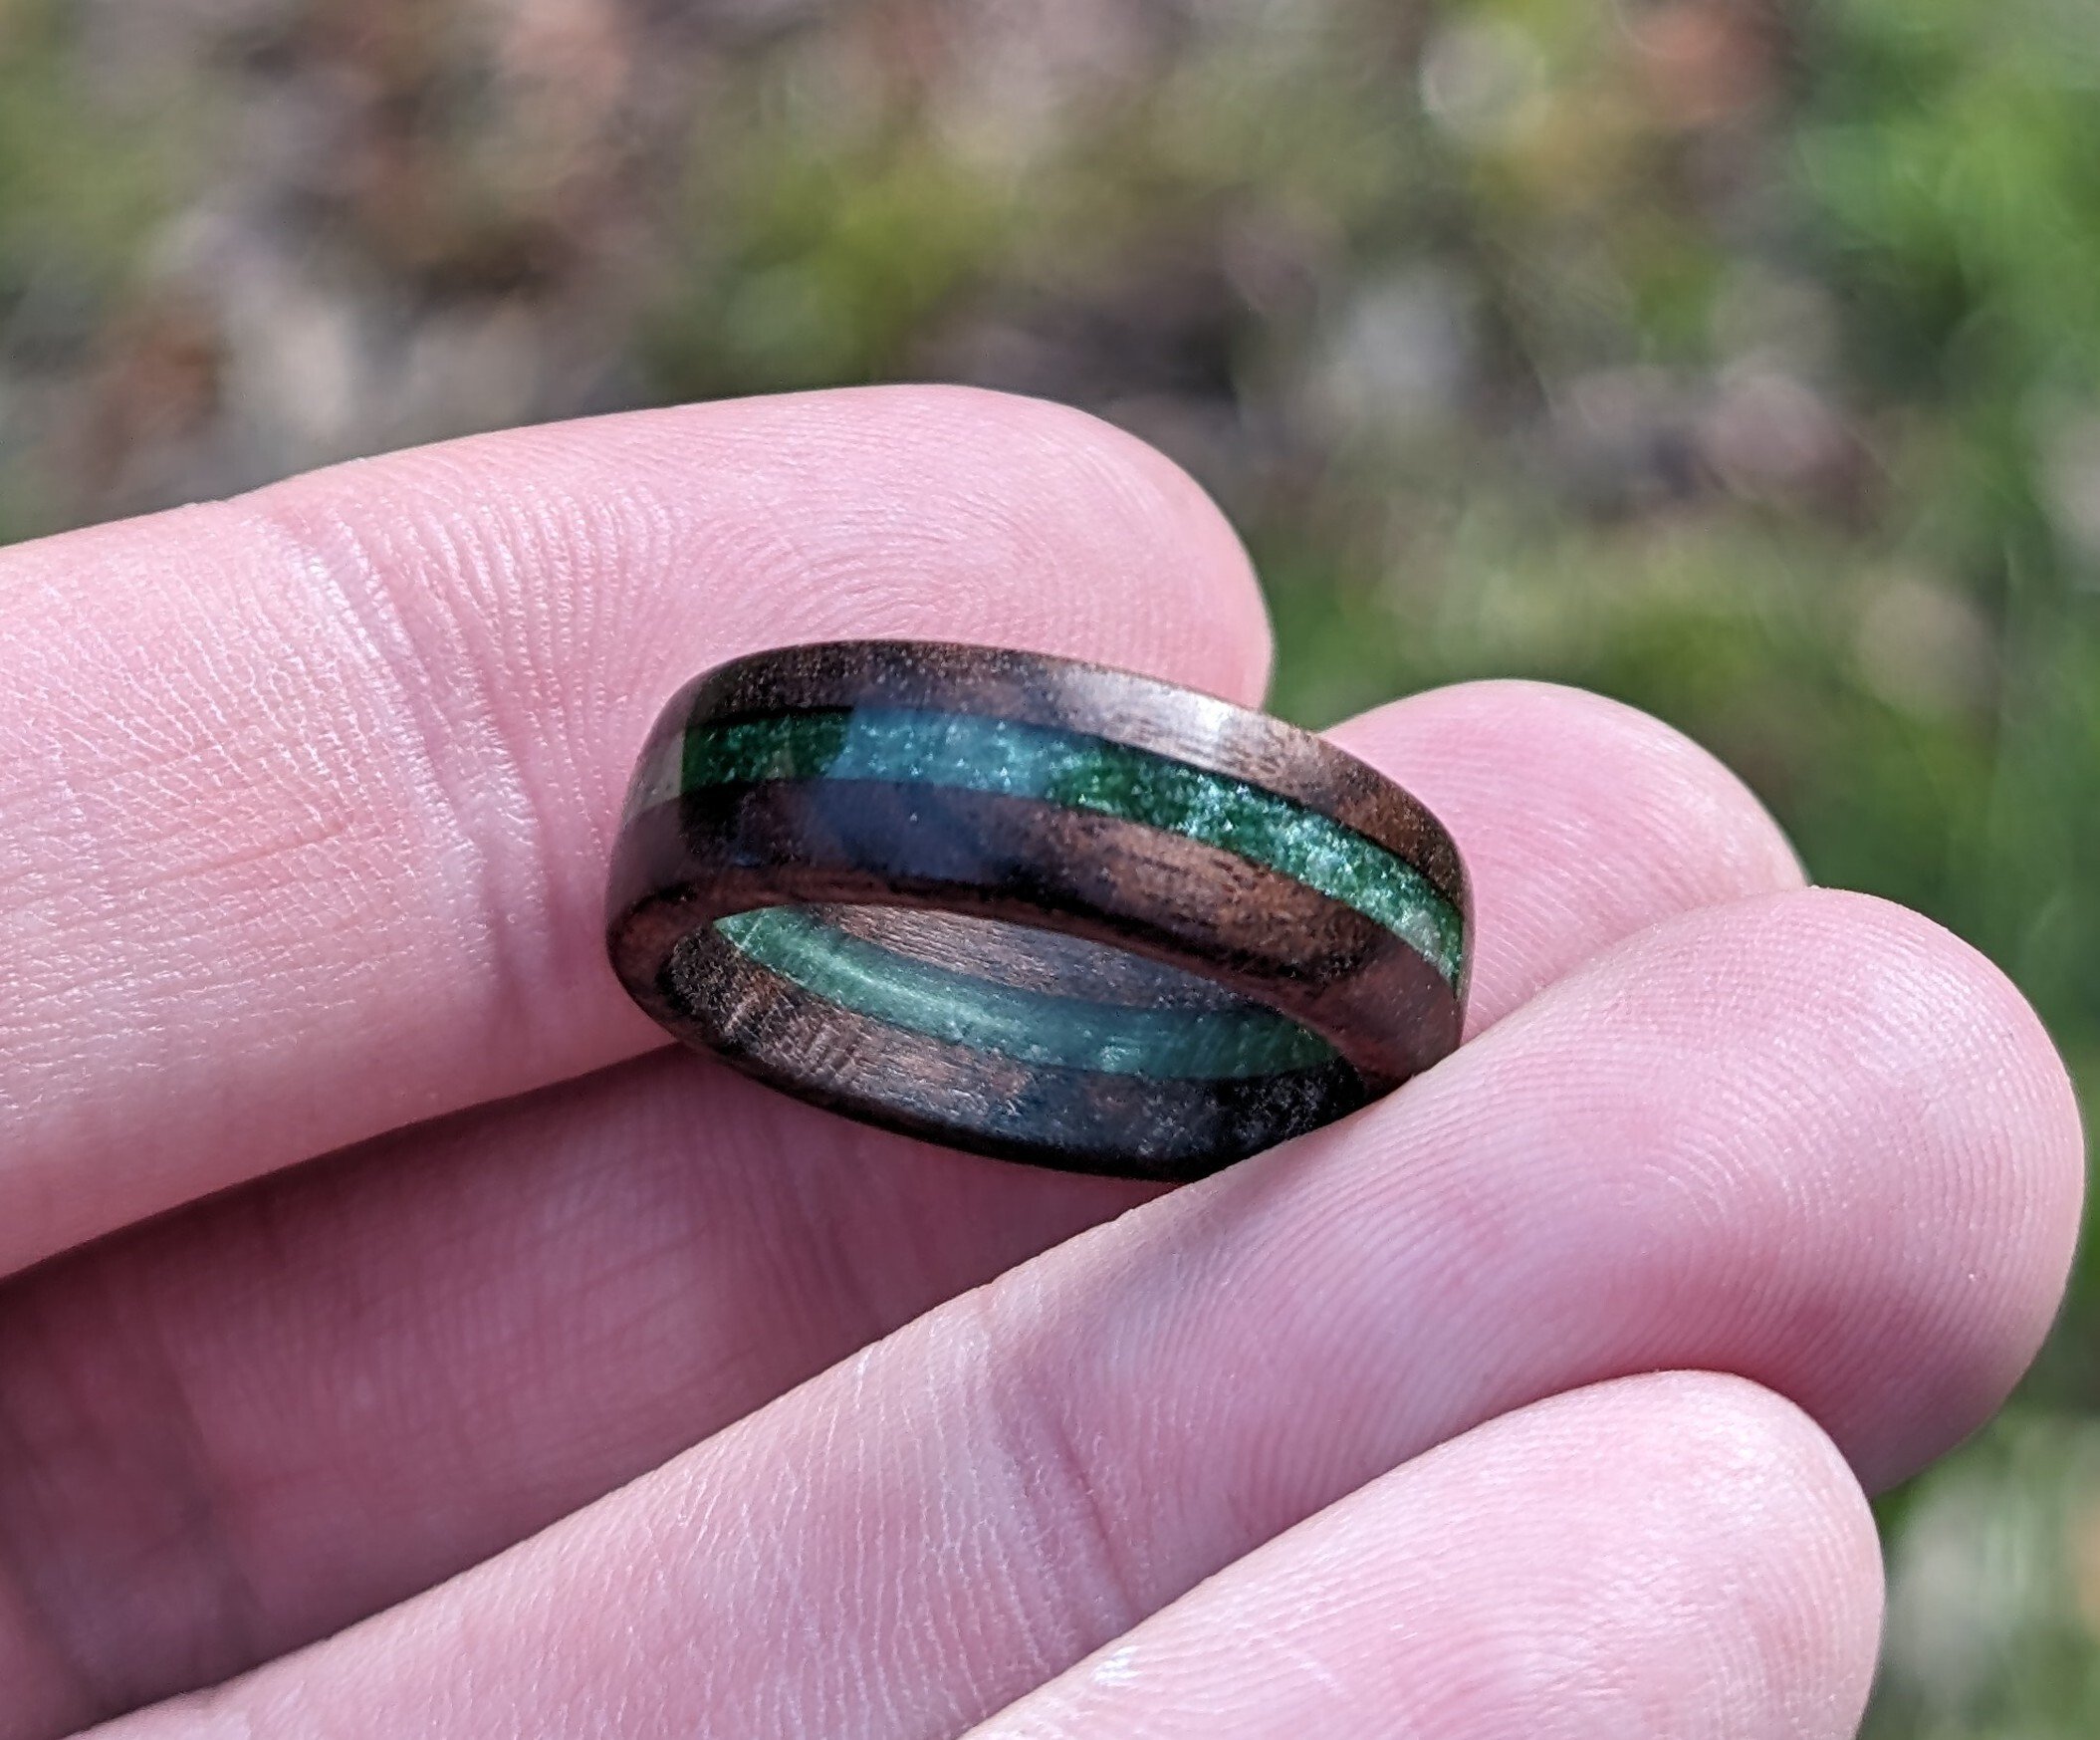
I started with 2 thin slices of wood, about the size of a post card. I used toothpicks as spacers at the corners and a dab of super glue to create a gap between the wood for the resin. I used tape around 3 sides, leaving one end open. I poured in the resin very slowly so there wouldn't be any bubbles, and left it in the vacuum chamber, open end up, for about 15 minutes to pull all the air out and get a good bond between the wood and resin. After it cured and I cleaned up the blank I cut the rough shape on my CNC machine. After a quick sanding, a dunk in some Danish oil, and some time to dry they went on a ring mandrill in the drill press where I did the final shaping with sandpaper. I used super glue for the finish, more wet sanding up to 8000 grit and then 3M polishing compound.
Not counting all the curing and waiting, it took about 20 minutes per ring, and was a ton of fun.
My one concern is durability of the rings, as they end up very thin. My finance will be wearing them for a while to see how they hold up. Hopefully, since the resin is solid, it will hold the wood fibers together and prevent the ring from cracking.
Next, I want to try out carving shallow geometric patterns on the side of the wood pieces that go against the resin on the CNC before filling the blanks. I think that'll make some interesting patterns when the ring gets cut out of the blank.