Introduction
Hello everybody, About 5 months ago I started building an alternative to the Searx metasearch engine called Websurfx which brings many improvements and features which lacks in Searx like speed, security, high levels of customization and lots more. Although as of now it lacks many features which will be added soon in futures release cycles but right now we have got everything stabilized and are nearing to our first release v1.0.0. So I would like to have some feedbacks on my project because they are really valuable part for this project.
In the next part I share the reason this project exists and what we have done so far, share the goal of the project and what we are planning to do in the future.
Why does it exist?
The primary purpose of the Websurfx project is to create a fast, secure, and privacy-focused metasearch engine. While there are numerous metasearch engines available, not all of them guarantee the security of their search engine, which is critical for maintaining privacy. Memory flaws, for example, can expose private or sensitive information, which is never a good thing. Also, there is the added problem of Spam, ads, and unorganic results which most engines don't have the full-proof answer to it till now. Moreover, Rust is used to write Websurfx, which ensures memory safety and removes such issues. Many metasearch engines also lack important features like advanced picture search, which is required by many graphic designers, content providers, and others. Websurfx attempts to improve the user experience by providing these and other features, such as providing custom filtering ability and Micro-apps or Quick results (like providing a calculator, currency exchanges, etc. in the search results).
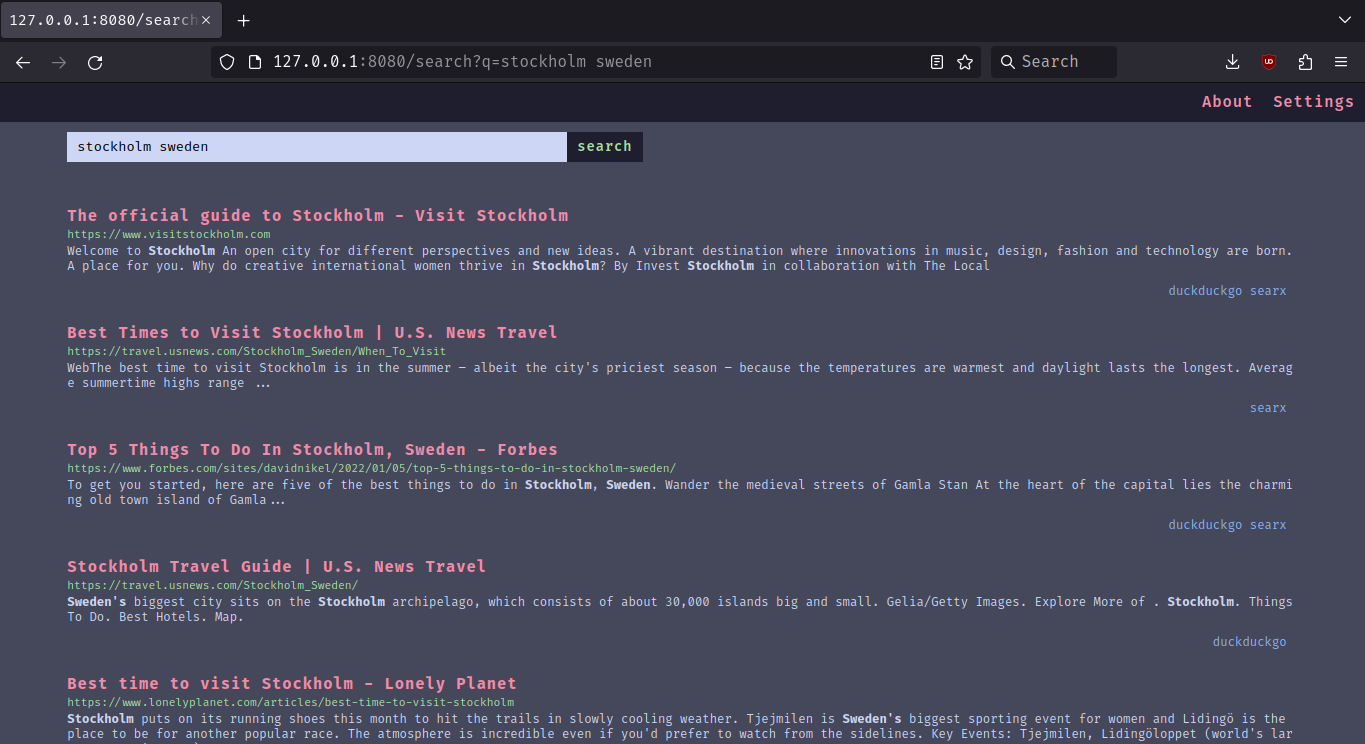
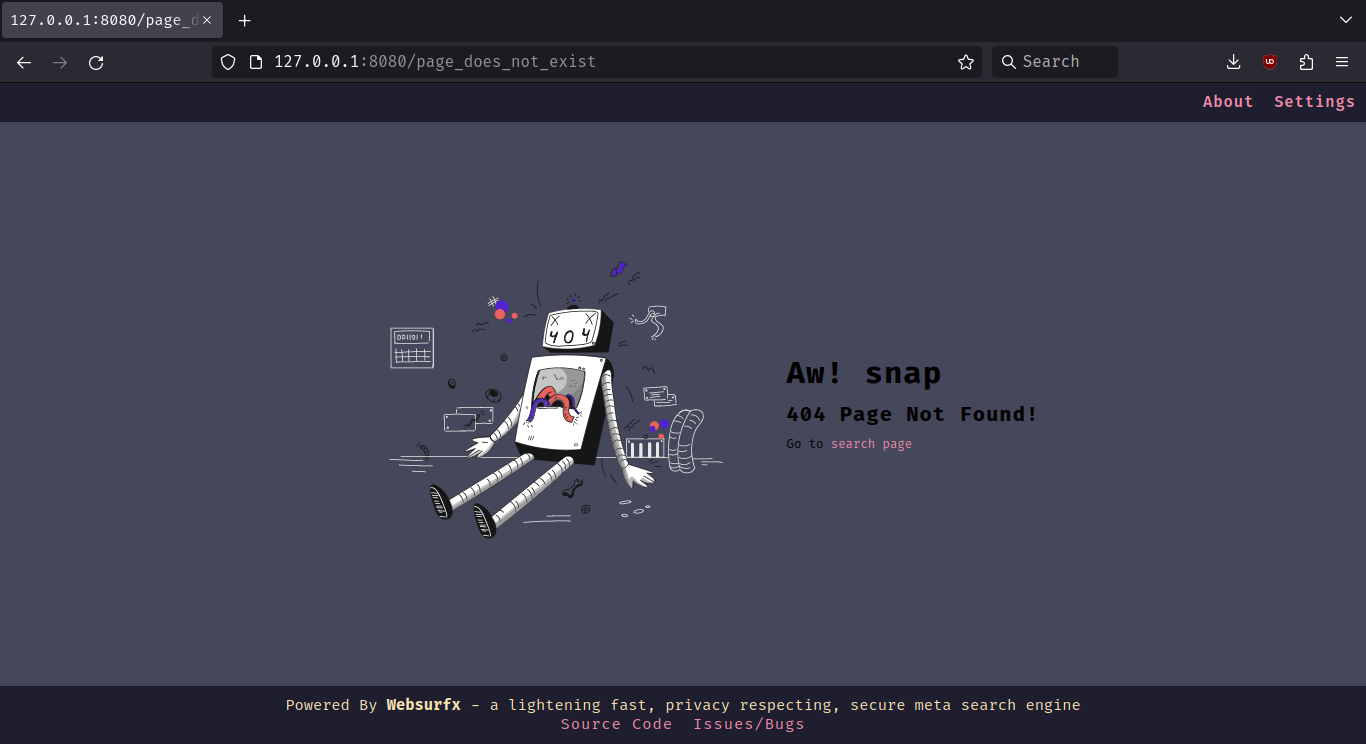
Preview
Home Page

Search Page

404 Page

What Do We Provide Right Now?
- Ad-Free Results.
- 12 colorschemes and a
simple theme by default.
- Ability to filter content using filter lists (coming soon).
- Speed, Privacy, and Security.
In Future Releases
We are planning to move to leptos framework, which will help us provide more privacy by providing feature based compilation which allows the user to choose between different privacy levels. Which will look something like this:
Default: It will use wasm and js with csr and ssr.Harderned: It will use ssr only with some jsHarderned-with-no-scripts: It will use ssr only with no js at all.
Goals
- Organic and Relevant Results
- Ad-Free and Spam-Free Results
- Advanced Image Search (providing searches based on color, size, etc.)
- Dorking Support (in other words advanced search query syntax like using And, not and or in search queries)
- Privacy, Security, and Speed.
- Support for low memory devices (like you will be able to host websurfx on low memory devices like phones, tablets, etc.).
- Quick Results and Micro-Apps (providing quick apps like calculator, and exchange in the search results).
- AI Integration for Answering Search Queries.
- High Level of Customizability (providing more colorschemes and themes).
Benchmarks
Well, I will not compare my benchmark to other metasearch engines and Searx, but here is the benchmark for speed.
Number of workers/users: 16
Number of searches per worker/user: 1
Total time: 75.37s
Average time per search: 4.71s
Minimum time: 2.95s
Maximum time: 9.28s
Note: This benchmark was performed on a 1 Mbps internet connection speed.
Installation
To get started, clone the repository, edit the config file, which is located in the websurfx directory, and install the Redis server by following the instructions located here. Then run the websurfx server and Redis server using the following commands.
git clone https://github.com/neon-mmd/websurfx.git
cd websurfx
cargo build -r
redis-server --port 8082 &
./target/debug/websurfx
Once you have started the server, open your preferred web browser and navigate to http://127.0.0.1:8080 to start using Websurfx.
Check out the docs for docker deployment and more installation instructions.
Call to Action: If you like the project then I would suggest leaving a star on the project as this helps us reach more people in the process.
 "Show your love by starring the project"
Project Link:
https://github.com/neon-mmd/websurfx


 "Show your love by starring the project"
